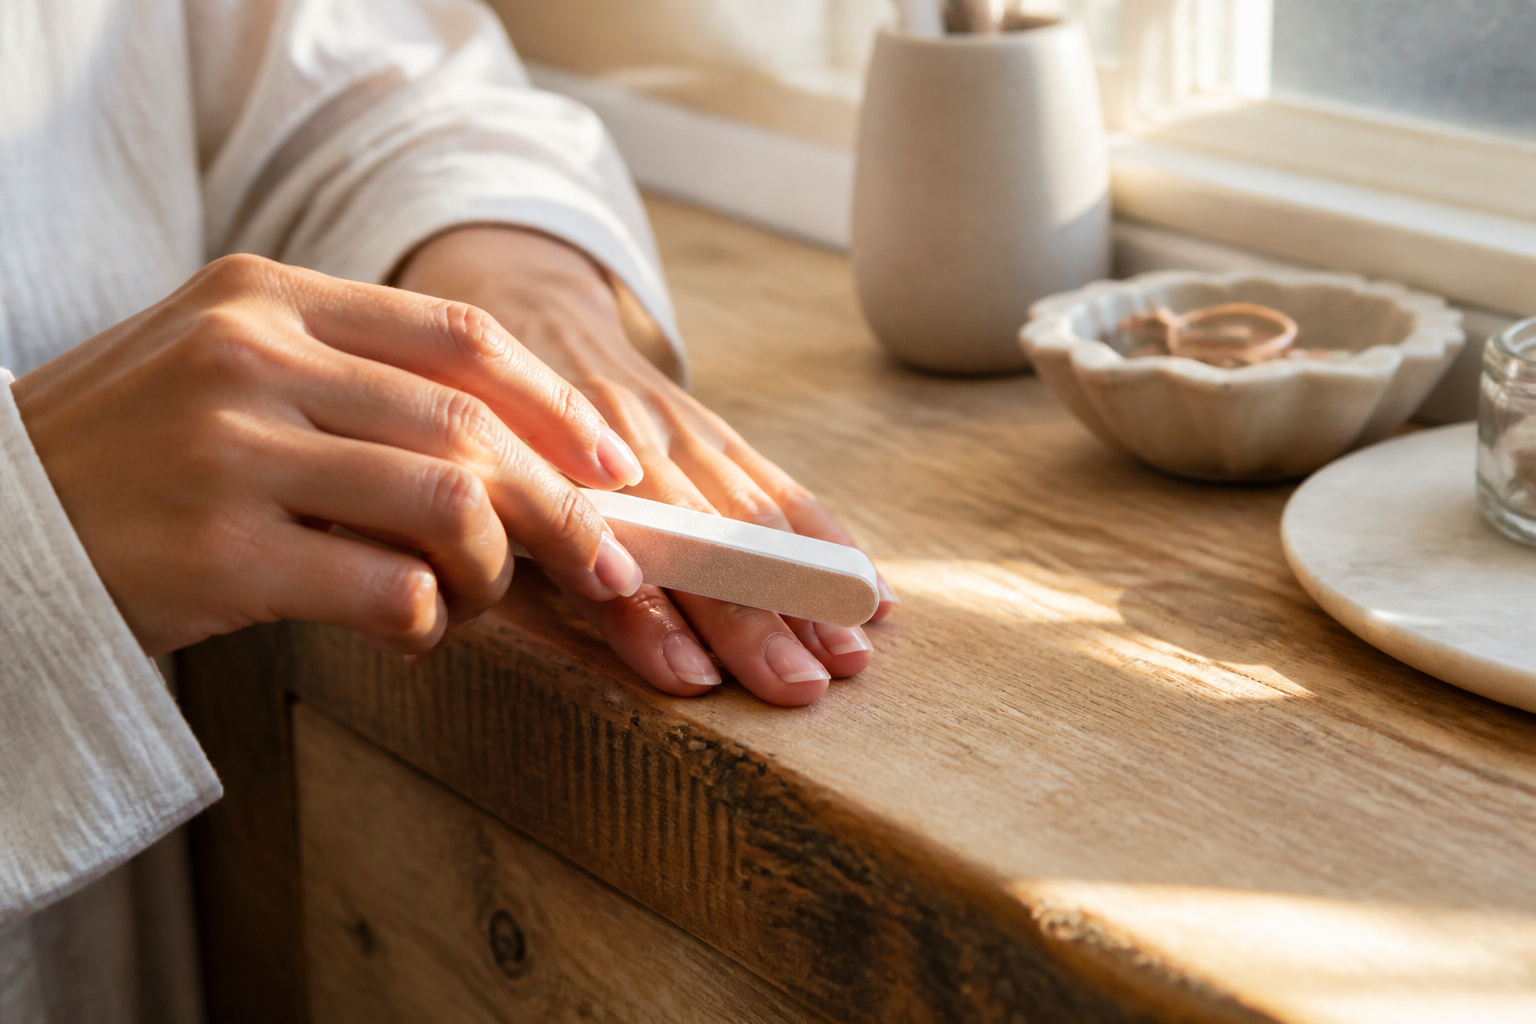
A glass-smooth nail takes under ten minutes and one tool you probably already own. The mistake that ruins it happens on the first side: scrubbing back and forth like you’re shining a shoe, which heats and thins the nail plate.
Light, even strokes in one direction only, no more than three passes per nail at 180–240 grit, is where the rest of the finish is won or lost.
1. Clean and Shape First
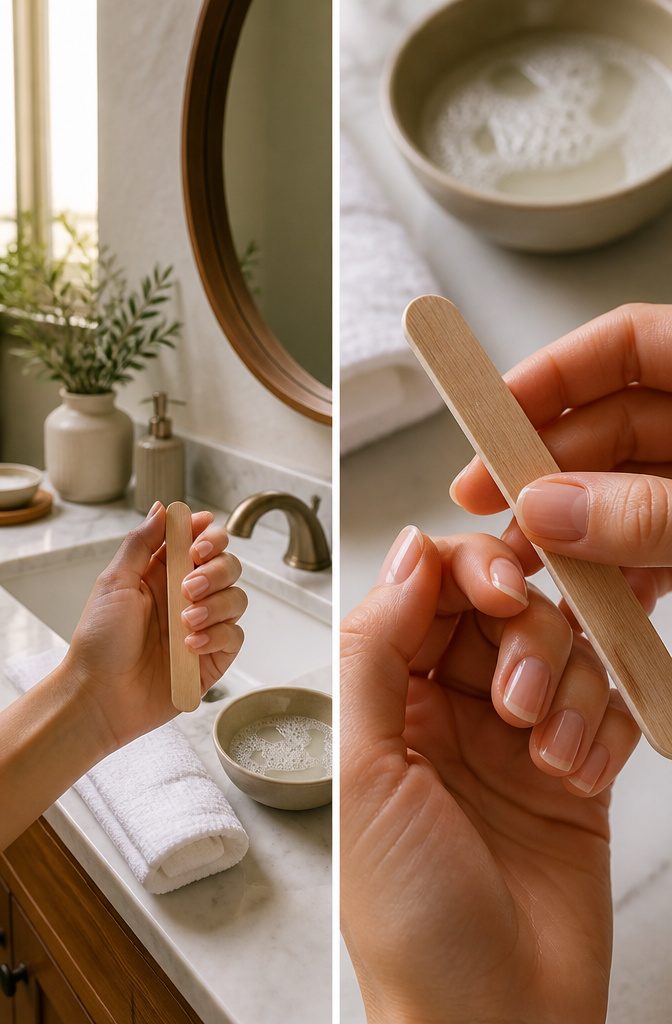
Soap and water came first the one time I tried to rush the prep, and the buffer snagged on nails still soft from the sink.
Buffing on wet nails makes them more likely to split or thin unevenly, so drying matters as much as washing.
The shape you file before buffing sets up everything after: clip or shape to length, then smooth the edges so the buffer meets a flat plane rather than catching on ridges or corners.
Skip this and the grit works harder on high spots, which is how nails end up wavy instead of glassy. I treat this as the non-negotiable step, not the optional one it looks like when you’re short on time.
2. Buff With the Coarse Side
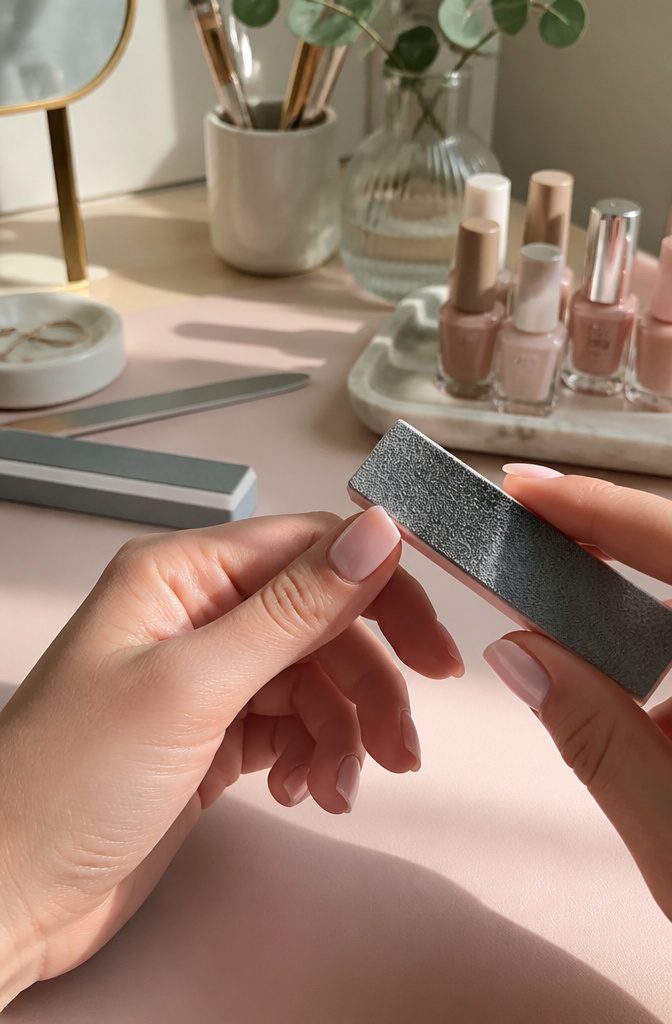
A nail buffer‘s coarse side is where most people do the damage, usually because they scrub back and forth like they’re shining a shoe.
The reading convinced me: light, even strokes in one direction only, no more than two or three passes per nail. Moving back and forth generates friction heat and strips away more of the nail plate than you want.
The coarse side works at 180–240 grit, enough to remove surface shine and smooth ridges without thinning the nail.
Pressing hard does not speed anything up. It only leaves the nail overworked and heat-stressed, the kind of surface that splits later.
Glide from one side of the nail to the other, then lift the buffer and return to the starting edge. Repeat once, maybe twice.
Focus the first pass on the center where ridges sit heaviest, then fan gently toward the sides.
Stop while the nail still feels firm. Three passes is the ceiling, not the goal; most nails need two.
3. Smooth With the Medium Side
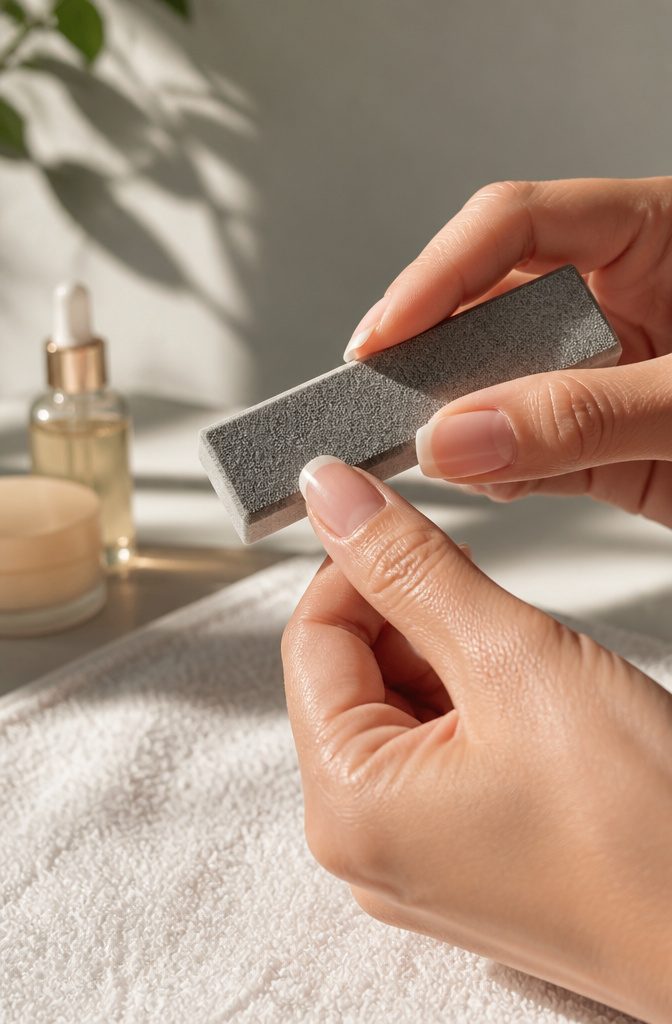
The coarse side leaves visible scratches, like sanded wood before the final coat. The 280–320 grit medium side erases those in two or three passes.
I learned the direction rule the hard way, testing back-and-forth pressure on a thumbnail that felt tender for days. Always stroke one direction, never scrub.
A single controlled pass across the nail plate from one side to the other generates no heat and removes only what the previous stage loosened. Back-and-forth friction removes too much plate and leaves the surface stressed, not smooth.
Two to three passes is the limit here.
Any more and you are thinning the nail’s protective layers. The medium side does not polish; it refines the texture so the finishing side has an even field to work on.
Glide lightly over the center, then angle gently toward the sidewalls without digging in. The scratches from the blue buffer vanish under this grit, and the nail surface begins to look uniform, though still matte.
4. Finish With the Fine Side
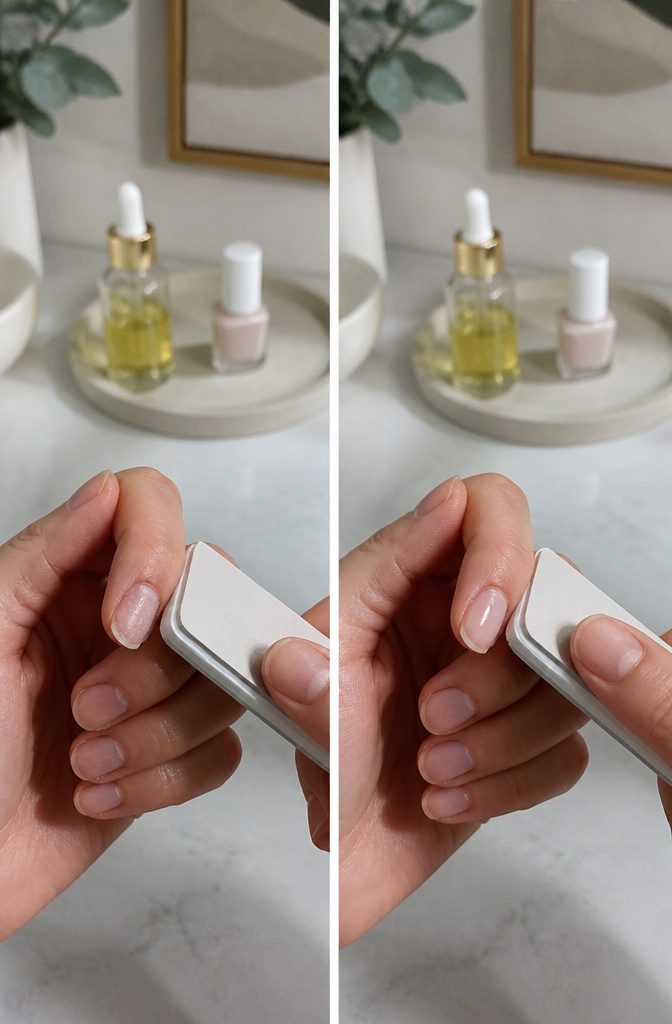
The white or finest side of the buffer is where the payoff happens.
This surface runs 400–600 grit up to 800+ grit, fine enough to polish the nail plate without scraping it. Buff each nail with light, even strokes in one direction until you see a natural glow, usually 3–5 strokes.
That sheen comes from the surface itself, not from polish left behind or oils rubbed in. The first time I watched a buffer do this, I kept expecting to find a clear coat I’d missed.
This is the one side you can hit more often than the others.
The coarse and medium grades remove material; the fine side only reorganizes what is already there. Still, pressing hard or going back and forth thins the nail just as the rougher sides do, so the same rules apply.
Four to six strokes will do the job on most nails, and going past that just risks the same splitting you buffered to prevent.
5. Moisturize After

Buffing strips the natural oil from the nail plate just enough to leave the surface matte and thirsty.
A drop of cuticle oil at the free edge and a sweep across the nail bed replaces that moisture before the keratin tightens and splits.
I press it in rather than rub, since friction on a freshly smoothed surface can raise micro-scratches that show through polish the next day.
Hand cream comes after, not before, the oil: the heavier emollients seal in the lighter serum so it sinks rather than evaporates.
The nail bed absorbs product best within the first two minutes after buffing, when the micro-channels between keratin layers are still open from the heat and motion.
I keep my tube on the same tray as the buffer so the routine isn’t finished until both steps are done; skipping one undoes the other, and the nails look dull again by midweek.
6. Types of Nail Buffers
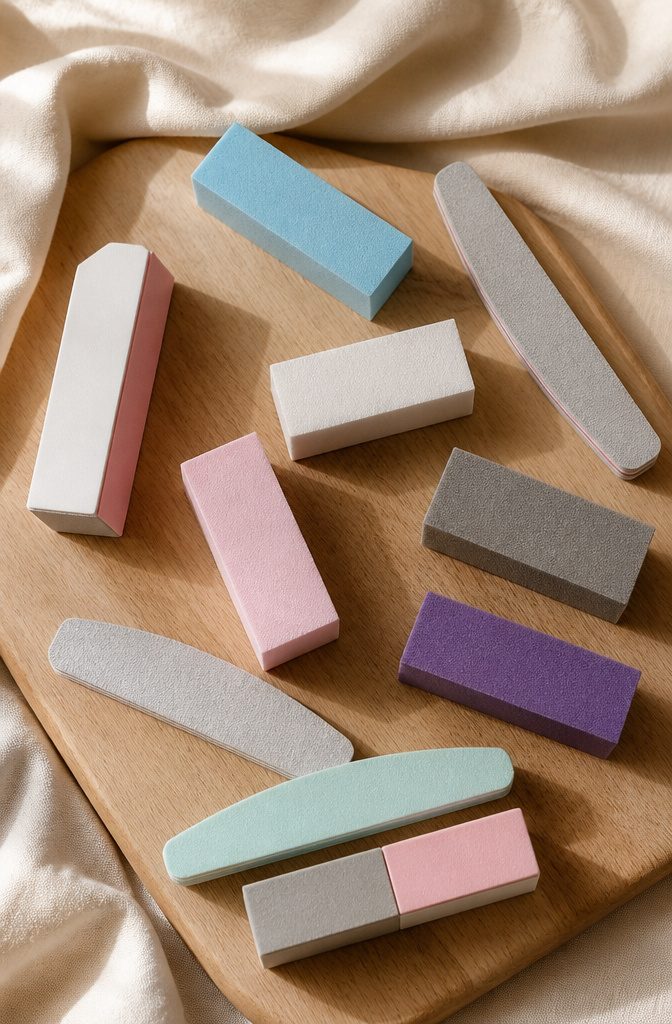
Not every buffer works the same way, and using the wrong one is how you end up with thin nails or a dull finish.
Block buffers are the rectangular four-sided tools you see in most drugstores; grit steps from coarse to fine go in sequence, and the sources flag that using them more than once every two to three weeks risks stripping the nail’s protective layers.
A cushion buffer flexes to hug the nail curve, which makes it the standard for prep work before polish.
A chamois or shine buffer creates friction gloss without removing material; save it for the final step on natural nails only. Sponge buffers bend even more and best fit curved enhancement surfaces like acrylics or builder gel.
The 3-in-1 buffer folds buffing, smoothing, and shining into one tool; brands like the Trio Nail Buffer split usage so side one hits new growth, side two refreshes the whole nail every two to three weeks, and side three restores shine as often as needed.
7. What a Nail Buffer Does
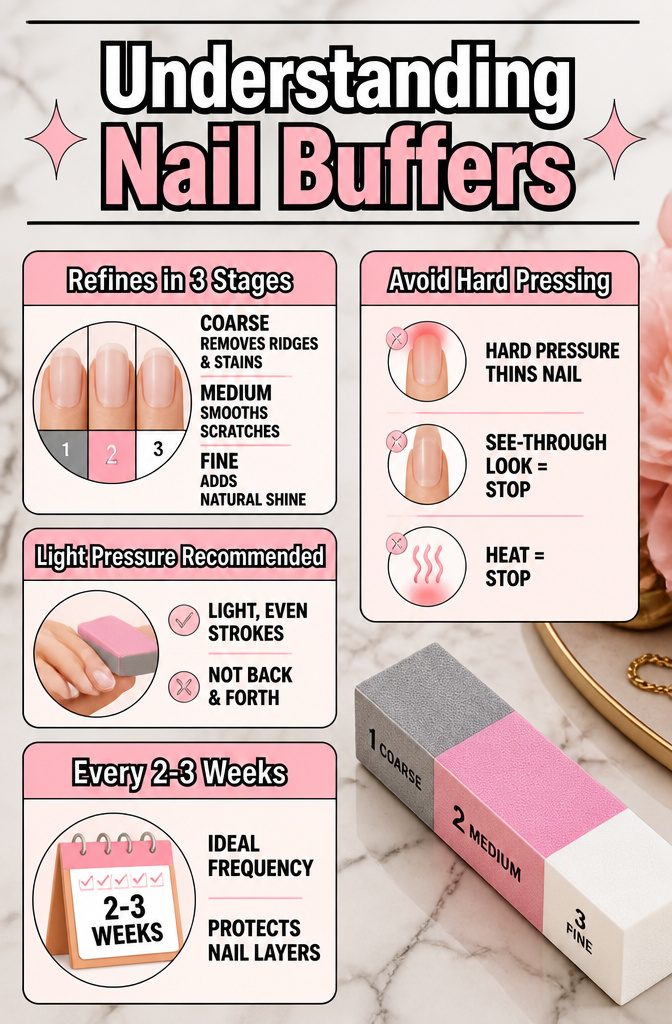
A nail buffer refines the nail surface in three stages, not one.
Each side carries a different grit level: the coarsest removes ridges and stains from polish buildup, the medium smooths out the scratches that first pass leaves behind, and the finest compresses the top layer to a polish-free shine.
Used in order, the three surfaces gradually refine rather than strip.
The pressure matters as much as the order. Light, even strokes in one direction protect the nail plate; pressing hard or sawing back and forth thins the nail and raises the risk of splitting.
I learned to watch for heat or a see-through look, both signs to stop immediately.
For most nails, once every 2 to 3 weeks is the right frequency. More often removes the protective layers faster than they recover.
After a full pass through all three sides, which typically takes under ten minutes, the nail surface stays smooth enough that the shine side alone can maintain the finish between full sessions.
Grit Levels and Materials
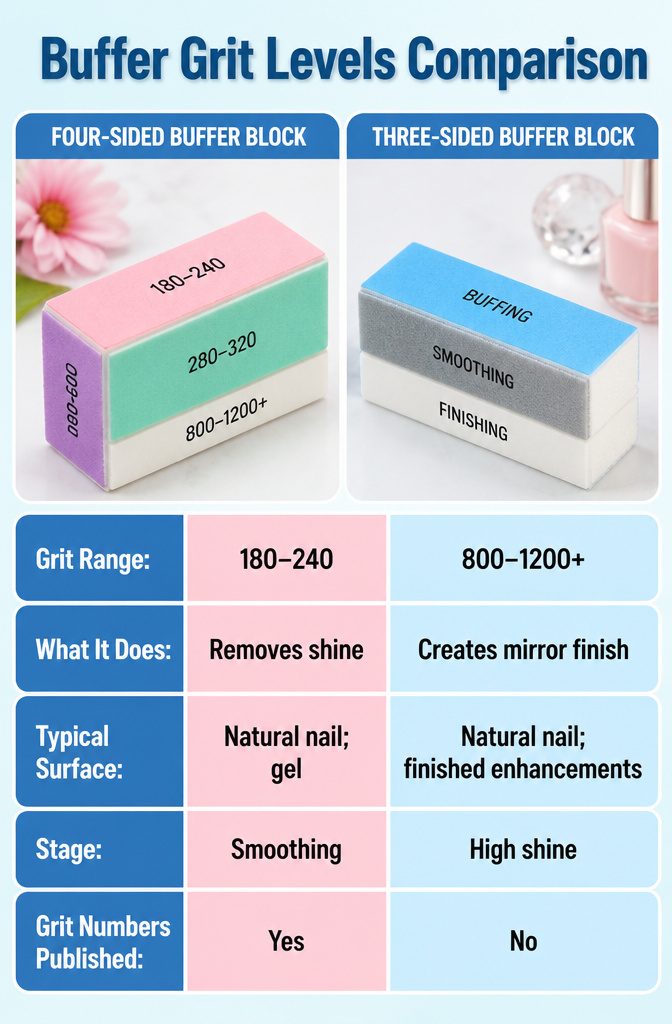
Buffer grit starts at 180–240, which removes surface shine and levels minor ridges, and runs past 800 for a friction-based mirror finish that takes off almost no material.
What sits between matters if you plan to use all four sides of a block rather than skipping to the end.
| Stage | Grit Range | What It Does | Typical Surface |
|---|---|---|---|
| Smoothing | 180–240 | Removes shine; preps nail for product | Natural nail; gel |
| Refining | 280–320 | Smooths scratches from prior stage | Natural nail; enhancements |
| Polishing | 400–600 | Creates initial surface shine | Natural nail; enhancements |
| High shine | 800–1200+ | Mirror finish; material removal minimal | Natural nail; finished enhancements |
Three-sided blocks fold this into fewer steps. A block I looked at recently ran blue for buffing, gray for smoothing, white for finishing, with no published grit numbers on the tool itself.
That works fine until you replace one block with another brand and find the sequence differs.
Material affects how long a block keeps its tooth.
Foam-backed buffers soften and lose grit faster than padded boards. For home use this matters less than in a salon, but a four-sided block that collapses halfway through its shine step is a waste of the three stages before it.
How Often and How Hard
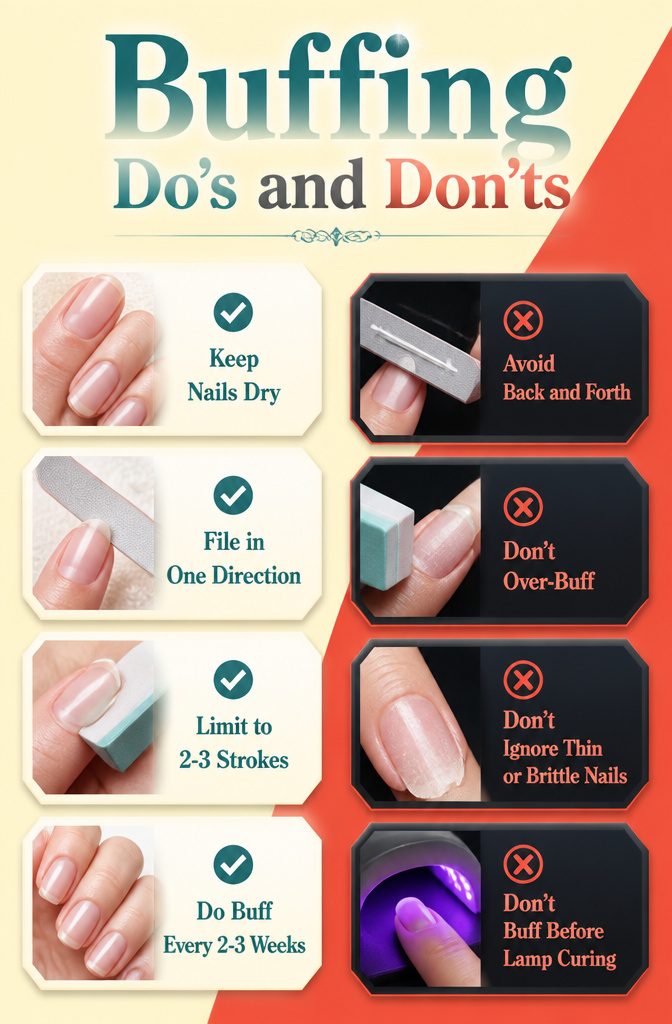
Buffing works best when the nail is dry, the file moves in one direction, and the pressure stays light.
Dragging the grit back and forth is the mistake that thins the plate, so I stroke from the base toward the free edge with the same gentle pass used on polishing a car, not sanding a floor.
Two to three strokes per side is enough for most nails.
Every two to three weeks is the safe limit for a full buff-and-shine cycle.
More often strips the protective layers faster than they grow back, and over months the damage shows: the nail bends under light pressure, feels hot during lamp curing, or turns so see-through the free edge looks like frosted glass.
Monthly or less is the safer choice if the plate is already thin or brittle.
The payoff when you get the rhythm right is real. Ridges flatten, flaking smooths out, and the final side leaves a gloss that catches light without a drop of polish.
Most polishes grip better too, since the same even surface that shines also gives the lacquer something flat to hold onto.
Buffer Care and Replacement
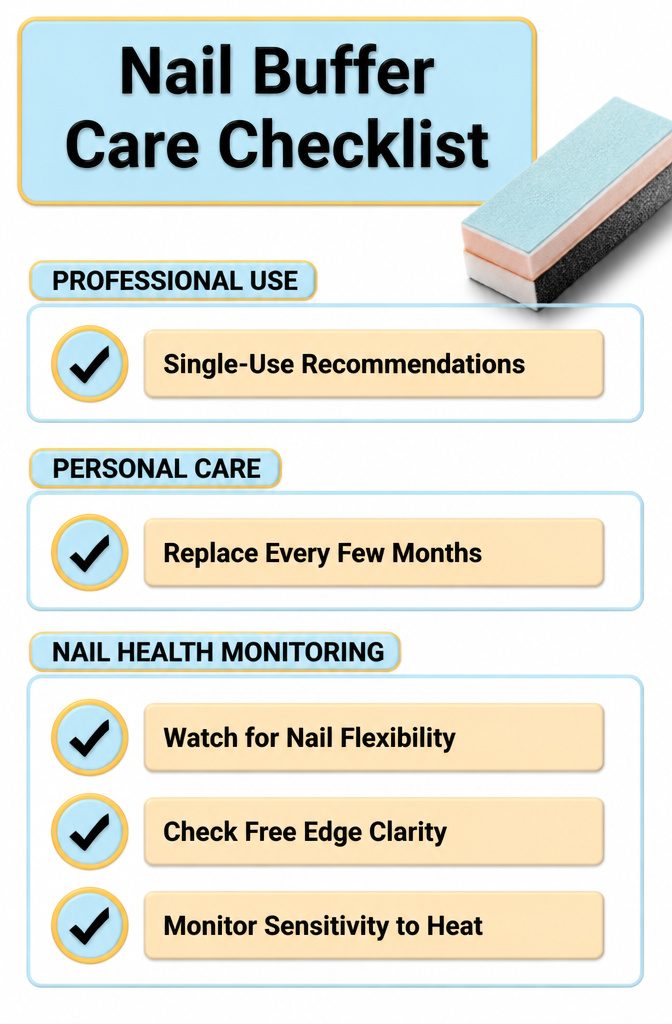
A buffer in a professional setting collects nail dust, debris, and skin cells with every pass, which is why single-use disposal is the standard in salons to prevent cross-contamination between clients.
For personal tools, the same buildup happens more slowly but still matters, so replacement every few months beats any attempt at deep sterilization.
Over-buffing announces itself before real damage sets in if you know what to watch for. The nail plate gains an unsettling flexibility and bends under light pressure where it once felt firm.
A see-through quality at the free edge means the layers are too thin to shield the nail bed properly, and sensitivity to heat during lamp curing is a late signal that the surface has been stripped past its tolerance.
When any of these appear, stop buffing entirely and let the nail grow out. I resisted this once and kept going for shine; the peeling that followed took six weeks to grow off.
Frequently Asked Questions
How do I know if I’m over-buffing?
Heat, unusual flexibility, or a see-through look at the free edge are the three warning signs to stop immediately.
The nail should still feel firm after buffing; if it bends under light pressure or looks translucent, you’ve removed too much of the protective plate.
Pause buffing entirely and let the nail grow out, since continuing will only lead to splitting and peeling that takes weeks to repair.
Is buffing safe for thin or brittle nails?
Buffing can be safe for thin or brittle nails if you limit yourself to the gentlest surface only and skip the coarse and medium sides entirely.
Light, even pressure matters more than repetition, and monthly or less is the safer frequency rather than the standard two to three weeks.
If the plate already bends easily or feels tender, focus on cuticle oil and hand cream instead of abrading the surface further.
Can a nail buffer remove stains from nails?
A nail buffer can lift surface stains from old polish or product buildup during the coarse buffing stage, but it will not reach deep discoloration under the nail plate.
Persistent yellowing needs a break from polish rather than more aggressive buffing, since trying to scrub out a stain with extra pressure or passes thins the nail and raises the risk of damage.
For surface staining, two to three light passes with the coarse side is the limit before moving on to smoother grits.