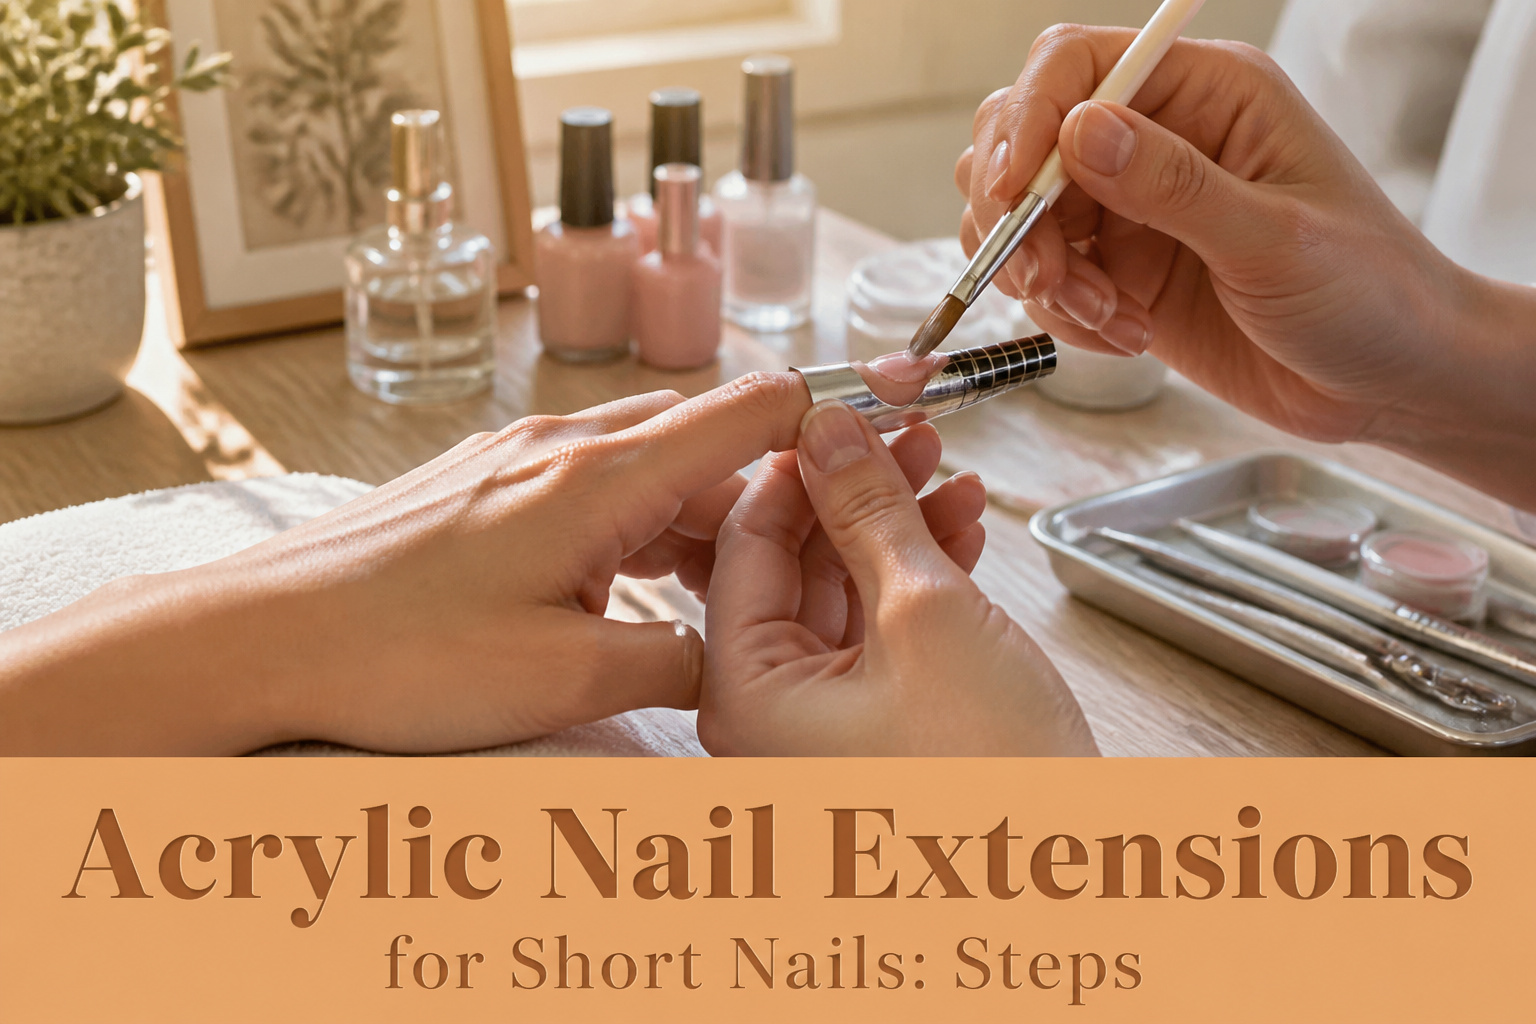
Acrylic nail extensions for short nails are sculpted enhancements built onto a natural nail with almost no free edge, using a metal form to create length where none exists.
The difference from longer nails is not just scale: short beds have so little surface area that a single skipped buff or dusty plate guarantees lifting within days, not weeks.
That is why the prep alone, pushing back cuticles to expose hidden nail plate and filing with 240-grit until every shine disappears, takes longer than the acrylic application itself.
1. Push Back the Cuticles
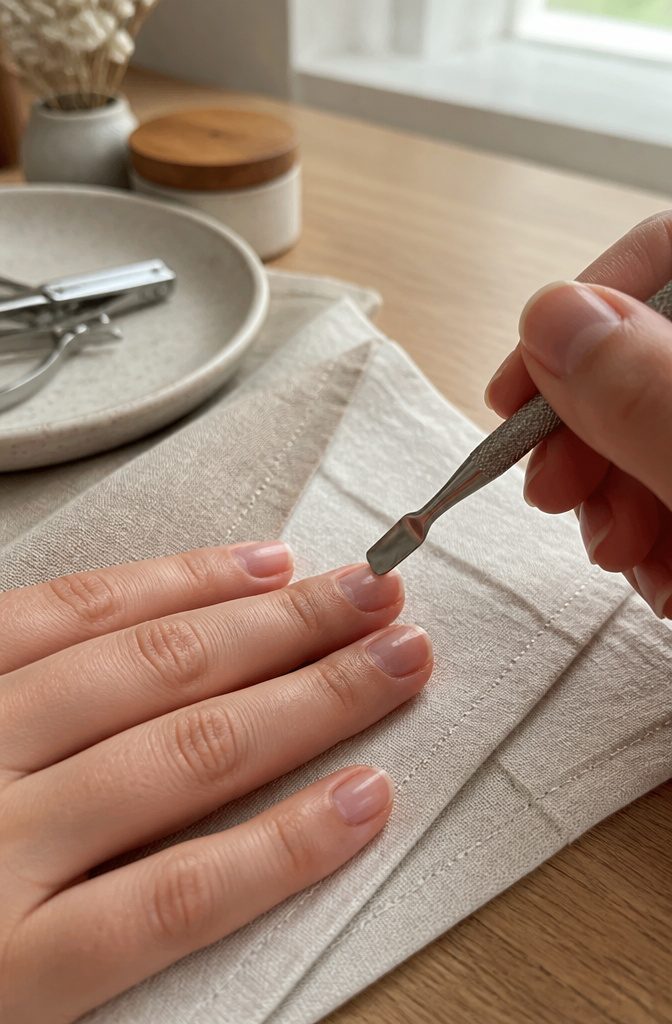
A cuticle pusher, the metal kind with the rounded spoon end, exposes the nail plate that short nails keep hidden.
I learned this looking at diagrams of the nail unit: the living tissue folds over the base like a seal, and that seal has to slide back to give the acrylic anything to hold.
Ten extra millimeters of surface changes everything when the free edge is basically a ragged line above your fingertip.
Pushing too hard is the mistake that breaks the work before it starts. The pressure should feel like smoothing a wrinkle out of silk, not scraping a label off glass.
You will see a thin, pale crescent of nail appear where pink skin used to sit. That crescent is your foundation.
Gentle, steady pressure from the center outward keeps the sidewalls intact and avoids the little tears that show up as lifted edges two weeks later.
Short nails have nowhere to hide a weak anchor point, so the cuticle work has to be precise enough that you would do it even if no polish followed.
2. Buff the Shine Off
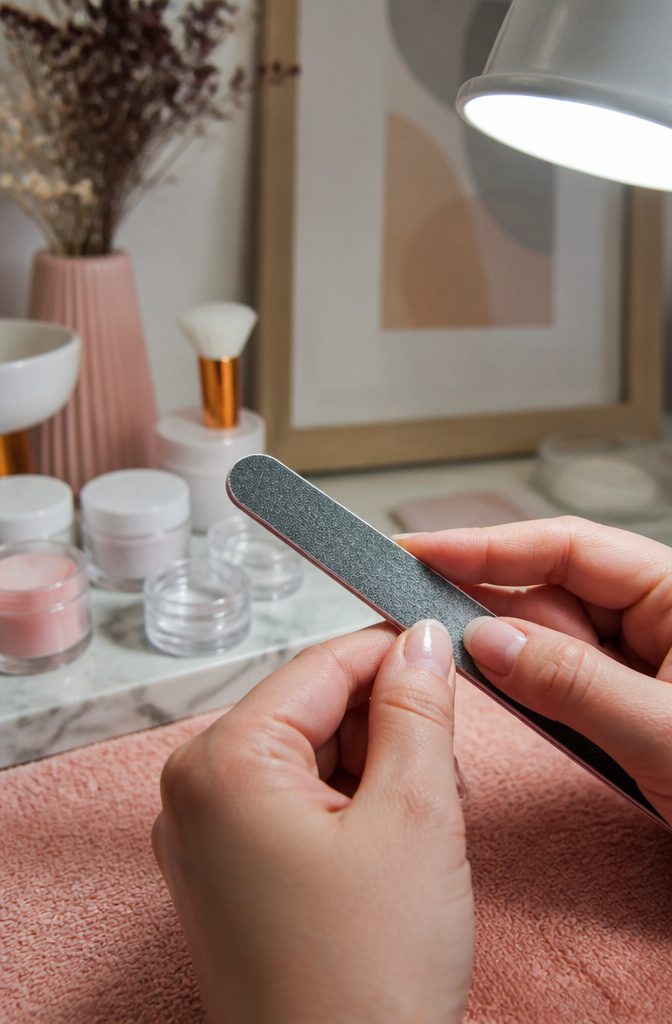
A 240-grit nail file takes off just enough to matter. I run it across the whole nail plate until the reflective surface turns matte, paying extra attention to the sidewalls and free edge where most people stop too soon.
Short nails make this step non-negotiable. Skipping the buff guarantees lifting within two to three days on a short nail bed, simply because there is less total surface area for the acrylic to mechanically grip.
The product has nowhere to anchor except what you intentionally roughen up.
I watched a dozen tutorials before filing my own nails for the first sculpt this way, and the ones that showed a quick swipe always ended with complaints about pop-offs.
The filing should take a full minute per nail, minimum. You want a uniform, fine-grained texture, not deep scratches; 240-grit achieves exactly that without thinning the plate underneath.
Check your work under direct light. Any shiny spot you can still see is a spot the acrylic bead will slide away from once pressure hits it during application.
3. Clean the Dust Away
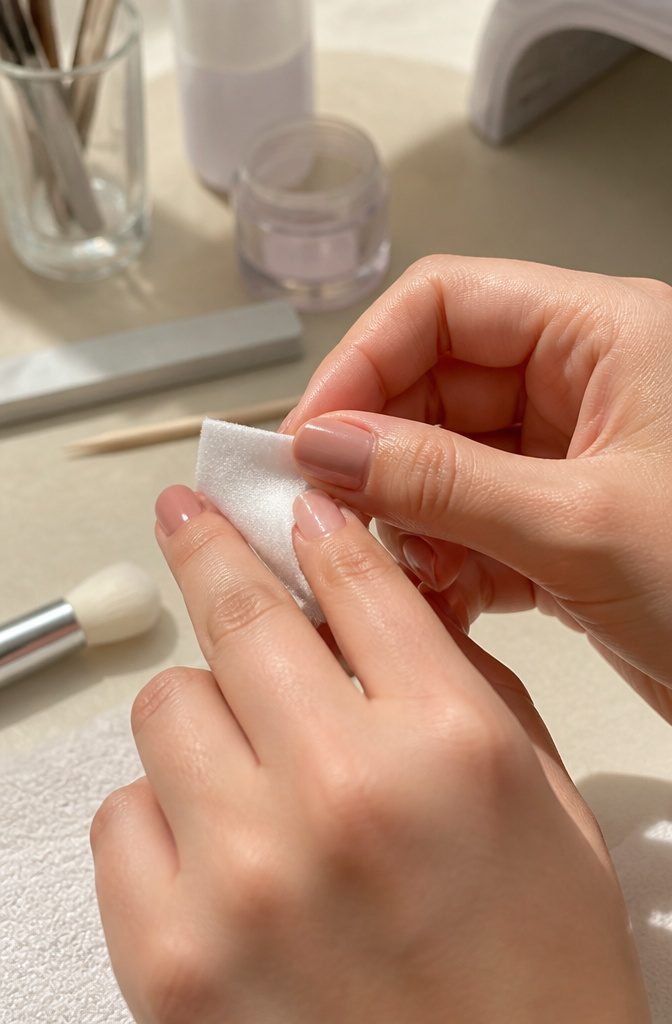
A layer of filing dust between the natural nail and the fresh acrylic is the fastest way to guarantee lifting within days.
Gel residue remover is the gentler option if your skin is already annoyed from all that filing; acetone gets the job done faster but adds another round of dryness to already stressed cuticles.
Lifted acrylic on short nails starts almost always with debris left behind, not with the bead or the form, because short nails have so little surface area for the product to grip in the first place.
Wipe with a lint-free pad held flat against the nail plate, stroking from base to free edge in one direction. Turning the pad over for each nail keeps you from pushing old dust back onto a surface you just cleaned.
One pass is rarely enough if you worked aggressively with the buffer; what convinced me, reading through a dozen of these tutorials, was how many skipped this check entirely and then blamed the acrylic mix for what was actually a prep fail.
The liquid that beads up under the enhancement turns cloudy first, then yellow, then gaps form at the sidewalls. At that stage the whole set has to come off, not just the one nail, because bacteria loves that pocket.
Short nails mean that pocket sits right against living skin, so the risk of irritation or worse is higher than with someone wearing full-length extensions.
4. Dehydrate and Prime
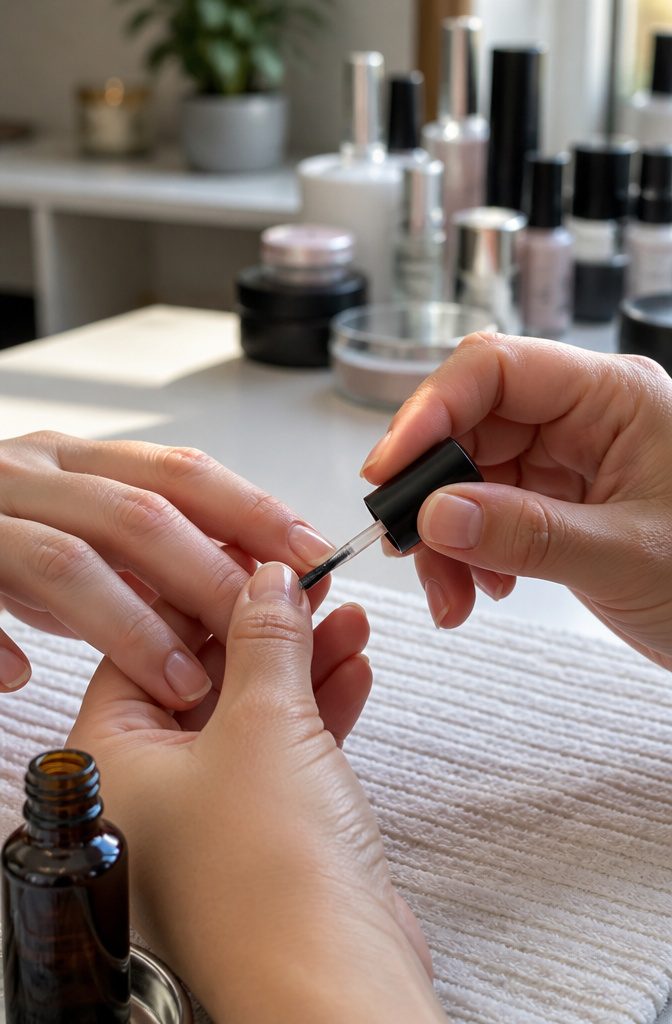
Short nails have less surface area to grip product, so moisture trapped underneath becomes the main reason acrylic pops loose at the sidewalls.
The dehydrator fixes this before anything else goes on. I run it across every nail and wait the full evaporating time the label gives; rushing this step leaves exactly the film primers are meant to bond to.
The acid-free primer gets two coats, and each layer does something different. The first coat sinks into the dehydrated nail plate and starts the mechanical bond.
The second coat builds a tacky surface the acrylic bead can lock onto. Acid-free formulas are the safer default; the passages mention switching to acid-based primer only after repeated lifting problems, not as a starting point.
Short nails lift hardest at the sidewalls because the free edge barely extends past the skin on either side. Product there is already bridging a gap between nail and form, with less natural anchor than a longer nail provides.
Two thin coats of primer, fully dry between each, close that vulnerability without the etching damage stronger acids would cause on such limited real estate.
5. Attach the Sculpture Form
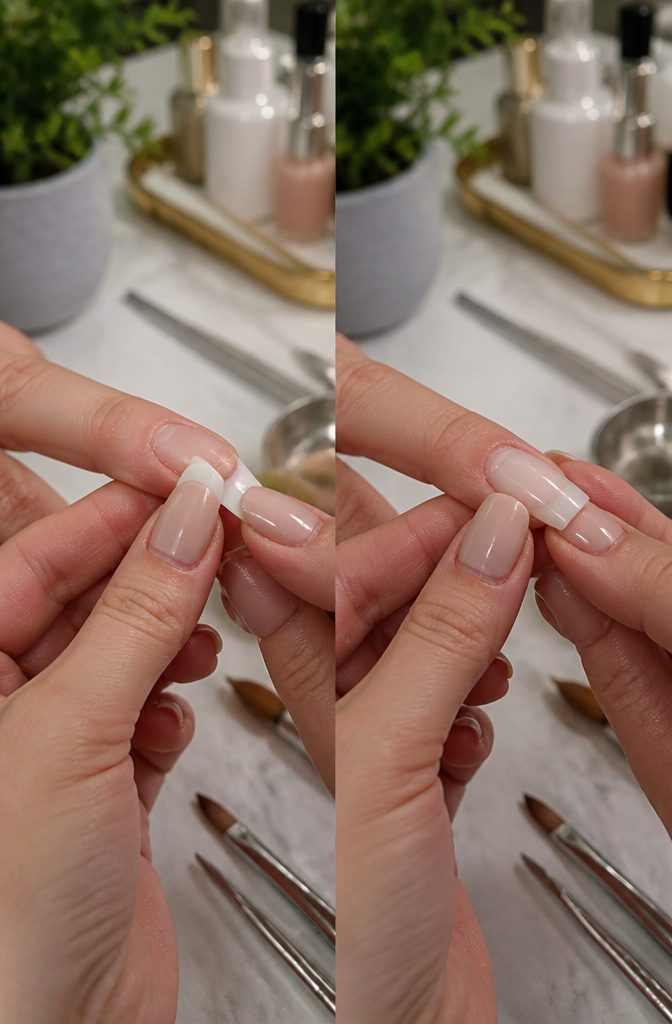
A sculpture form slid under a nail with almost no free edge wants to slide right back out, so the fit matters more on short nails than on long ones.
The goal is a seamless curve from your natural nail into the new extension, without the form covering the hyponychium, that exposed skin strip under the free edge. Pressure on that skin traps moisture and invites lifting later.
With barely any edge to tuck under, the form will sit less than a millimeter past the sidewalls. Slide it in at a slight downward angle, then rock it up until it meets the nail plate flush.
The center seam of the form should split the nail head-on; any twist will throw off the whole C-curve you shape later.
If the sides of the form bump into living skin before you can close it tight, a small snip along each wing lets you bring the edges corner-to-corner without overlap.
You will feel the difference between "close" and "sealed" when you press the tabs, and that seal is what keeps acrylic from seeping underneath.
Check the underside in good light. No gap should show between form and natural nail; a visible line means the form is riding too low and the finished nail will step down at the free edge.
6. Apply the Acrylic Bead
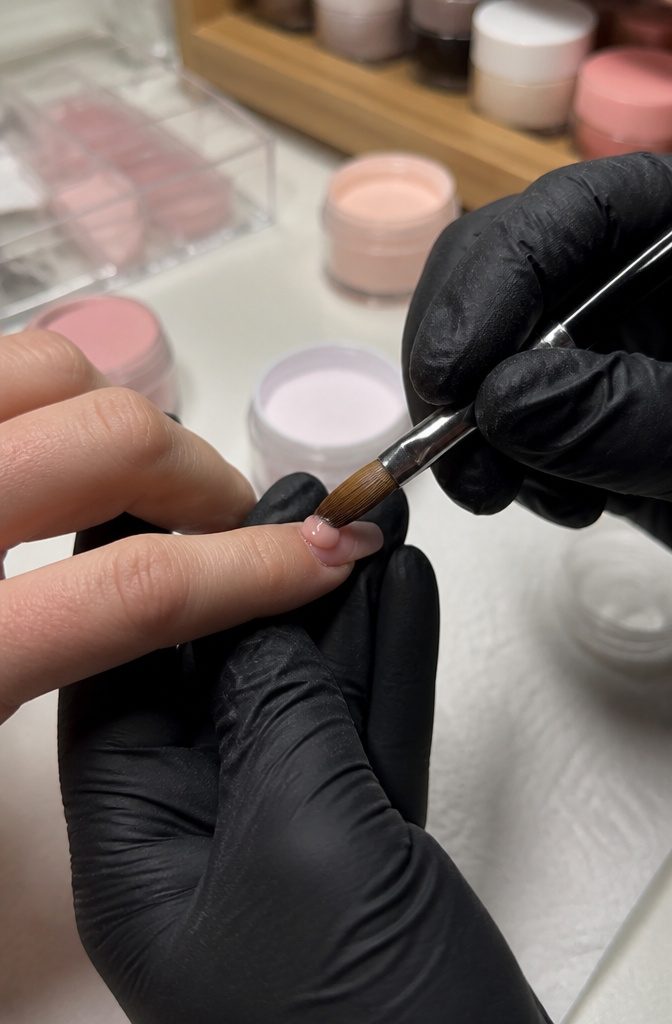
Getting the liquid-to-powder ratio right took me longer than I care to admit. Too much monomer and the bead runs like syrup into the sidewalls; too little and it sets before you can push it anywhere.
What finally worked was a wetter mix than the product label suggested, about the consistency of chilled honey that still reluctantly falls off the brush.
A medium bead should sit like a pebble, not a puddle halfway up the natural nail, roughly where a half-moon manicure line would sit on longer nails.
From that starting point, press down and back toward the cuticle first, then feather the remaining product forward onto the form with the belly of the brush.
The pressure matters more on short nails because the free edge barely exists to catch extra product.
Use the pad of the brush, not the tip, and keep the motion continuous; stopping mid-stroke traps air that later shows up as a milky spot between layers.
You will feel the resistance change when the bead seats properly against the natural nail. That resistance is the signal to ease off.
7. Pinch the C-Curve
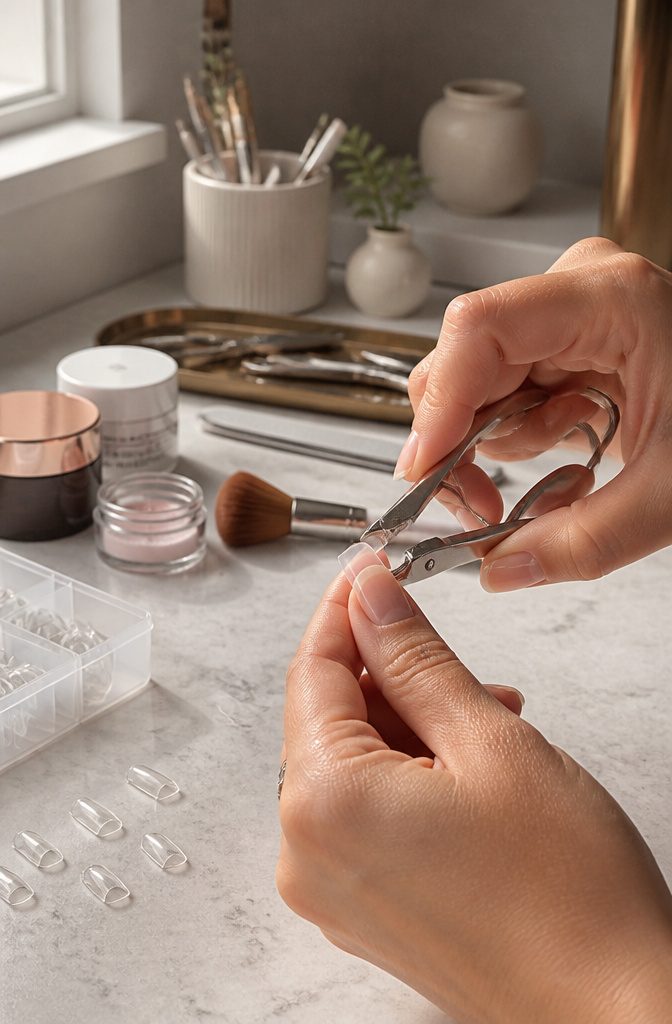
A short nail bed leaves barely any surface for product to grab, which is why the extension still needs real structural support after the acrylic bead has been shaped.
The pinch is the move that adds that strength. Once the acrylic has dried to that in-between stage, still bendable but no longer sticky, I clamp a pinch tool across the widest part of the nail.
Pressure at that point draws the sidewalls inward, forming a C-curve that runs from the cuticle area to the free edge.
The narrower profile makes the nail look less wide and flat, but more importantly, the curved walls act like a shallow arch, distributing force so the extension resists cracking at the stress point where the natural nail ends and the added length begins.
Timing matters more than pressure strength. Pinch too early and the product dents or shifts off the form; pinch too late and the acrylic has already locked into position and will crack rather than bend.
The sweet spot is usually two to three minutes after the bead goes down, when the surface is matte and cool to the touch but still yields slightly if pressed.
On a very short nail, the pinch point sits closer to the cuticle than it would on a longer foundation, so I position the tool a few millimeters back from where the free edge begins, not at the center of the extension.
8. File and Shape
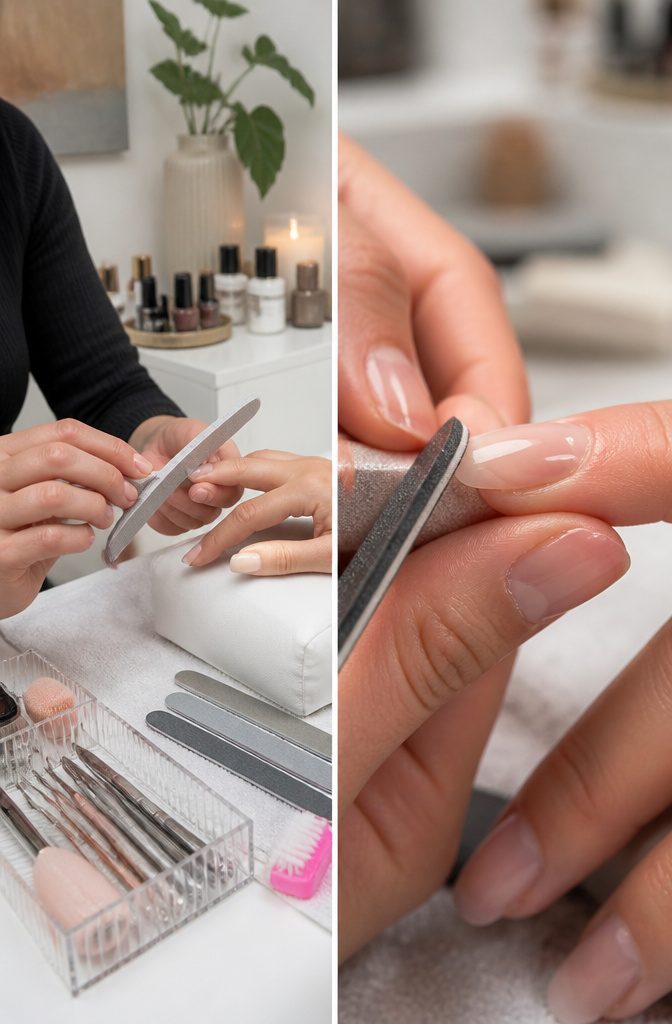
Once the acrylic has set, slide the nail form free and take a look at what is underneath.
The shape you file now is what the client or your own hands will live with for weeks, so restraint pays off more than muscle.
Start with an 80-grit file for coarse shaping, working the sidewalls and free edge before touching the top surface.
Short natural nail beds mean thin sidewalls underneath that extension; if you file aggressively across them, you risk filing through to the natural nail and creating weak points that crack later.
The 80 grit removes bulk fast, which is its job, but the sidewalls are where it does damage fastest than you notice.
Switch to a 180-grit file for normal smoothing once the architecture is close.
This go-around evens ridges and softens scratches without eating unnecessary material. One pass too many with either grit, and a short nail that started with almost no free edge suddenly has a paper-thin wall that will lift by day four.
The 180 grit is forgiving, but forgiveness only goes so far against a sidewall that was barely there to begin with.
9. Clean With Acetone
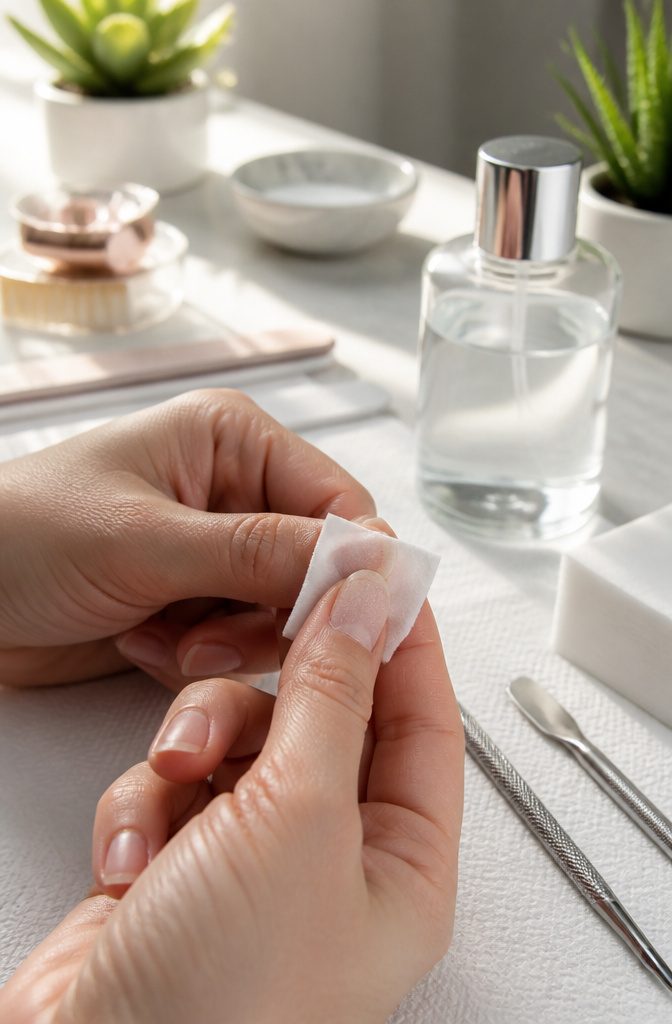
A white, chalky film on the nail plate after filing is the residue left from dust mixing with natural oils.
That film creates a barrier between the extension product and the nail, so pure acetone is the only solvent that lifts it completely without adding moisture back in.
I pour a small amount onto a lint-free wipe, not a cotton ball that leaves fibers behind, and scrub each nail with firm pressure.
The surface should look matte and slightly dry, almost felted, when the acetone evaporates. If any slick spots remain, I hit them again, because polish or acrylic will slide off those patches within days.
10. Finish With Polish or Art
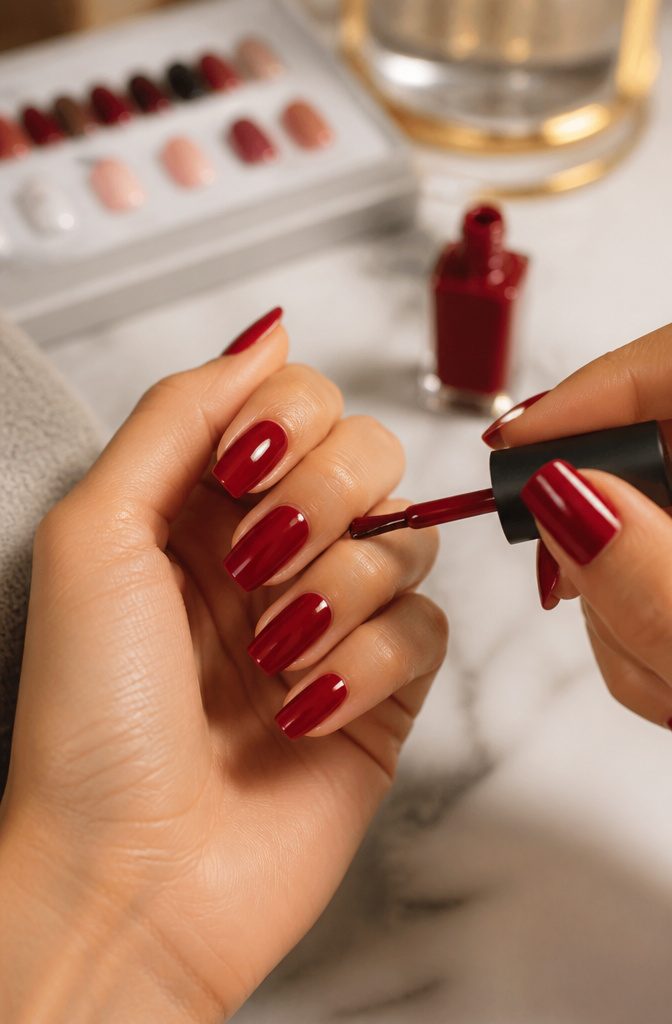
Acrylic builds a solid, even surface, but that thickness changes how polish sits on top.
When gel or lacquer glides over a thin natural nail, some transparency shows through; over extensions, the color reads opaque and saturated from the first coat.
That density means a slightly thicker polish layer works better than whisper-thin ones.
Two medium coats of gel or lacquer give truer color than three wispy passes that can streak or pool at the sidewalls. Built-up acrylic also highlights every brushstroke, so steady, slightly slower application pays off.
Finishing weight is a judgment call: a full-coverage neon or dark shade looks intentional even when thick, but nudes and sheers get artificial fast if the top layer tips into clumsy.
When you are unsure, swap heavy art for a thin metallic stripe or a single stud at the cuticle edge.** acrylic tips file down cleanly if the design starts to compete with the shape you just built.**
Keep art confined to the free edge or a small corner, and you will not need to restructure the whole nail to change it in two weeks.
Nail Preparation
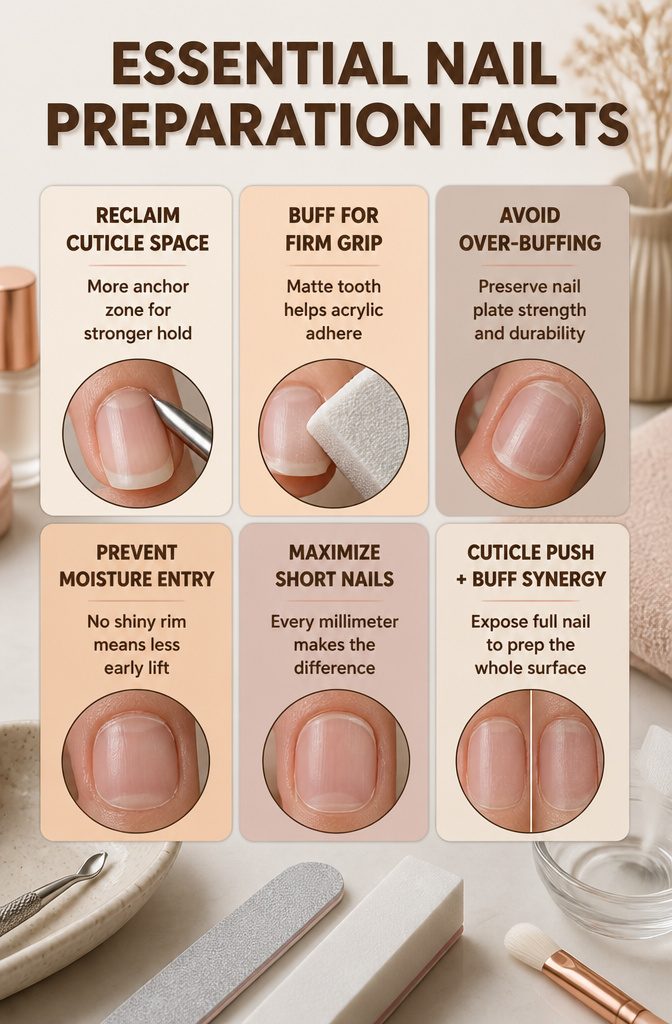
Short nails leave almost no room for a rushed prep job.
What convinced me, watching tutorial after tutorial, is that pushing back cuticles and buffing the surface work as a matched set: the first step buys you literal millimeters of anchor zone, and the second turns that zone into something the acrylic can actually hold.
Skip the cuticle push and the product lands on living skin.
That lift starts early and ends in a pop-off. On long nails, you might get away with a sloppy margin because there’s more plate to grip.
On short nails, you’re working with the bare minimum, so the space you reclaim from cuticles is the space your extension lives or dies on.
Buffing matters just as much, but over-buffing is the mistake I kept seeing.
Thin the nail plate and you weaken the only foundation you’ve got. The goal isn’t glassy smooth; it’s a matte, even tooth that gives the primer something to bite without stripping away layers.
These two steps also set each other up. A properly pushed cuticle exposes the full nail, so you buff the whole surface instead of stopping short and leaving a shiny rim near the skin.
That rim is where moisture sneaks in later. On short nails, that failure point sits closer to everything else, which means faster trouble when it goes wrong.
Acrylic Products and Kits
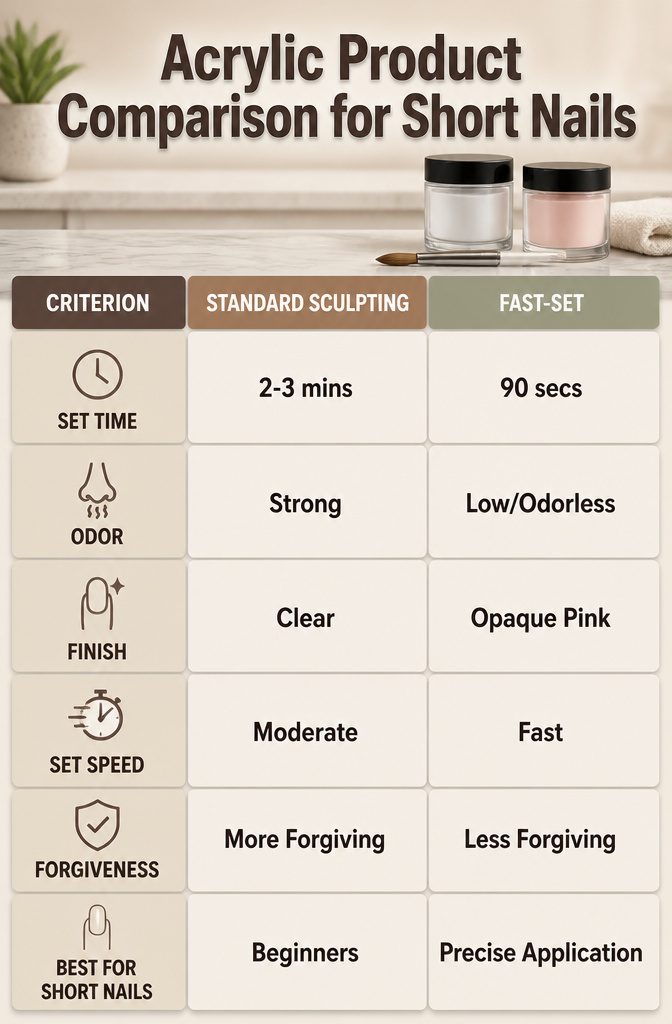
Acrylic powder divides into three main camps, and the one you pick controls how the whole appointment feels.
Standard sculpting acrylics set in roughly two to three minutes, which sounds forgiving until you are building a nail extension on a nubbin with no free edge to rest the form against. Fast-set formulas cure closer to ninety seconds.
That speed costs you forgiveness if the bead goes down uneven, but for short nails the quicker set actually helps; the product stiffens before gravity pulls it away from the nail plate while you are still bridging the gap.
Odor is the other split.
Traditional monomer carries that sharp salon smell that lingers in a home bathroom for hours. Low-odor and odorless versions exist, though they often set slower and can cure with a tacky layer that needs more filing.
For short-nail work I skip odorless entirely; the slower set time makes it harder to build a clean arch on a tiny base, and the extra filing undoes the whole point of keeping things neat.
Clear powders versus pink or white come down to what finish you plan to wear.
Clear acrylics let the natural nail show through if you are doing a sheer or French look later. Their downside is that every imperfection in your application is visible.
Opaque pink or natural powders hide flaws but limit you to solid colors on top. A smaller bead works better on short nails regardless, since there is less surface area to absorb bulk.
I keep a fine-grained clear and a medium-cover pink on hand; between the two I can handle whatever length I am starting from.
Tools Required
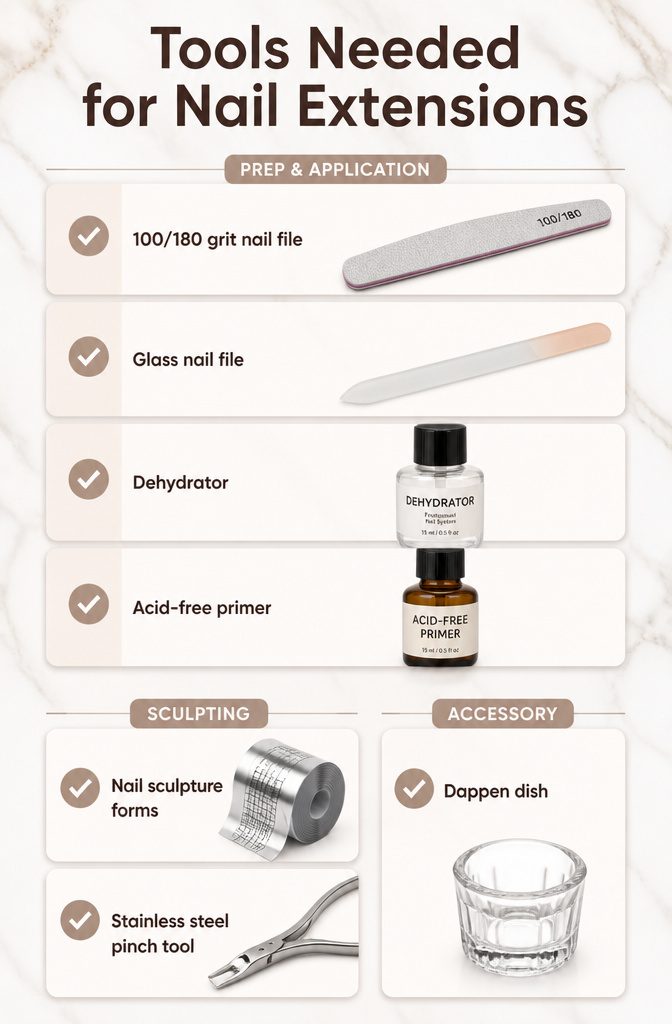
Nail extensions for short nails only work if your tools are actually up to the task. A worn file or dried-out primer ruins the whole set before you even open the acrylic.
Here’s what sits on my desk every time:
- A 100/180 grit nail file, replaced every three or four full sets. The 180 side shapes without shredding the natural nail underneath, which matters more when there isn’t much free edge to spare.
- A glass nail file for finishing. Mine is going on four years.
- A dehydrator — I go through a bottle in about six months. On short nails, surface oils left behind cause lifting right at the stress point where the extension starts.
- Acid-free primer. Same bottle for two years; three thin drops per nail means it lasts.
- Aluminum nail sculpture forms. The heavy ones hold their shape when you pinch. My set is five years old and dented but still flat where it counts.
- A stainless steel pinch tool. It forces the C-curve while the acrylic is still movable, something clips can’t manage on short beds where the form sits closer to the cuticle.
- A dappen dish. Doesn’t wear out. I use a small glass one so I can see contamination.
Replacing files and dehydrator on schedule costs maybe $25 a year. The rest is a one-time buy that outlasts every kit on the market.
Frequently Asked Questions
How do I apply acrylic nails on short nails?
Start by pushing back cuticles to expose the nail plate, then buff the shine off with a 240-grit file for a full minute per nail.
Clean away dust, dehydrate the surface, and apply two thin coats of acid-free primer before attaching a sculpture form and placing the acrylic bead where a half-moon line would sit.
Pinch the C-curve two to three minutes after application to add structural strength, then file, clean with acetone, and finish with polish.
What products do I need for nail extensions for short nails?
You need a nail dehydrator, acid-free primer, acrylic powder, and a nail sculpture form as the core products. A 240-grit file for prep, a 100/180-grit file for shaping, a glass file for finishing, and pure acetone for cleaning come next.
A stainless steel pinch tool forces the C-curve while the acrylic is still movable, which matters more on short beds where the form sits closer to the cuticle.