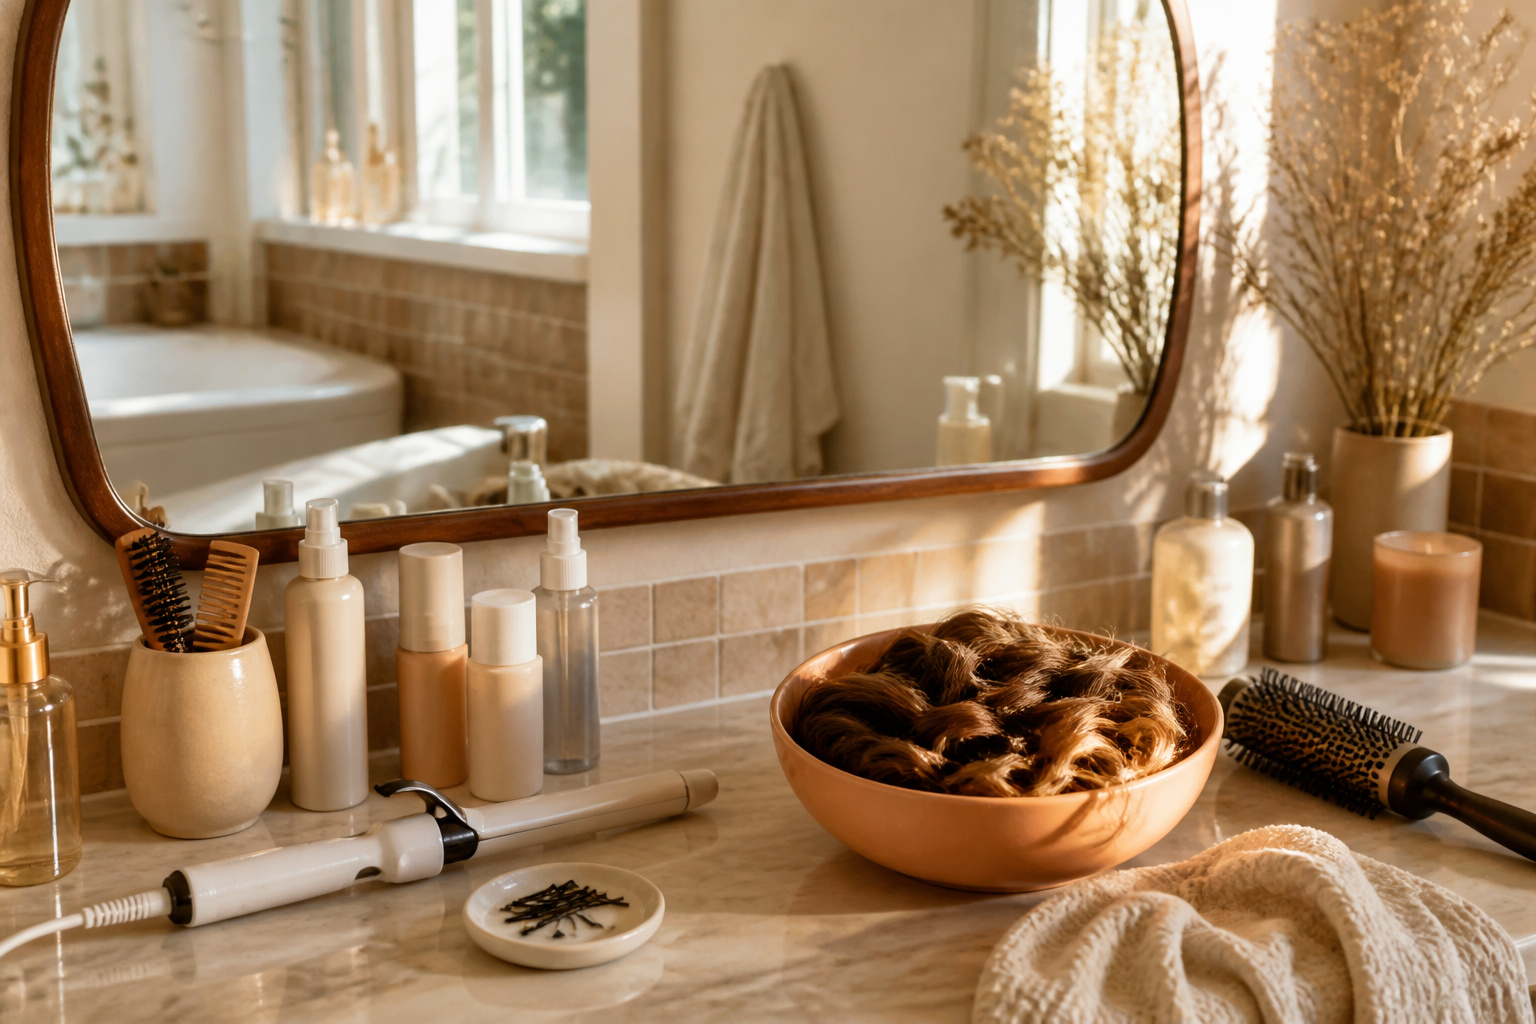
Curls that last through the day take either overnight patience or the right heat technique, and most people lose them by noon because they rushed the prep wash. Dry or stripped hair tightens up and fights whatever styling comes next, while five extra minutes of conditioner on the ends changes how the whole routine behaves. The difference between a curl that holds and one that drops is usually that first step, not the iron or the rollers you chose later.
1. Moisturizing Shampoo and Conditioner
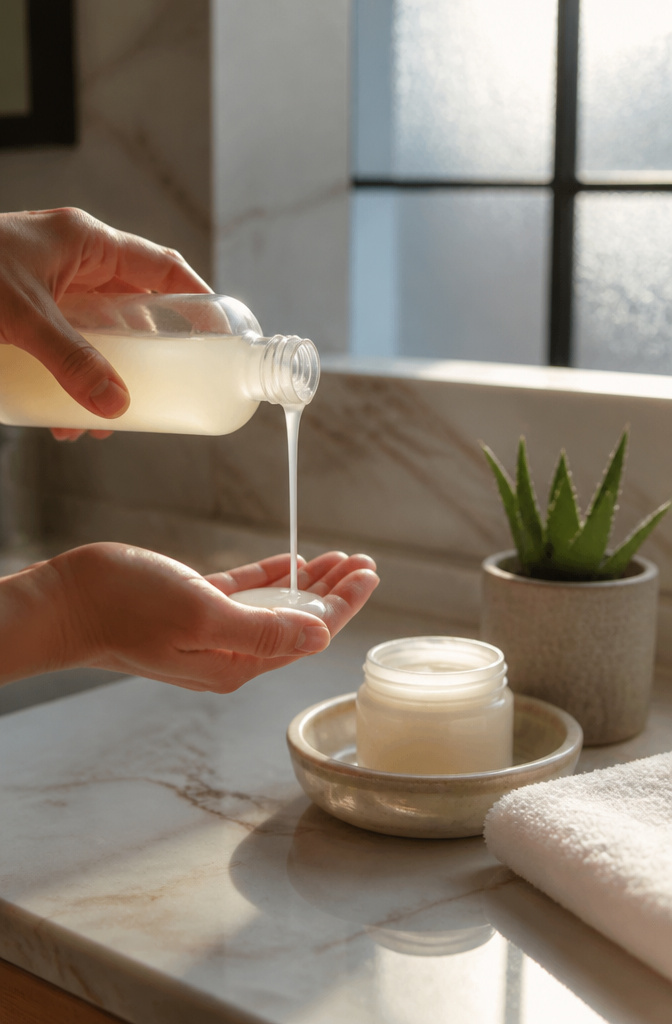
Flat hair that refuses to hold a curl usually starts with a moisture problem. When strands are dehydrated, they tighten up and resist whatever styling method comes next, so the prep wash matters as much as the technique itself. Hydrated hair accepts styling better because the cuticle layer lies smooth and pliable instead of brittle and springing back straight.
What convinced me, reading through a dozen of these routines, is what happens when people skip this step. Dry shampoo buildup or a clarifying wash strips away the flexibility that curls need to set.
Look for formulas that list water or aloe near the top of the ingredient list, followed by a butter or oil heavy enough to coat but not so heavy that it weighs hair down before you even start. Skip anything with sulfates on this particular wash unless your last product was silicone-heavy and you need a reset. The goal is soft, almost slippery hair while wet, not squeaky.
I have seen prep washing described as the step people rush through fastest, and that reads as the most telling mistake. Five extra minutes of conditioner sitting on the ends while you finish showering costs nothing and changes how the rest of the routine behaves.
2. Leave-In Conditioner for Heat Protection
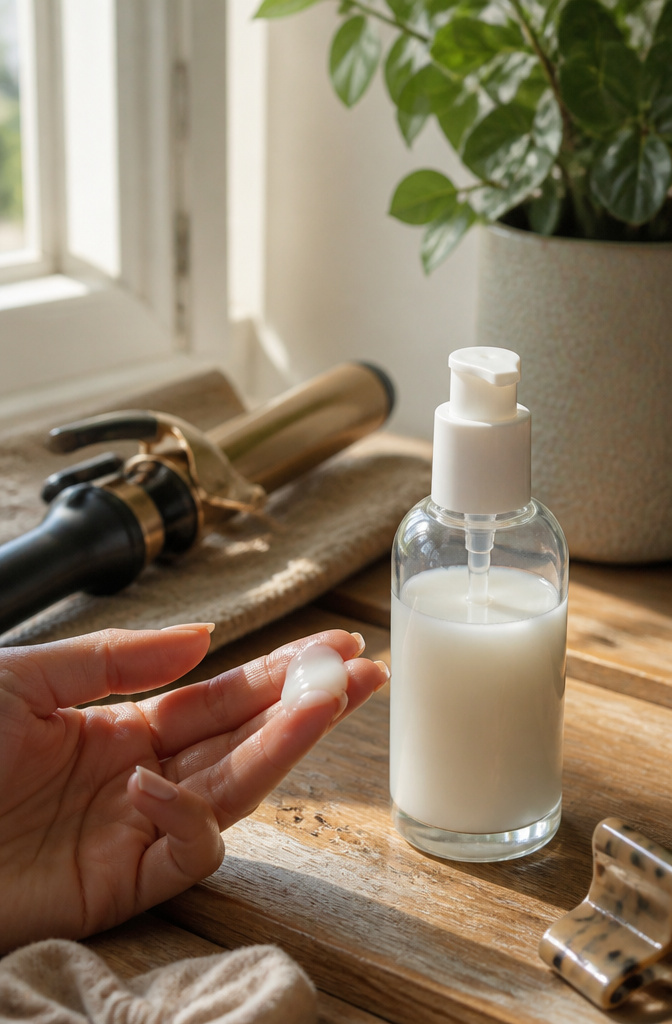
Leave-in conditioner sits between wet hair and any hot tool that touches it, and skipping that layer is the fastest way to turn an attempt at curls into a cloud of regret. I learned this the winter my ends started snapping off mid-shaft after regular curling-iron sessions; the breakage showed up as a frizzy halo that no amount of serum could smooth back down.
A quarter-sized amount, maybe a little less if your hair is fine, gets worked through from the mid-lengths to the ends where the heat concentrates. The roots don’t need it; product that close to the scalp just flattens volume and leaves residue on the iron barrel. Concentrate on the last four to six inches of hair, the part that spends the most time against the metal and has the least natural oil traveling down to protect it. Comb it through with your fingers before you pick up any tool so the shield is even and the heat hits the product, not the strand itself.
3. Air Dry or Diffuse Wet Hair
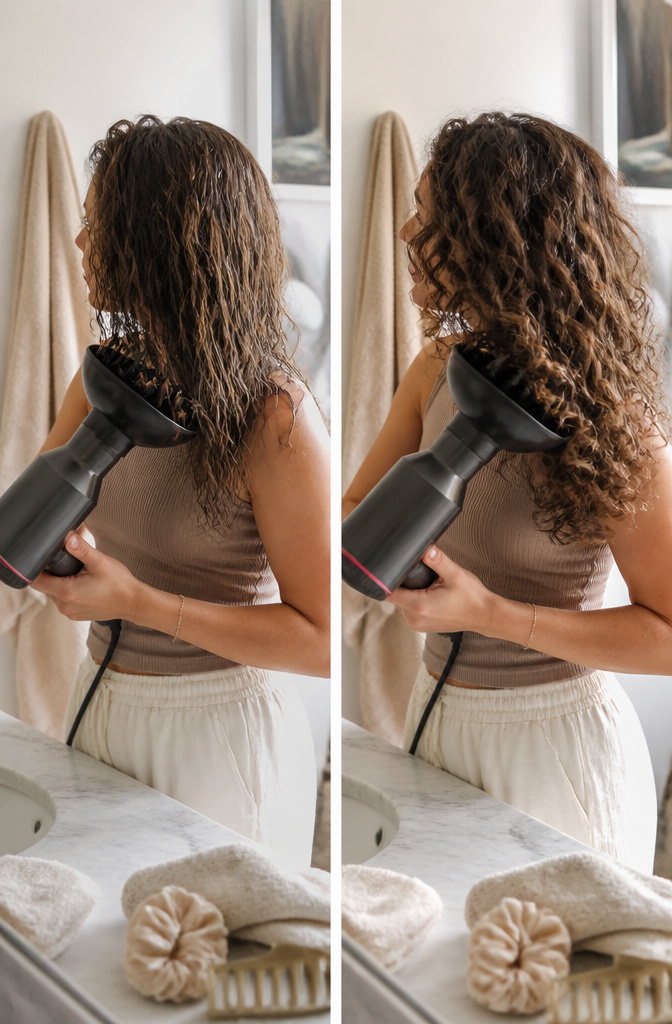
Air drying gives your hair the best shot at finding its natural pattern before any heat gets involved. The John Frieda method that worked for me was letting mine dry about [90% of the way on its own], then finishing with a diffuser on the lowest setting while cupping sections and scrunching upward. That last 10% with heat locks in shape without stealing what the air started.
For wavy textures especially, full air drying is the safer bet if you have time. Heat opens the cuticle and invites frizz into hair that already fights humidity. I cup and scrunch upward as it dries, which encourages the wave to coil rather than separate into stringy pieces.
When I am actually in a hurry, the diffuser saves the routine but only on low. High heat and high speed blast the cuticle open and leave you with cotton-candy texture instead of curl. The tradeoff is speed versus definition, and on my straight days the answer is neither: I air dry completely and skip the diffuser entirely, because the partial dry never holds anyway.
4. Curling Iron for Straight Strands
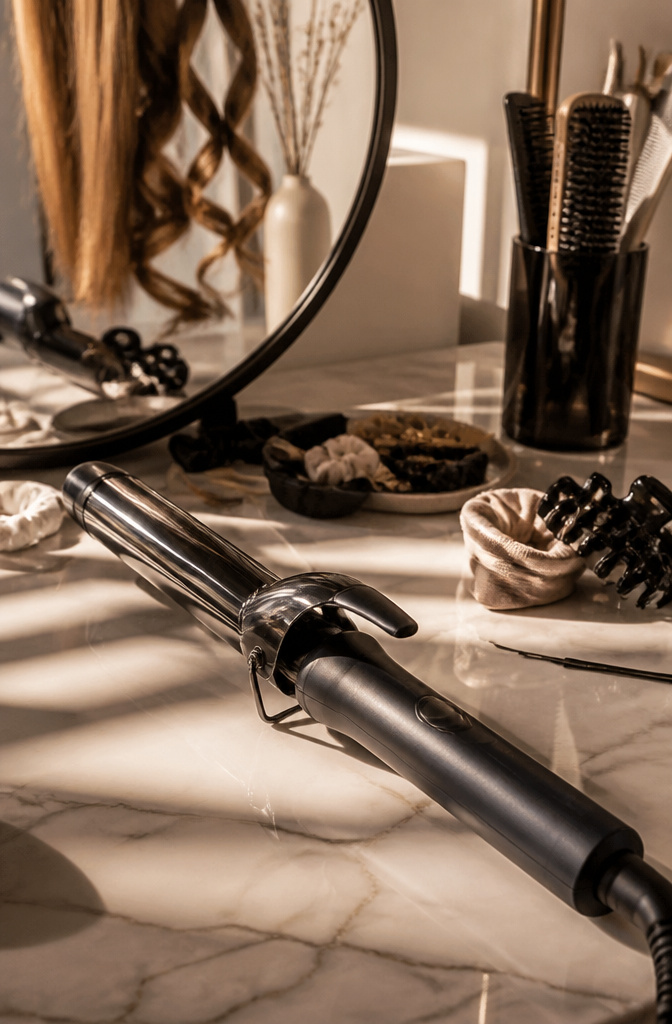
Some hair stays stubbornly straight no matter what the tutorials promise, and that is where a curling iron steps in. The barrel should be slightly smaller than the curl you want, since curls loosen once they cool. A one-inch barrel gives a soft wave by afternoon that started as a tighter ring at the mirror.
Temperature matters more than I expected. Fine hair needs less heat than thick or coarse strands, and the damage shows in split ends before it shows in the mirror. Sectioning is what separates the finished look from a lumpy mess. Clipping the top layers out of the way and working from the nape upward keeps the pattern consistent, because the hair underneath sets the shape everything else builds on.
My own mistake has always been timing. Holding the iron for fifteen seconds felt cautious, but eight is usually enough for fine hair, and ten to twelve for thick. Longer does not mean longer-lasting; it means fried. The same goes for tension. A grip too tight straightens the section before it can curl, so I let the clamp close lightly and roll from there.
5. No-Heat Curling Methods
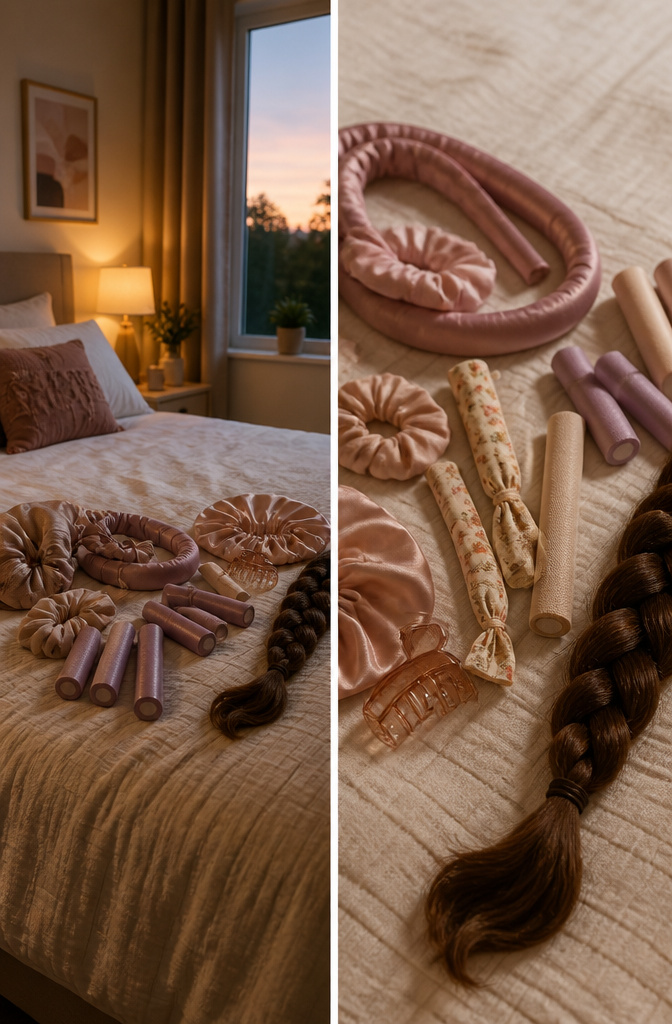
Foam rollers, rag rollers, braids, buns, and pin curls take time to set but spare the damage that hot tools leave behind. I work a curl-defining gel, spray, or mousse through damp sections before rolling or pinning. The product matters; without it, the style drops by noon.
Pin curls take the longest to set—overnight, in my testing— but they produce the tightest, most uniform ringlets. Foam rollers give a softer, more voluminous wave in six to eight hours if the hair is damp enough at the start, not soaking. Rag rollers sit somewhere between: gentler on fine hair than foam, but the curl loosens faster and the method eats more prep time since you are tearing and tying fabric strips around each section.
Braids are the laziest option and the most unpredictable. Two braids yield soft beach waves by morning; six small ones get closer to a spiral. The texture you start with changes the result more than the method itself. Straight hair tends to hold the braid wave for half a day; hair with any natural bend keeps it until the next wash.
Buns produce the weakest curl, more of a bend or a flick at the ends. Useful if you want volume at the crown and only a suggestion of movement below. I use them when I need something presentable by 7 a.m. and did not plan ahead.
6. Sea Salt Spray for Volume
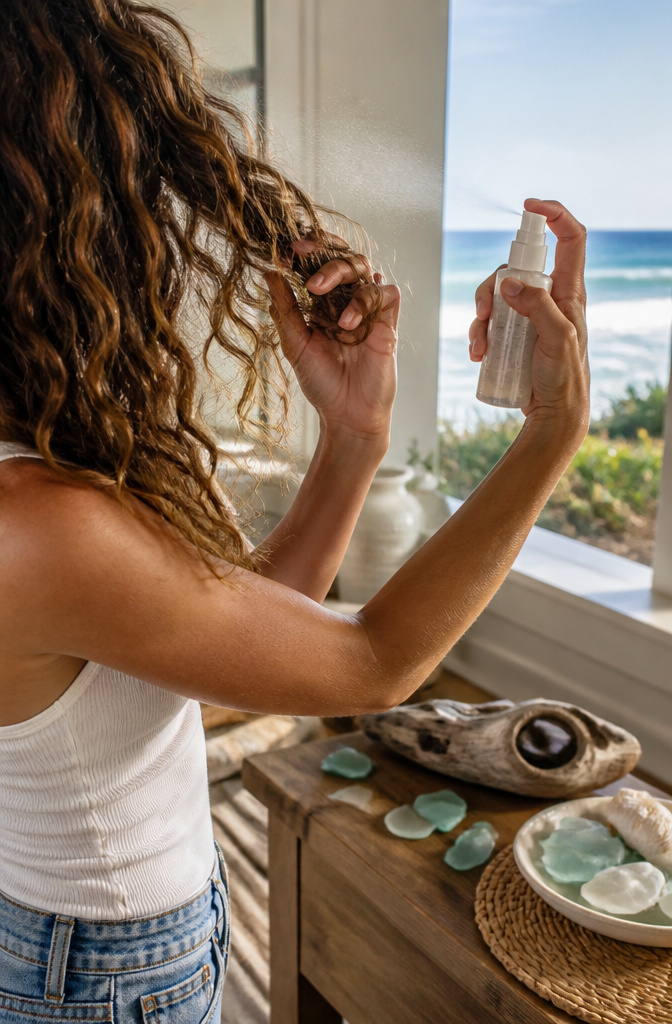
Sea salt spray sits right at the crossroads of lazy and intentional, which is why it took three failed wash days before the pattern clicked. The product builds lift by roughening the cuticle just enough for strands to hold shape against each other. Spritz it onto freshly curled or naturally wavy hair while scrunching upward, working it from mid-lengths to ends rather than soaking the roots. The hold feels light, almost like you forgot product entirely, until you notice your waves still have architecture six hours later.
Overuse turns that texture into something else entirely. Two extra pumps on humid Tuesday mornings taught me that lesson: hair starts feeling coated, then stiff, then brittle enough to catch on a sweater. The line sits at roughly five to six spritzes for shoulder-length hair, maybe two for a shorter crop. More than that and the salt pulls moisture back out faster than a good hydrating routine can replace it. Rinse and condition sooner than usual if you’ve crossed it.
7. Anti-Frizz Shampoo and Conditioner

Wavy hair that sits right on the edge of curl needs a different shampoo contract than the moisturizing lines most people default to. Standard moisturizing formulas load up on oils and butters that fight dryness on straight strands but can weigh down the looser wave pattern and leave it pulling flat by noon.
Anti-frizz shampoo and conditioner built for wavy textures swap that heavy oil load for humidity-blocking polymers and lighter silicones that seal the cuticle without smothering the bend. The real separation happens in ingredient ordering. Moisturizing lines lead with shea or coconut oil; anti-frizz formulas for waves put glycerin lower on the list and hydrolyzed proteins or dimethicone higher, so the hair gets enough slip to clump into defined sections instead of frizzing into individual strands.
The swap matters most at two points in the week: when humidity jumps above sixty percent, and when you are two days post-wash and the wave starts stretching out at the crown. Wash and condition once or twice a week with the anti-frizz pair, and the wave holds its spiral structure longer without the silicones building up enough to require a clarifying reset. If your bathroom mirror shows more puff than pattern by Tuesday afternoon, that is the moment the switch pays off.
8. Curl-Enhancing Styling Foam
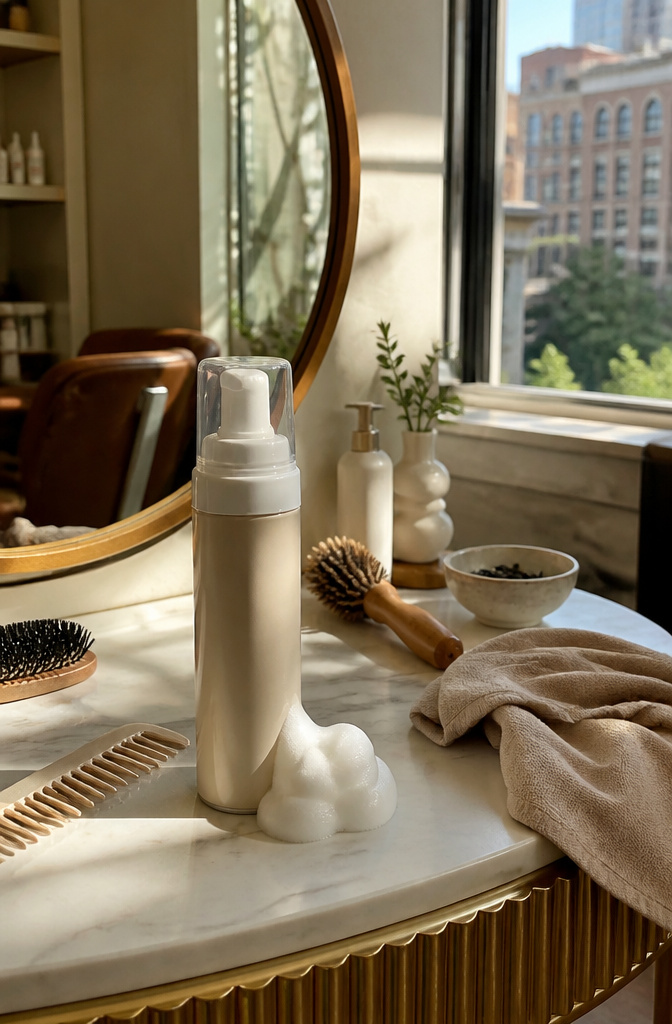
A curl-enhancing styling foam sits lighter on hair than mousse and spreads more evenly when you work it through with your fingers. The texture is airy, almost whipped, and it disappears into damp strands without the thick coating that can leave curls looking product-heavy. You want to finger-comb it in from mid-length to ends, then flip your head and scrunch upward in sections so the foam pushes against your natural pattern and encourages it to spring up.
Skipping this step means relying on whatever wave or curl your hair forms on its own, which usually lacks definition and starts frizzing as soon as humidity hits. The foam gives enough hold to keep the shape intact through air drying or diffusing, but it stays flexible, not crunchy. After using it, let your hair air dry rather than touching it while the curl sets.
9. Nourishing Hair Oil on Flyaways
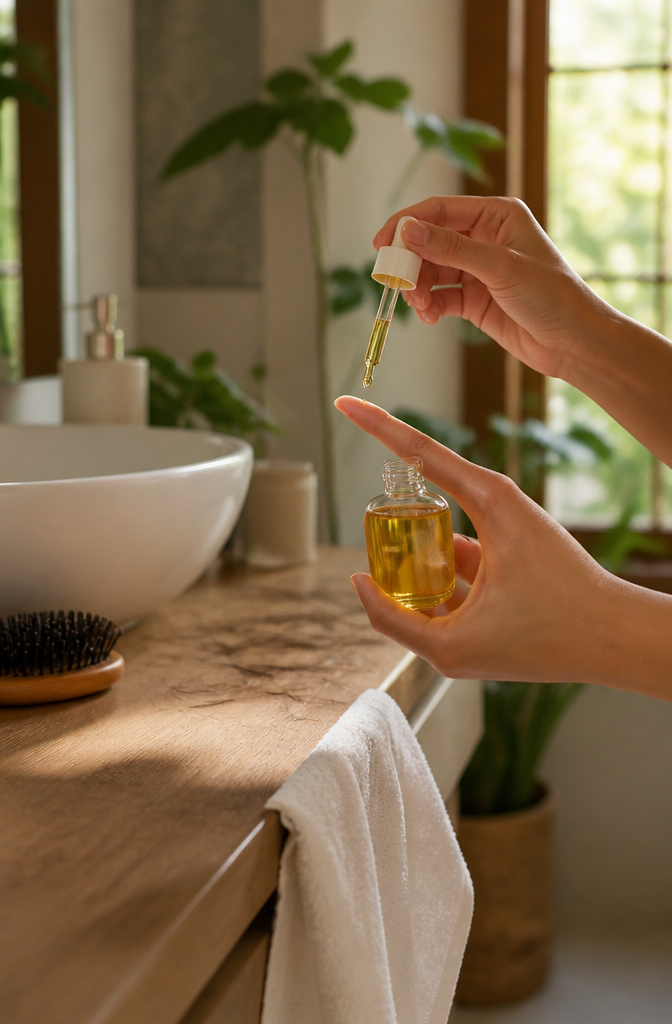
Flyaways are the first thing to betray a curl pattern that took twenty minutes to build. The right oil smooths them without flattening the volume underneath, but the amount matters more than the brand.
A drop too many turns the crown greasy by noon, especially where the scalp’s own oil already collects at the roots. Start at the ends, then work upward only until the surface calms; anything above the ears risks the slick look no one wants. Mid-shaft is usually far enough for flyaway control, and the hair keeps its lift at the scalp.
Weight separates the oils that work from the ones that suffocate. Fine waves and loose curls do better with something light, almost dry to the touch; coil-tight textures can handle richer formulas that would smother anything less dense. Trial and error taught me that difference the hard way, after a bottle of argan sat unused for a year.
The real test is day-two hair. Oils that look perfect on day one tend to grab dust and flatten by morning. A lighter layer, re-applied to spots rather than all over, keeps the finish consistent for an extra day of wear. Two drops warmed between your palms is the ceiling for most curl types; one drop if your hair is thin or your climate already runs humid.
10. Hairspray to Protect Styled Curls
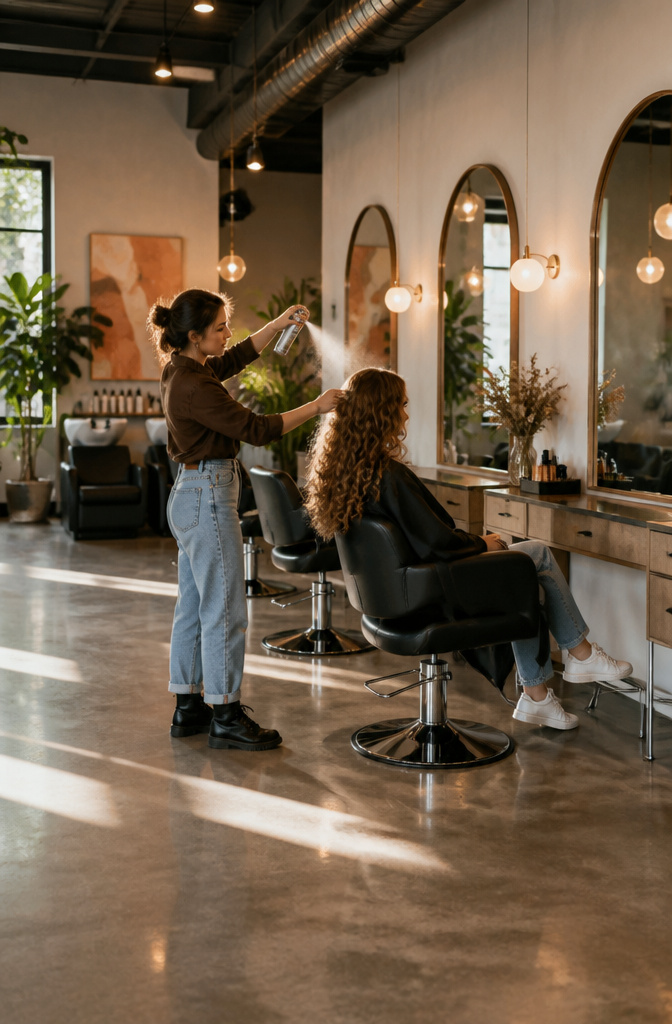
The last thing between your curls and a muggy afternoon is a mist of hairspray, and the hold level matters more than most people think when they grab whatever’s on the shelf. Light hold keeps movement but surrenders to humidity within a couple of hours; maximum hold can leave hair helmet-stiff by noon. Ten to twelve inches away from your head is the distance that matters; any closer and you’re gluing strands together, any farther and you’re perfuming the bathroom mirror.
I’ve learned the crunch-versus-movement tradeoff the hard way. A flexible hold sprayed at that distance dries into something you can still run your fingers through, while a firmer formula from the same distance locks the shape but risks that nineties-pageant stiffness. If your curls fall flat by lunch, the fix is usually a second light pass rather than one heavy drenching at the start.
11. Regular Trims for Healthy Curls

Trimming on a calendar instead of by what the hair is doing is how most people lose the spring they’re chasing. I book every ten to twelve weeks, which for my density keeps the ends from crossing that invisible line where damage becomes visible bounce-kill.
Split ends travel. Once the cuticle lifts at the tip, the fracture keeps creeping upward, and because curls coil back on themselves, a single split strand can hook into neighbors and matte a whole section into one flattened clump. The elasticity goes first; you’ll notice a ringlet that used to spring back now hanging in a stretched-out S that splits again by noon.
The consultation matters more than the frequency. Bringing in photos of how your curls sit on day two or three gives the stylist a working map of where the weight lives, not just where the damage ends. Ask for a dry cut, curl by curl, if the salon offers it; wet hair straightened under the comb hides the true shrinking pattern and leads to surprise length loss once it dries.
12. Curl-Defining Products and Air Dry
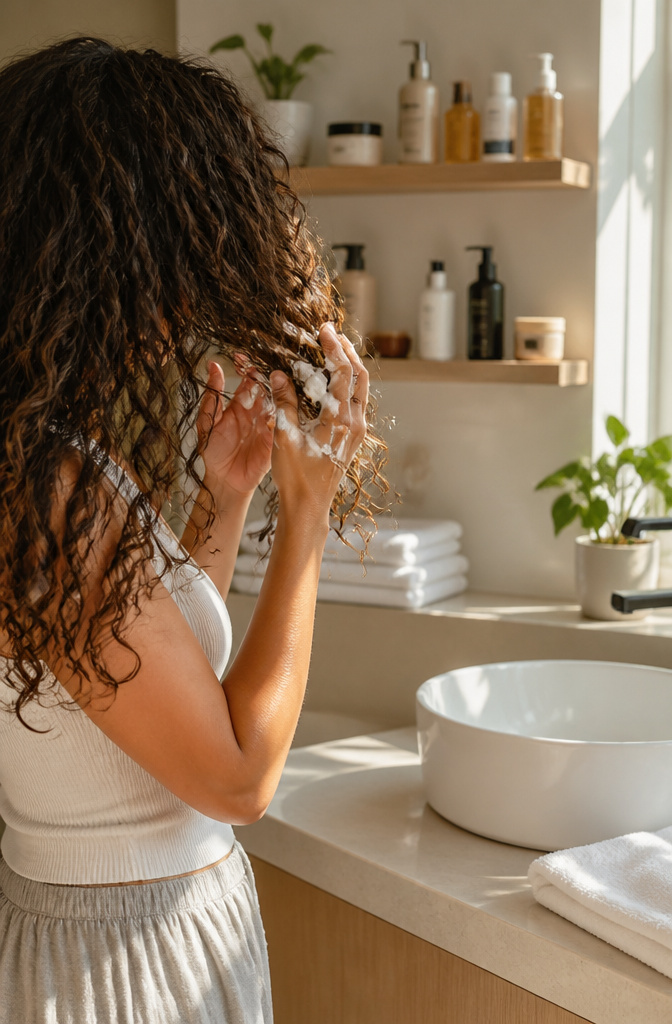
People who already have some curl in their hair get a much shorter path than the full twelve-step routine. Their work is mostly definition, not creation.
A curl-defining gel, spray, or mousse goes onto wet hair and gets scrunched in gently. Finger-combing a foam through does much the same job for pattern and frizz. Each curl gets a liberal coat, which sounds like too much until you remember how much moisture porous strands lose to plain air.
From there, blow-drying is the move to skip. Heat tools belong to the sections where straight hair needs convincing. Already-curly hair just needs time. Air drying preserves the shape you scrunched in without the damage or the decision fatigue of which attachment and which heat setting.
This path serves anyone whose hair forms real curls when wet but turns to fuzz or waves by noon. If you’re starting from straight strands, you still need the full heat-tool or no-heat methods earlier in the article. This is the maintenance lane, not the construction zone.
Moisturizing and Heat Protection
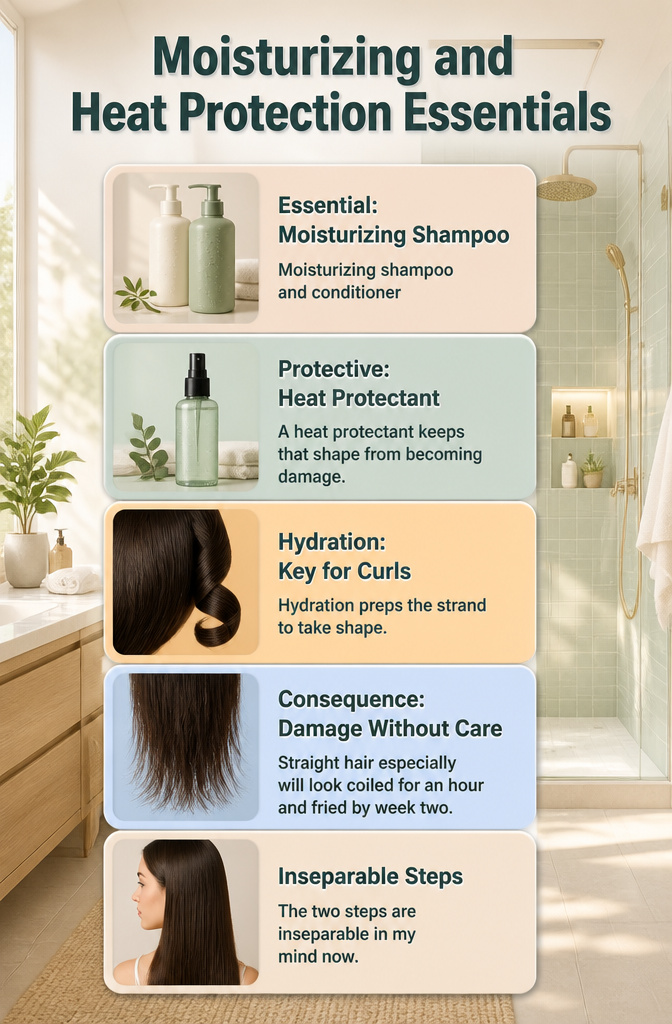
Skipping heat protection the first time I tried to curl my straight hair cost me about four inches of length by the next trim. Moisturizing shampoo and conditioner bought me back the flexibility to actually hold a curl without snapping, so the two steps are inseparable in my mind now. Hydration preps the strand to take shape; a heat protectant keeps that shape from becoming damage. The mistake most people make, me included, is treating them as separate decisions, like you can bargain with one and not the other. Straight hair especially will look coiled for an hour and fried by week two if the moisture layer underneath is thin.
Frizz Control in Humidity

Humidity pulls moisture into the hair shaft faster than any other weather variable, which is why a serum applied to soaking wet hair works as a seal rather than a catch-up. The dime-sized amount the bottle recommends is enough for shoulder-length curls; my mistake was treating it like a finishing step on dry strands, where it sat on top and turned greasy by noon. Proper layering means serum goes on between rinse and towel, so the cuticle closes around the product instead of around airborne moisture. I wash once or twice a week with an anti-frizz shampoo and conditioner, but the anti-humidity step only holds if the timing hits that window when hair is wet enough to absorb and porous enough to lock. Apply serum to soaking wet hair, not damp, not dry. Dry application is where most frizz "solutions" quietly fail.
No-Heat Versus Hot Tools
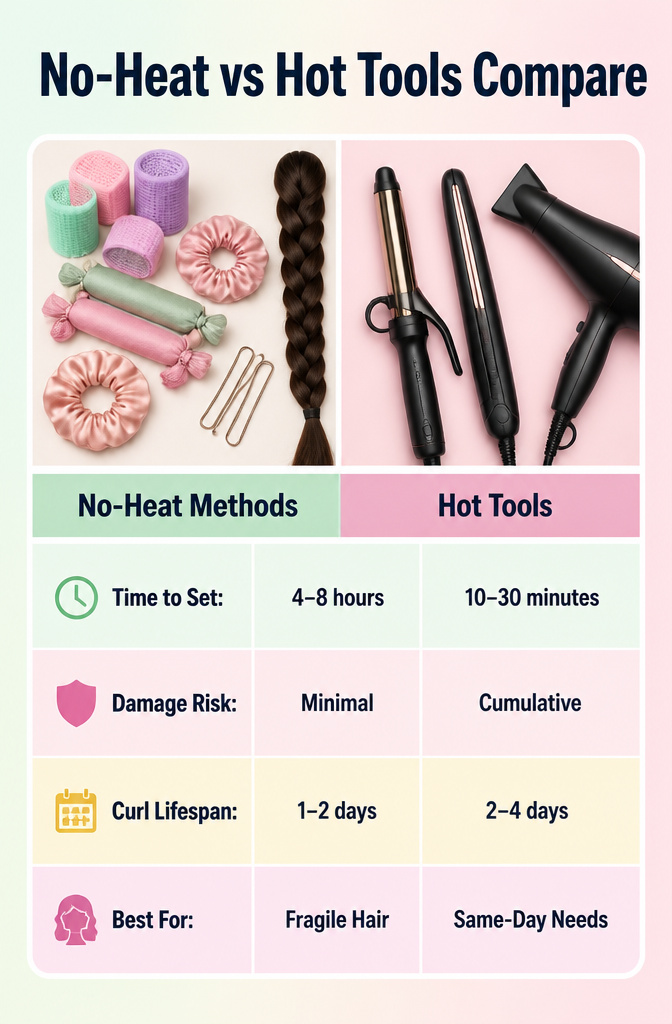
A no-heat set takes patience but spares the cuticle layer that a 400-degree barrel steadily wears down. Foam rollers, rag rolls, braids, or pin curls all depend on one shared step: working a curl-defining gel, spray, or mousse through small sections before you coil or pin them. That product contact is what buys the hold, not the heat.
| No-Heat Methods | Hot Tools | |
|---|---|---|
| Time to set | 4–8 hours or overnight | 10–30 minutes |
| Damage risk | Minimal | Cumulative, especially above 350°F |
| Curl lifespan | 1–2 days, sometimes less | 2–4 days with product support |
| Best for | Fragile or already-processed hair; planned occasions | Same-day needs; coarse or resistant textures |
I reach for rollers when my ends feel straw-dry and I have a dinner the next night. A curling iron wins only when I forgot to plan, which is more often than I care to admit. The real cost of convenience is not the tool price; it is the months of protein loss that show up as breakage six inches from the root. If your hair is already bleached or heat-styled weekly, the overnight method stops being a preference and becomes a necessary breather.
Trim Timing and Damage Prevention
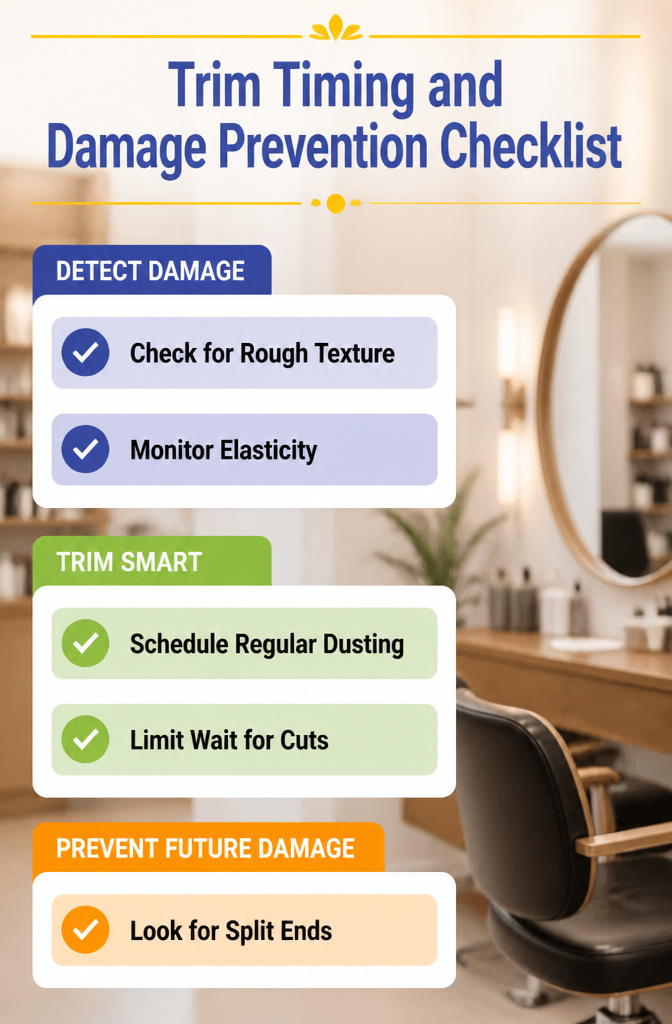
Dry ends don’t always announce themselves with split strands you can spot in the mirror. The longer your hair gets, the more likely the damage sits somewhere in the mid-lengths, where heat from a curling iron concentrates after multiple passes. I check mine by running a section between two fingers: if it feels rougher than the roots or catches instead of sliding, that’s the elasticity going. A trim removes damage before it travels upward; a cut changes shape.
The difference matters because the person aiming for curls needs bulk at the ends to hold a wave pattern. A stylist who understands this trims less than a quarter inch at a time, preserving the weight that keeps curls from going stringy. Ask for a "dusting" or "micro-trim" rather than leaving it open ended, and schedule it at ten to twelve week intervals instead of waiting for visible breakage. Dryer hair on straighter textures tends to sit at the tighter end of that window; wavy hair with some natural oil movement can stretch toward twelve without the ends turning see-through.
What Wavy Hair Needs Differently

Wavy hair sits in an awkward middle ground that most of us misread for years. The strands have enough bend to frizz and tangle, but not enough to hold a defined curl without help. Treat wavy hair like straight hair, and you get flat, shapeless volume that poufs by noon. I used to load up on heavy curl creams meant for coily textures, wondering why my hair went greasy at the roots and stringy at the ends within a day.
The real shift came when I swapped to lightweight mousses and stopped brushing out waves after the shower. Brushing wet waves stretches the pattern into frizz; scrunching with a microfiber towel or old T-shirt preserves the natural S-shape that water already mapped out. Conditioner matters less than how thoroughly you rinse it. Even a thin film left behind weighs waves down more than it helps them clump.
Heat tools work differently too. A curling iron on wavy hair needs lower heat and a looser barrel wrap, or you end up with crisp ringlets that look costume-level against your natural texture. The goal is enhancement, not transformation: work with the wave you’ve got, push the volume up and the puffiness down, and quit before you overstyle it into submission.
Frequently Asked Questions
How can I make my straight hair curly?
Start with moisturizing shampoo and conditioner so your strands are pliable enough to accept styling, then apply a heat protectant before using a curling iron with a barrel slightly smaller than your target curl size. For a no-heat option, work curl-defining product through damp sections and set them in foam rollers, pin curls, or braids for several hours or overnight.
What products help define curls?
Curl-enhancing styling foam sits lighter than mousse and pushes your natural pattern to spring up when you scrunch it through damp hair from mid-length to ends. A sea salt spray adds volume and architecture to finished curls when misted onto mid-lengths and ends while scrunching upward, though five to six spritzes is the limit for shoulder-length hair before salt pulls out moisture.
How often should I trim my hair for healthy curls?
Book a trim every ten to twelve weeks to stop split ends from traveling upward and matting sections into flattened clumps. Ask for a dry cut curl by curl so the stylist sees your true shrinkage pattern, and request a dusting or micro-trim that removes less than a quarter inch to preserve the weight that keeps curls from going stringy.