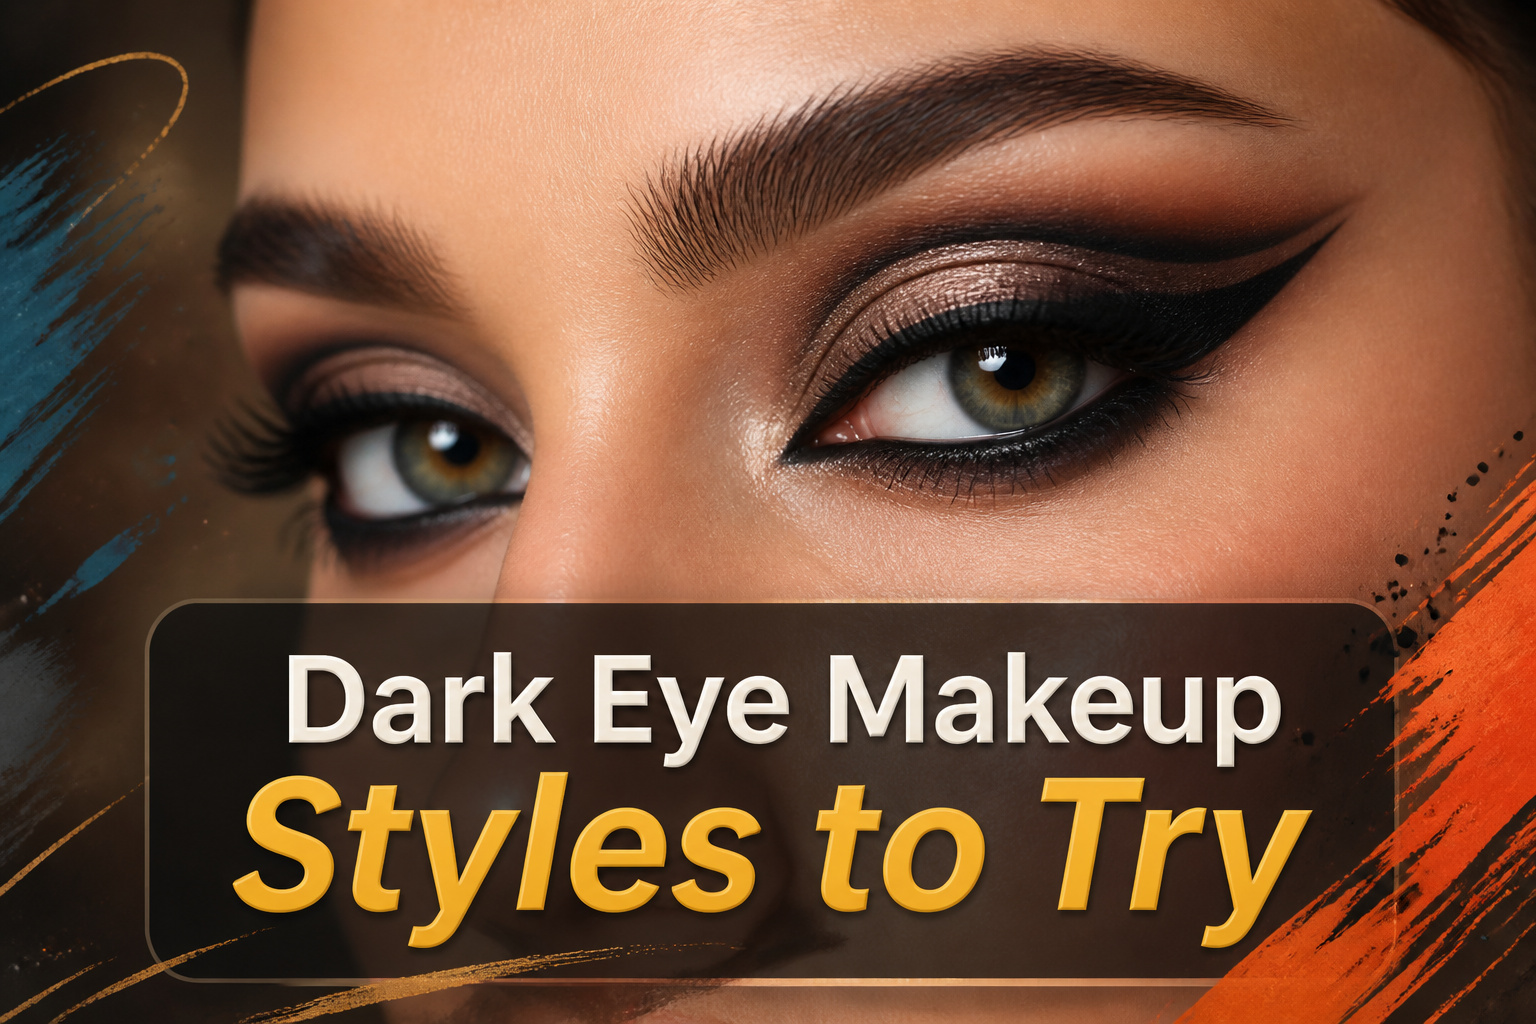
Dark eye makeup in 2026 runs from a five-minute kitten flick to a full architectural cut crease, and the deciding factor is not skill but patience: whether you can wait the full ten seconds between layers before the next one goes on.
The L’Oréal Paris Infallible Grip Mechanical Gel Eyeliner shows up repeatedly for exactly that reason. Mechanical means the point stays crisp without a sharpener, and crisp is what keeps black rim from reading as costume by dessert.
1. Striking Lines
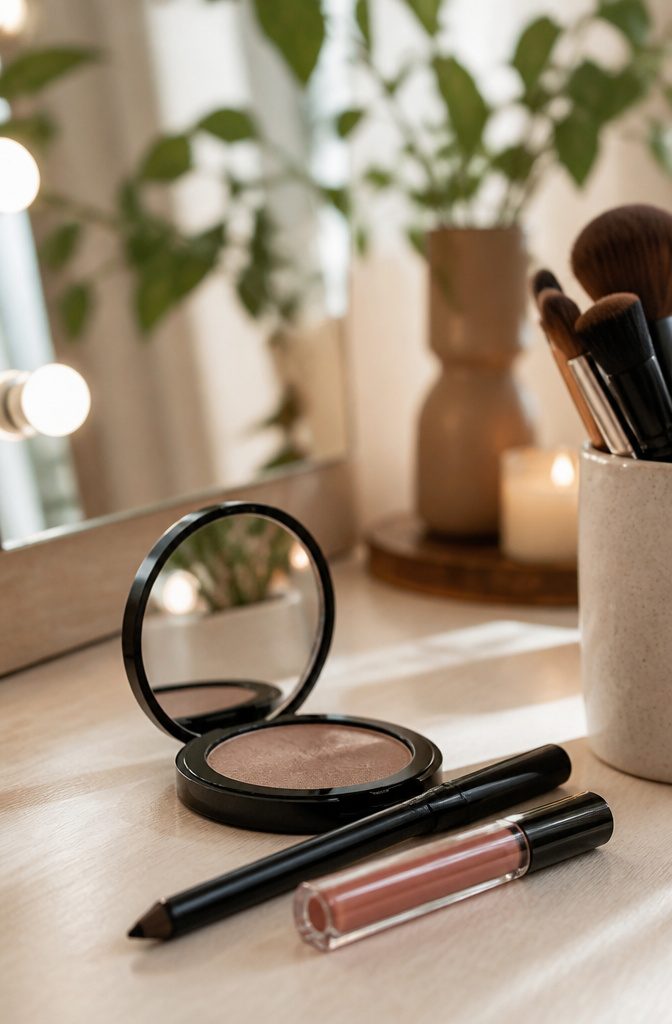
Black liner rimmed around the full eye, top and bottom both, reads as costume until you pair it with something that pulls the eye downward.
I learned this the hard way after three dinners where no one looked at my face at all. The fix was a high-shine lip, glossy enough to catch light and hold attention at the center of the face.
For the rim itself, tightline the upper and lower lash lines with L’Oréal Paris Infallible Grip Mechanical Gel Eyeliner in Intense Black.
The mechanical format matters here because you need a firm point to deposit color right at the root without grazing the waterline itself.
Ground the look by keeping the wing, if you add one, relatively slim. A sharp flick competes with the gloss; a short, clean line cooperates with it.
The glossy lip works as an anchor rather than a distraction because it creates a vertical line of reflection that balances the horizontal weight of the dark rim.
Think of it as drawing a T: the dark bar across the eyes, the light bar down through the lips.
Without that lower focal point, the liner floats. With it, the whole face locks together.
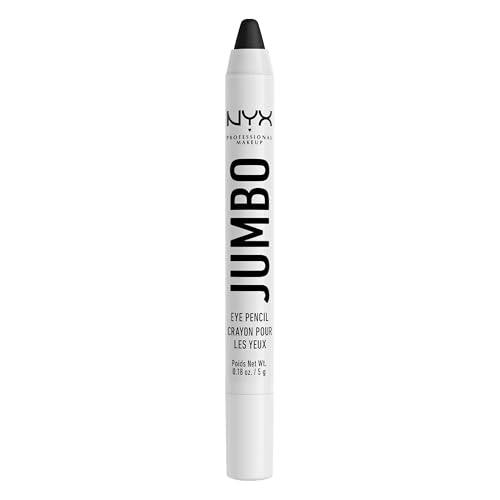
Eyeliner Crayon: This blendable radiant eyeliner pencil is a total triple threat; Use Jumbo Eyeshadow Pencil as a creamy eyeshadow, eye liner and highlighter; Apply it to your waterlines, inner corners and entire lid for a pop of intense color

ULTIMATE EYE PENCIL: The e.l.f. No Budge Retractable Eyeliner is a waterproof, retractable eyeliner that checks all your pencil liner requirements

Retractable Eye Liner: A line and defined eye is just a twist away with this eyeliner pen; Intense pigment covers like a liquid eyeliner while its creamy formula holds for hours; No need to sharpen just twist up and apply for a winged out eyeliner look
2. Hazy Gaze
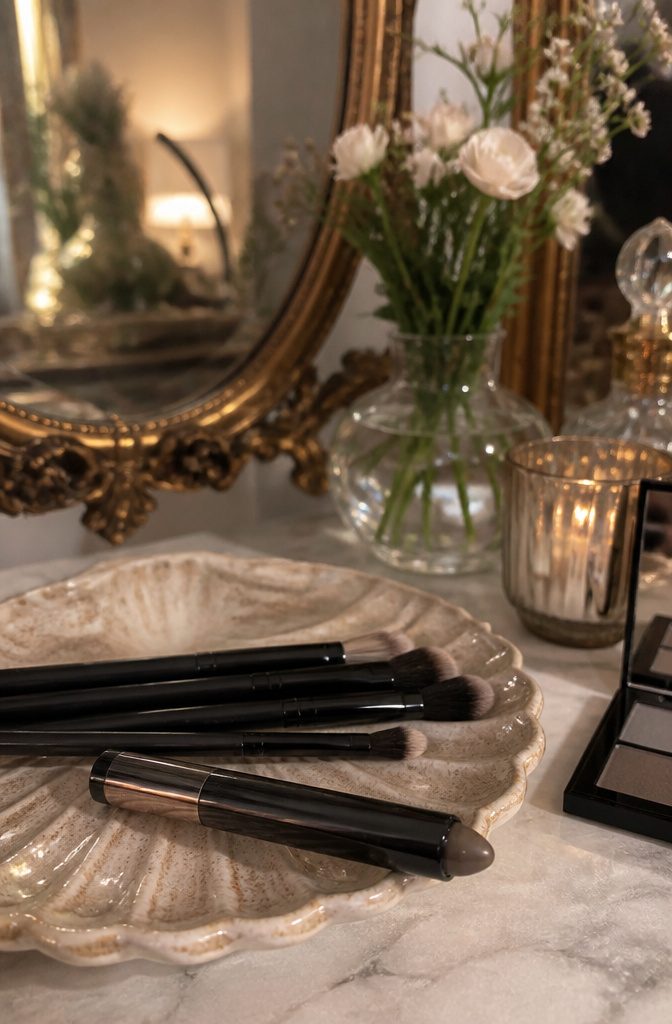
Black eyeshadow reads as harsh on fair skin unless you build the other way around.
Start with L’Oréal Paris Le Shadow Stick in 250 Celestial Taupe across the full lid, then sweep black softly through the outer corner and crease, keeping the pressure light enough that the charcoal undertone does the work.
Silver belongs strictly on the center of the lid and the inner corner; anything above the crease with shimmer turns reflective under office lights by mid-afternoon.
I learned that the hard way once and spent a Tuesday looking like scheduled entertainment. Smoky grays bridge the gap between the base and the black layer where the blend wants to live.

Longwear Gel Eyeliner: This eyeliner delivers even strokes with 36HR hold, with a smudge-resistant, waterproof eye makeup formula. This eyeliner pencil glides on smoothly with no mess and no touch-ups

UP TO 24HR COLOR: 6 rich shades as intense as a liquid liner, in an easy-to-sharpen pencil

Intense color from highly concentrated pigments;After each use, wipe brush clean with dry tissue and close cap tightly
3. Sultry Smoke
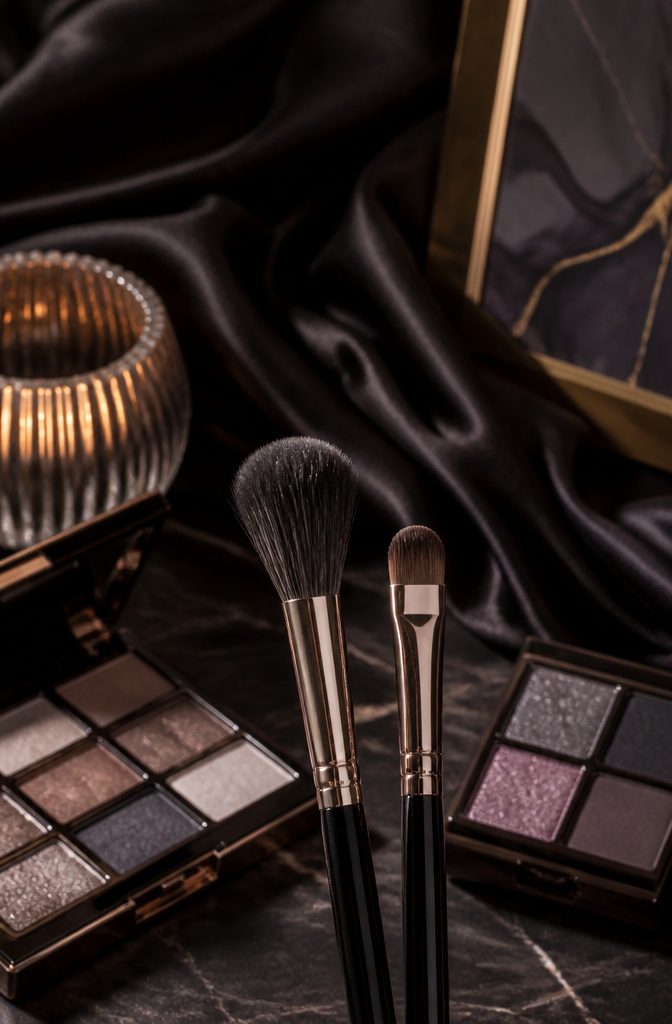
The classic smoky eye lives or dies between a fluffy crease brush and a flat packing brush, and the difference only became obvious to me after watching shadow cake where I’d packed it on.
A flat brush lays pigment onto the lid straight and true, but for the gradient from charcoal lid to softer crease, the fluff is what fans the edges so the dark doesn’t read as a stripe.
Matte shadows are the structure here, built light to dark so you do not correct later.
A nude base across the lid sets the primer and gives the darker layers something to grip. That base layer matters more than I’d assumed; it is the difference between color that reads dimensional and color that reads muddy.
Inner-corner shimmer comes last, tapped on with a finger so it stays precise and bright against the smoke. Done right, the contrast pulls the whole shape into focus.
For the primer that actually held through a workday, F.A.R.A.H Eyeshadow Primer was what kept the look from sliding to the crease by noon.
Noon is the honest test for dark eye makeup; anything shorter is wishful thinking.

CREATES BOLD DEFINITION: This domed bristle brush picks up eye color and sweeps it onto the eyelid to create bold definition. It blends and contours in the crease and corners of the eye
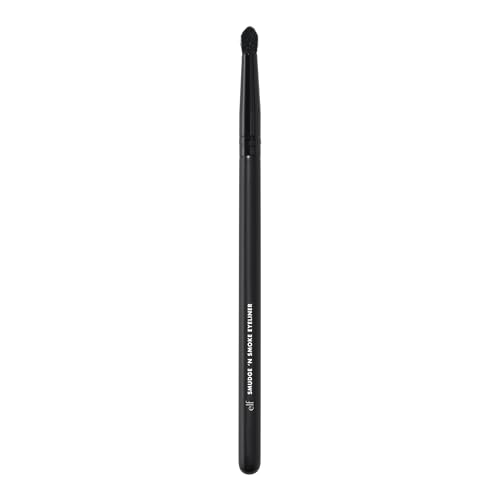
SMOKY EYELINER BRUSH: Eyeliner brush with densely packed bristles for creating smoky eyeliner looks.

ESSENTIAL EYE BRUSHES: Includes a Smudge Brush, Detail Brush, Crease Brush, and Line Brush for blending, defining, shading, and creating precise eye looks.
4. Midnight Vibes
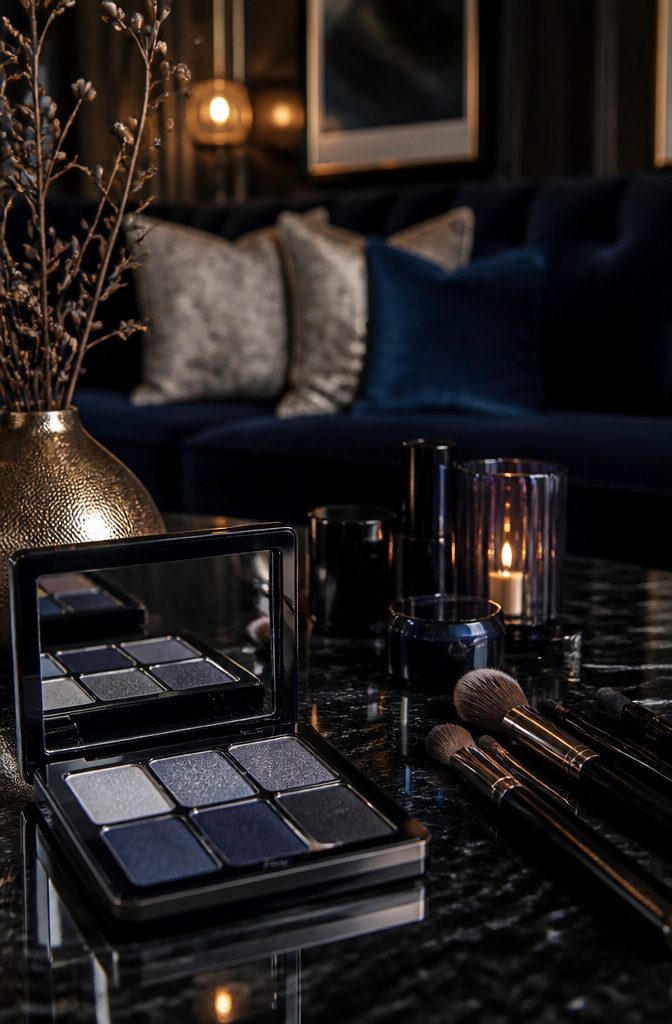
Black and navy blue together still makes some people flinch, but the pairing was what changed my mind about dark eye makeup on brown eyes.
The navy sits in the outer V where black usually goes, and the depth reads as color without the shout of a bright.
At the Grammys, the navy was smudged into the outer edge of a black winged shadow, and the effect pulled the warmth out of brown irises without the harshness of doubling down on carbon.
The trick, watching that blending, is stopping the navy at the orbital bone and keeping the lid’s center in black so the shape still lifts.
Navy alone can bruise; black at the lash line is what keeps it makeup instead of accident.
Someone with deep brown eyes gets the payoff the fastest, but the principle holds across skin tones if you mute the under-eye to match.
Clean edges ruin it. A fingertip buff at the outer corner, a little imperfection, and the two colors melt into midnight rather than a stripe.

PRO-LEVEL PERFORMANCE: Unlock your creativity with rich, matte shades that blend effortlessly for bold, buildable color and all-day vibrancy—perfect for crafting stunning, professional eye looks that empower your style.

High Pigmented & Vibrant Shades: Maki Yika pressed eyeshadow palette is designed for crafting stunning eye makeup looks that range from subtle to bold, including snow black, dark, plum, puff, blue, coffee, brown etc. The matte & shimmer eyeshadows are perfect for daily wear, festivals and performances

Glitter, Glitz & Grey - This grayscale eyeshadow palette is a smokey eye lover’s dream. With 3 glitzy metallics and 6 blendable matte eyeshadows, you can create the easiest smokey eyes ever.
5. Inky Cut Crease
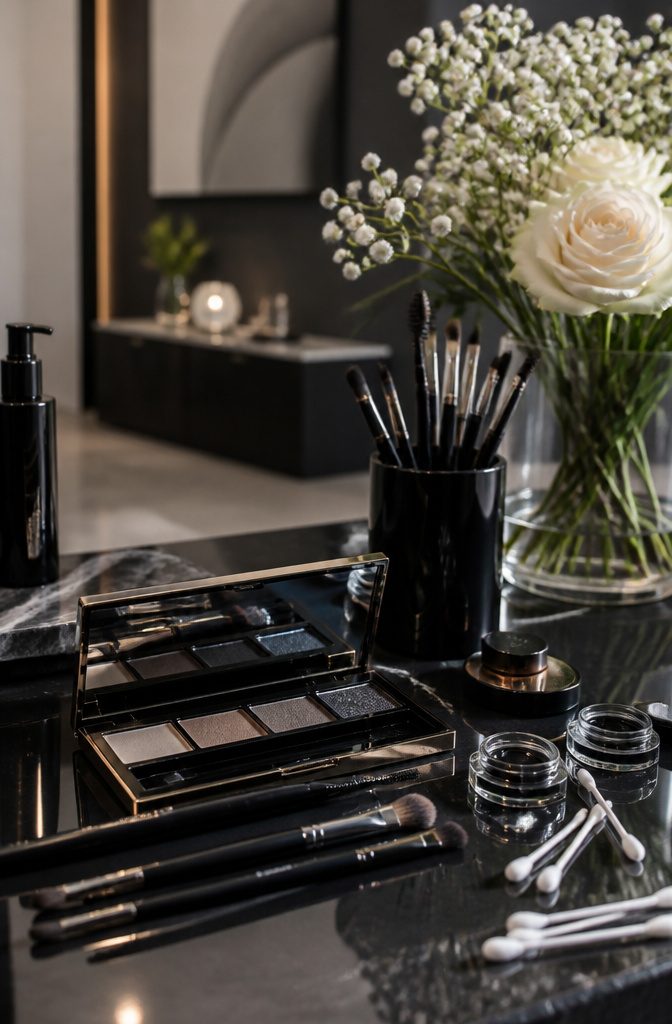
A clean cut crease turned moody only works if the line stays sharp through the full twelve hours most of us need it to last.
The trick is treating the crease itself as architecture: concealer carves the negative space, gel liner locks the edge, and a flat synthetic brush presses black shadow over both so nothing migrates into the lid you just emptied out.
My first attempt looked more like a geometric accident than makeup because I used a fluffy brush and the shadow bled into the concealer before it set.
The double wing extends the cut crease past the outer corner in one thin line, then repeats a millimeter below it.
That second wing goes only to mid-eye, which creates a shadow effect from the side and reads as a single bold wing from the front. Without that spacing, the two lines collapse into one messy stripe.
It takes patience.
The flat synthetic brush is nonnegotiable; it places product without dragging the concealer base. I count to ten between each layer, longer than feels natural, and only then add the next.

Cool-Toned & Ready - Full of cool, neutral taupe shadows in matte and metallic finishes to create the most flattering looks from smokey to everyday, natural makeup.

✦MATTE AND SHIMMER COLORS: Both matte shadows and shimmers have velvet creamy texture in range of metallic, satin, and matte finishes. Each color is unique, easy to layer and blend. You can use base primer for better application. If you get a damaged eyeshadow palette, please feel free to contact us for a best solution.

1. COOL TAUPE & GRAY SMOKY COLOR STORY Create dimensional cool-toned eye looks with four coordinated shades: soft taupe, icy silver, smoky gray and charcoal black. From understated everyday definition to a deeper smoky eye, this compact eyeshadow palette makes cool neutral makeup easy to customize.
6. Total Blackout
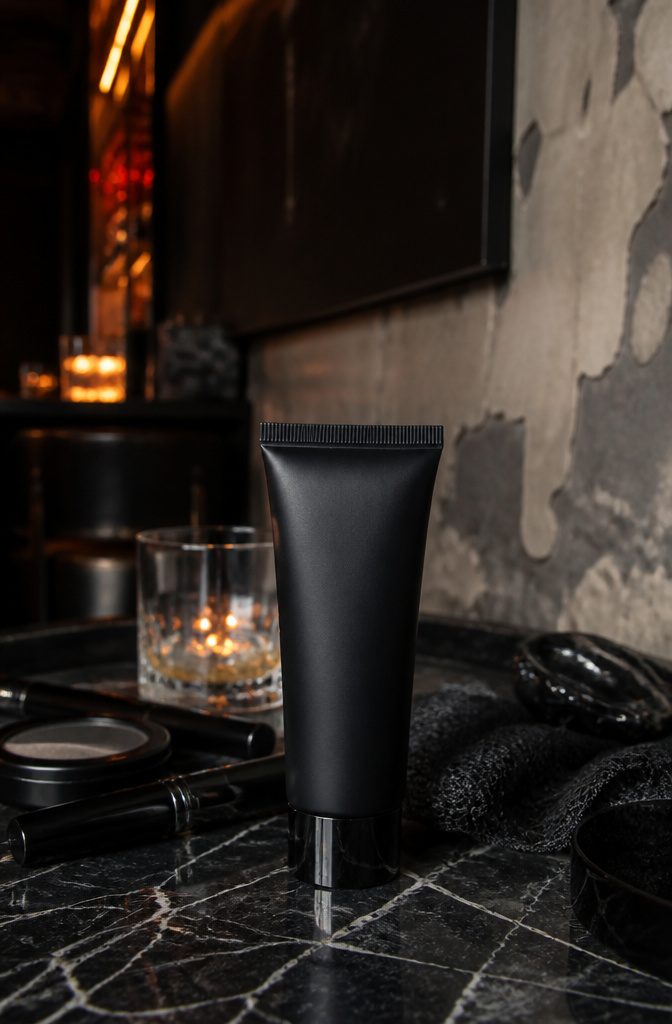
Full black lid demands more than a swipe of cream shadow and hope. The pigment wants to travel, pooling into the crease within an hour unless something grips it in place.
Primer stops being optional here; a gripping formula like L’Oréal Paris Infallible Grip creates a slightly tacky surface that locks cream pigment down.
I wore this exact combination to a 10 p.m. event once and the crease held until 2 a.m., which never happens without primer underneath.
Without that base, blackout flatters no one; with it, the matte black stays exactly where you placed it, intensity intact.

Waterproof Matte Liquid Eyeliner: Get the perfect long lasting cat eye look with NYX Professional Makeup Epic Ink eyeliner, with a matte black finish

No Smudge Black Liquid Eyeliner: This waterproof eyeliner features an ultra fine tip that delivers the most defined, precise line and stays put on your eyelid for up to 12 hours with whatever look you're working
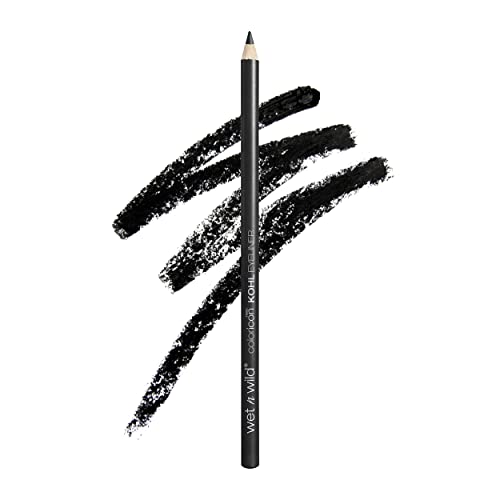
These long-wearing liners have rich, hyper-pigmented color, an oh-so-smooth, oh-so-creamy application, and are versatile enough to create any look you want
7. Kitten Eyes
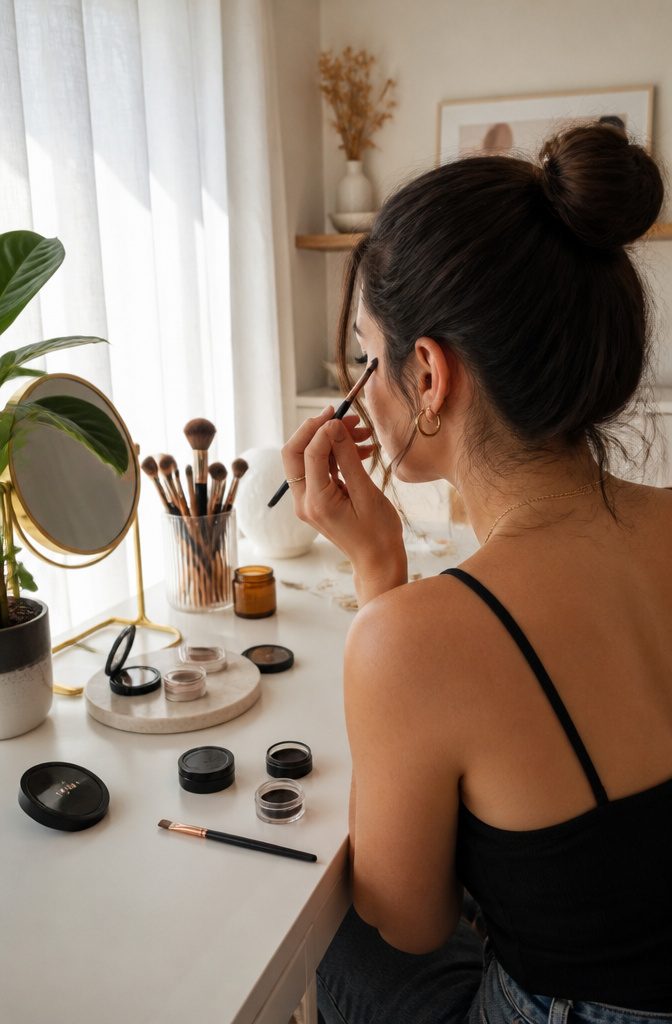
The angled brush and shadow flick builds a softer cat eye than any liquid liner, and the dark eye makeup still reads crisp from five feet away.
Press a flat or angled brush into black eyeshadow, locate the outer corner where the crease ends, and drag outward at roughly the angle your lower lash line already travels. The first stroke is placement, not perfection.
You can sweep back inward along the lash line and thicken gradually, but that flick stays small by design, maybe a quarter inch past the corner, which is what keeps it kitten instead of cat.
Shadow forgives what liner punishes. A shaky hand with gel or pen leaves a wobble that demands a cotton swab and patience; shadow deposits pigment in layers you can blur with a clean brush before it sets.
If the angle pulls too high, press a fingertip to the edge and diffuse it into the crease.
Nobody notices soft. They notice crooked.
I wear this when I have five minutes and a meeting because the whole shape lives inside a buffer zone of blur. One matte black shadow, one brush, no precision demanded.
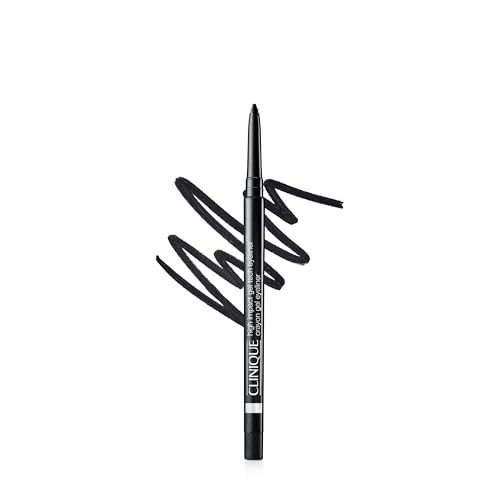
* 24hr wear on lids * 12hr wear on waterline * Waterproof * Transfer-proof * Smudge- and budge-resistant * Tug-free

Long Lasting Formula

Intense Pigmentation and Coverage: The exceptionally rich formula provides a deep, saturated effect with just one stroke, ensuring a perfect eye makeup finish without streaks.
8. Heavy Metal
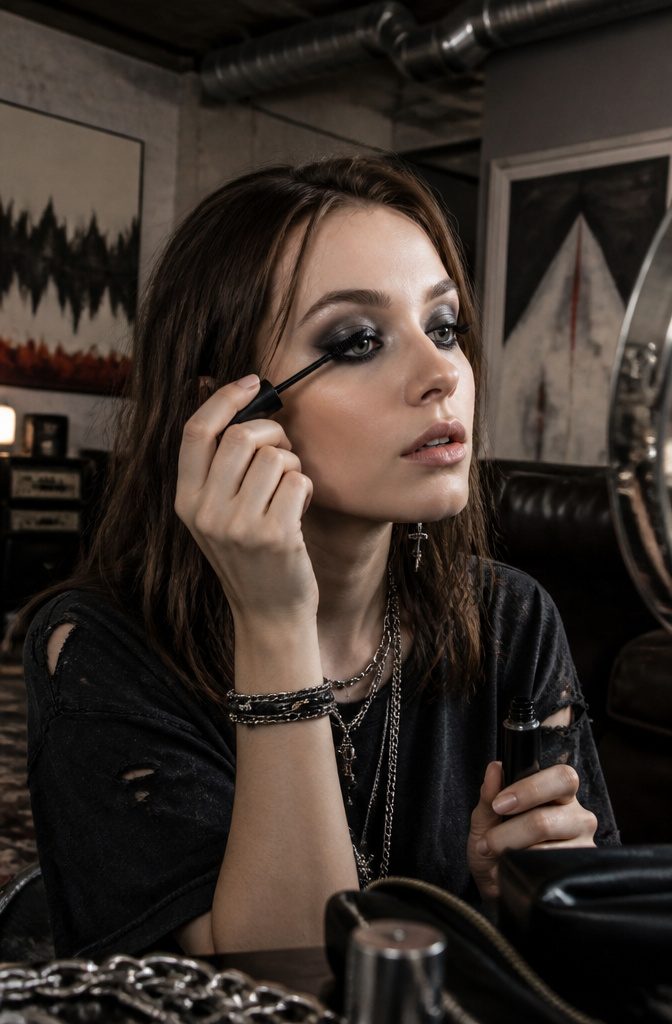
Gray shadow keeps black from reading as a flat slab on brown eyes, which is exactly why the pairing works. Without that middle tone, the black turns muddy and the warmth in brown irises gets swallowed whole.
L’Oréal Paris Le Shadow Stick in 490 All Night Black handles the depth; sweep a medium gray from the same range through the crease and along the lower lash line.
The gray catches light differently, so brown eyes pick up that metallic shift and read deeper. Heavy shadow this dense needs lashes that can hold their own, or the whole eye starts to look weighted down.
MILK MAKEUP Kush High Volumizing Mascara is what I grab for this finish; the brush builds enough thickness that lashes stay visible against all that pigment. Without it, the proportion tips off.

COMPLETE EYE BRUSH ESSENTIALS: This 5pc eye brush set includes everything you need to create full eye looks, including shading, blending, defining, smudging, and precise liner work.

EcoTools Enhancing Eye Makeup Brush Set creates the perfect eyeshadow look with (1) Shade + Define Eye Brush Duo and (1) Smudge + Blend Eye Brush Duo - ideal for eye makeup application

【Fluff Eye Blender】The fluff blending brush with Ultra-soft, fluffy bristles pick up powder or cream pigment with ease,effortlessly blend eyeshadow edges for a smooth seamless wash of color.
9. Subtle Shading
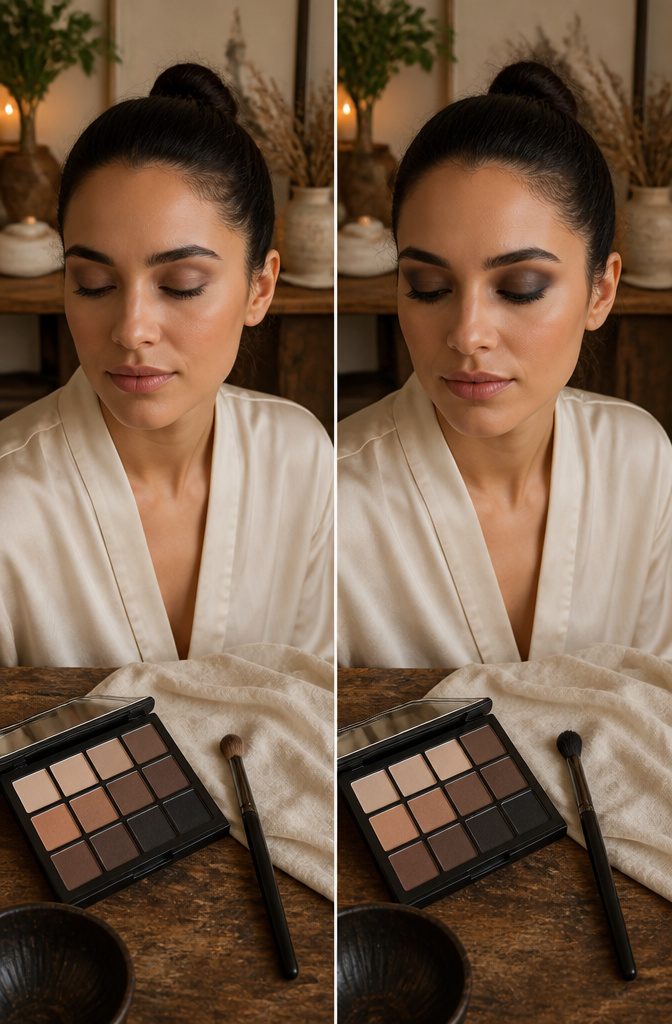
A soft smoky eye starts so light in daylight that someone two feet away might think you are only wearing mascara. I keep a compact shadow quad in my bag for exactly this reason.
The daytime version lives on matte: a skin-toned color buffed through the crease with a windshield-wiper motion, blended past the outer corner until the edge disappears into nothing. No shimmer, no obvious gray.
For night, that same blended base becomes the first layer. Add a lighter shimmer across the lid, then deepen the outer third with a darker matte or satin.
The difference is placement, not labor. Daytime smokes outward and softens to invisibility; nighttime keeps the outer corner defined and lets the shimmer catch light when you turn your head.

【NEW EYESHADOW SHADES】Grey & Red Matte Single Eyeshadow: Add instant mood to your look with two standout options—grey eyeshadow for cool-toned definition and smoky vibes, and red eyeshadow for bold, editorial, or holiday/Halloween-inspired makeup.

Product Type:Eyelid Color

❤. This BLACK METEORS eye palette is mixture of 15 stunning cool toned shades that velvety & go on smoothly texture with matte satin finishes to create next level looks to unleash your artistry. Each blendable, buildable and long-lasting, created to suit every skin tone and eye color.
10. Classic Smoky Eye
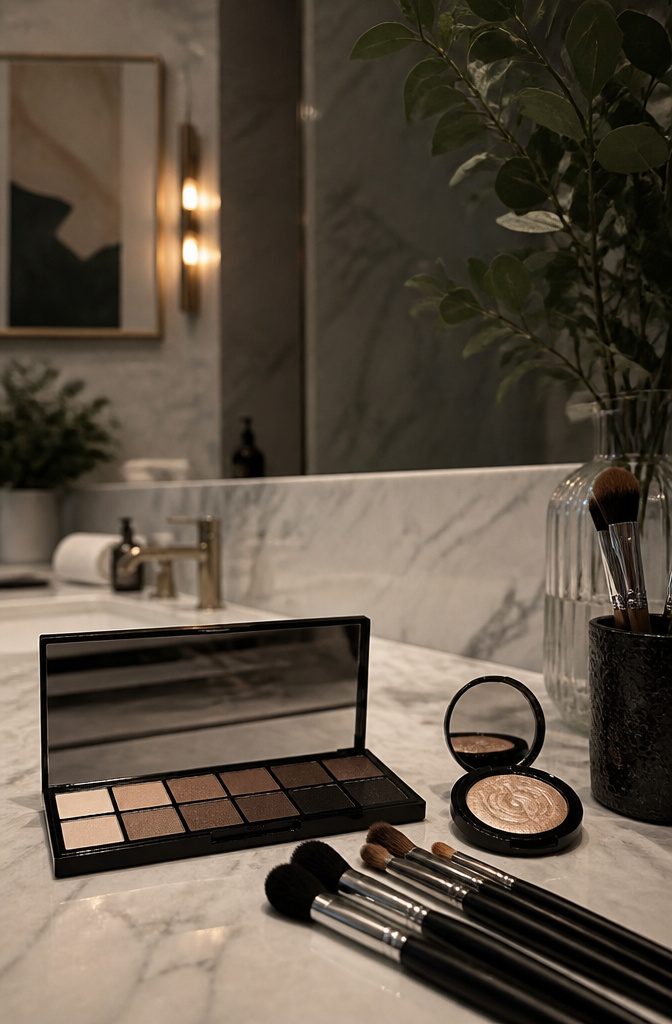
A classic smoky eye lives or dies on the gradient, and the inner corner highlight is the step that keeps the eyes from sinking back into the shadow. Without that point of light, the whole look reads heavy and closed-off.
I use champagne or pale gold for that highlight; white registers as stage makeup the second you step into daylight.
The full stack runs: primer, a transition shade (a matte gray or taupe just above the crease), the crease shade itself, the dark lid color, that inner corner highlight, liner, and mascara.
A fluffy brush builds the transition layer out past the outer corner, which gives the slight winged lift.
The pale gold at the tear duct is the smallest move with the biggest payoff, and it is the one I have seen people skip when they are rushing, then wonder why the mirror looks tired back at them.

【5 Color Eyeshadow Set】From MYHO, This eyeshadow palette includes Nude Pink, Neutral Brown, Black shades, offering versatile options for natural everyday looks or bold smoky eye makeup

This eyeshadow kit is a collection of great shades handpicked by our makeup pros and designed to make your eye look go from day to night.

【ALL-MATTE EYESHADOW FOR MATURE WOMEN】Erinde 10-color eyeshadow palette series 04# Cement, "ALL MATTE" eyeshadow palette with a range of warm and cool tones, from soft matte light gray to rich dark brown, suitable for older women who like natural eye makeup and young people who need dignified eye makeup.
11. Smudgey Cat-Eye
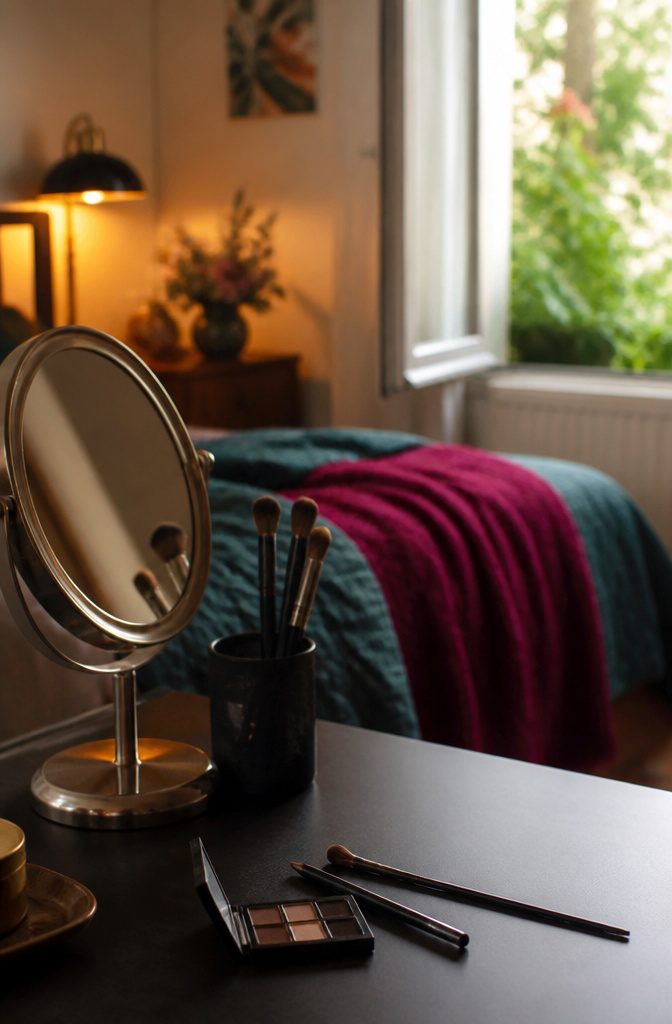
The clean cat-eye used to frustrate me until I stopped fixing the smudge and started working with it.
Now I draw the wing first with a soft kohl pencil, deliberately off-center, then blur the edge while the pigment is still movable before it locks into place.
A small smudge brush gives the most control, but a regular cotton swab pressed flat against the skin works when you want a wider, softer fade.
The trick is timing: wait too long and the line sets hard, move too fast and you lose the shape entirely.
I usually work one eye fully, then the other, because twenty seconds is about the window where the liner stays cooperative.
The finished edge should look like you slept in it a little, not like you drew it with a ruler.
Dark shadow packed over the blurred liner deepens it without re-sharpening the edge. Anyone who has ever ruined a perfect wing at 7 AM already knows this look; the difference is deciding to keep it.
12. Touch of Metallic
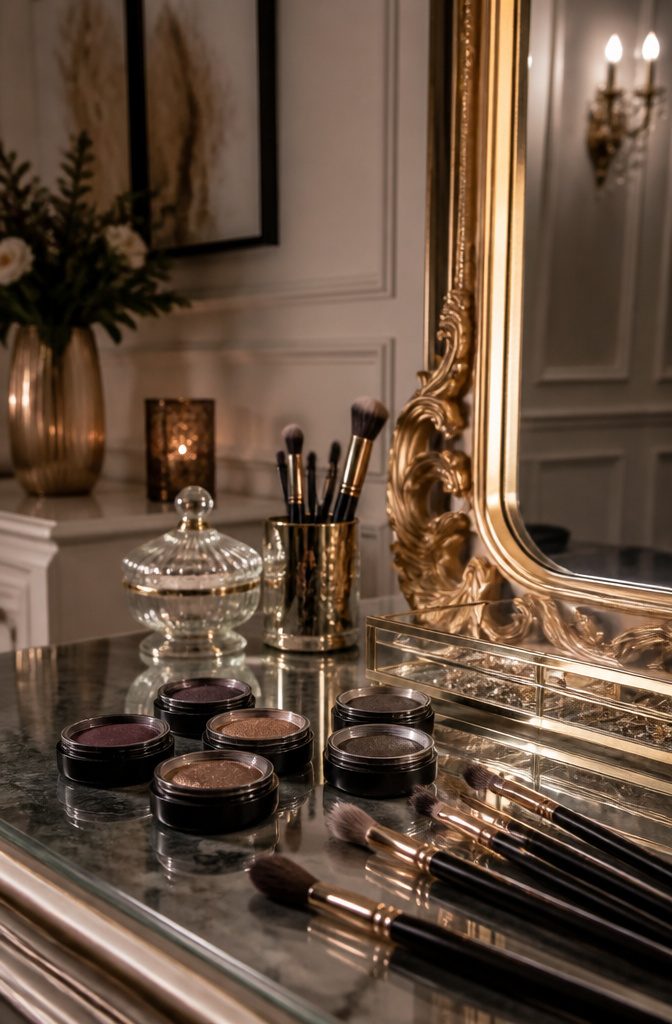
A smoky dark eye makeup look gets its dimension from where the metallic lands, not how much you use.
I keep shimmer strictly to the center of the lid, where it catches light when you blink but stays below the orbital bone. That placement reads polished in daylight; sweep it up toward the brow and you’ve committed to evening.
The texture matters more than the shade. Cream metallics melt into matte bases in a way powder over powder never quite manages.
I’ve watched the two formulas fight each other, the shimmer sitting on top like spilled glitter, while a cream sinks in and lifts the dark without competing.
Blend the cream metallic in with a finger while the base is still slightly tacky, then set the outer edges with a small brush of matte shadow to keep the structure clean.
13. Grunge Gorgeous
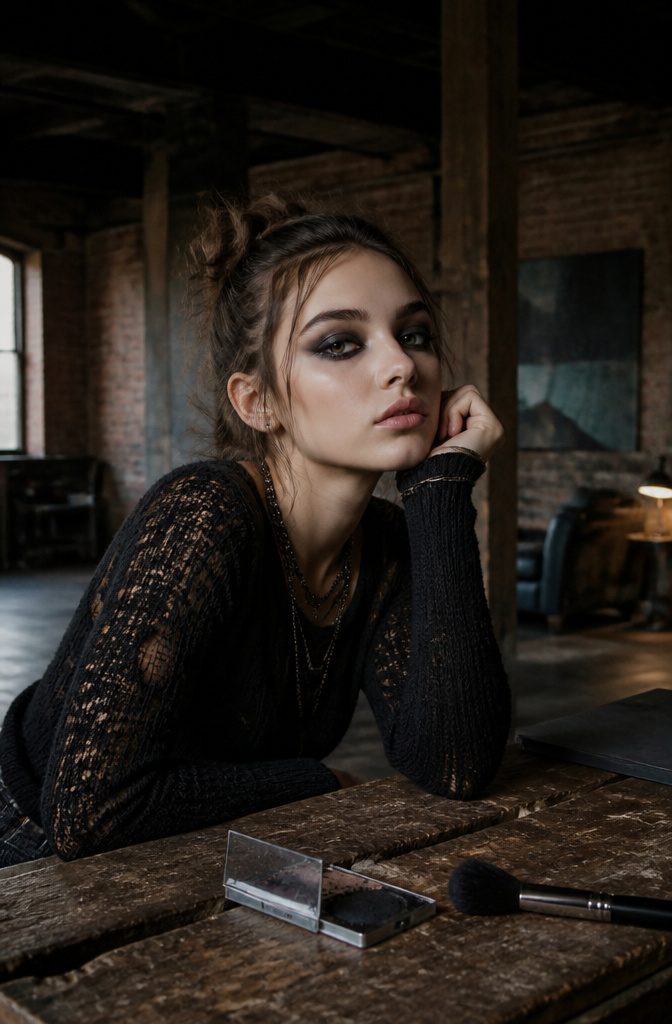
Grunge gorgeous lives in the gap between finished and overdone. The first layer goes on with a finger, not a brush, and that skin-temperature warmth melts the pigment into the lid instead of parking it on top.
I pat black shadow wherever I want the wear to live, usually just past the crease and a little underneath, then switch to a clean fluffy brush to chew the edges until they look like they happened there on their own.
The trick is restraint. Packed-on pigment reads stage makeup; this style needs actual skin showing through, especially near the inner corner and across the center of the lid.
An eyeshadow stick makes the foundation layer fast, though a slick of clear balm plus loose dark powder works if that is what the drawer holds.
A slight shimmer in the black, like what the Berlin Underground palette carries, catches light just enough to keep the lack of precision from looking accidental.
14. Date-Night Glam
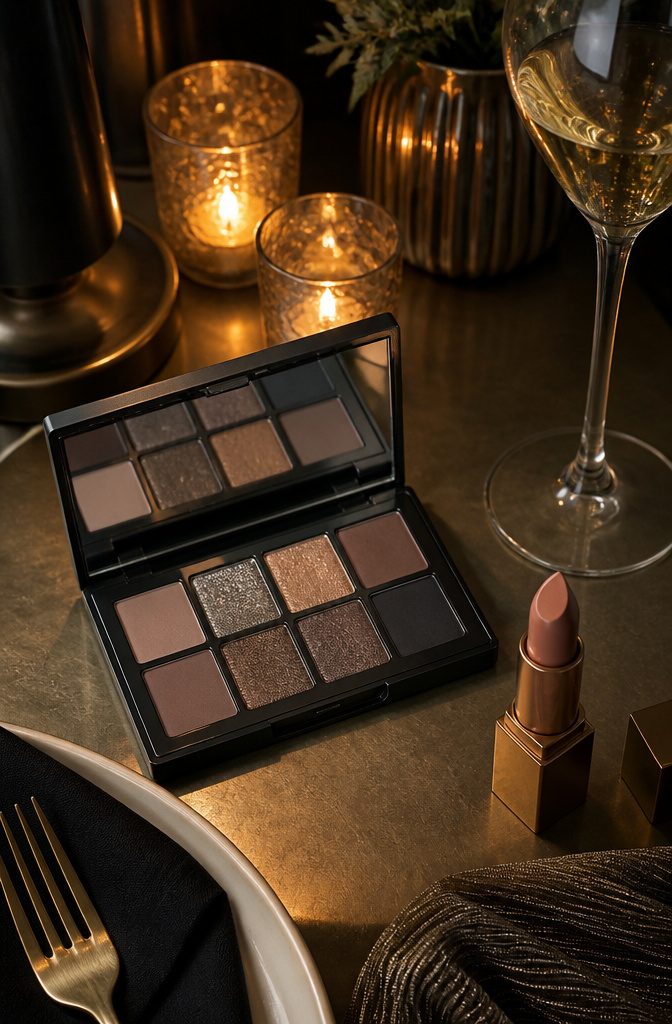
A ring of blended dark shadow with a nude lip and matte skin keeps every bit of attention on the eyes.
The nude matters more than most people think: three separate tubes sat on my bathroom counter before I found one that matched my actual lip color instead of floating two shades lighter.
Anything paler fights the eyes for dominance; two strong features cancel each other out and the whole look lands flat.
The nude should match your lip, not lighten it. Shay Mitchell’s version works because the lip reads as bare skin, not a second statement.
For the eye itself, a gel pencil like ONE/SIZE Point Made in Bodacious Black builds that soft ring without hard edges, and RÓEN BEAUTY CAKE Mascara in Black keeps the definition in the lashes rather than the liner.
The balance is deliberate: one feature carries the room, the other steps back.
15. V-Shaped Smoky Eye
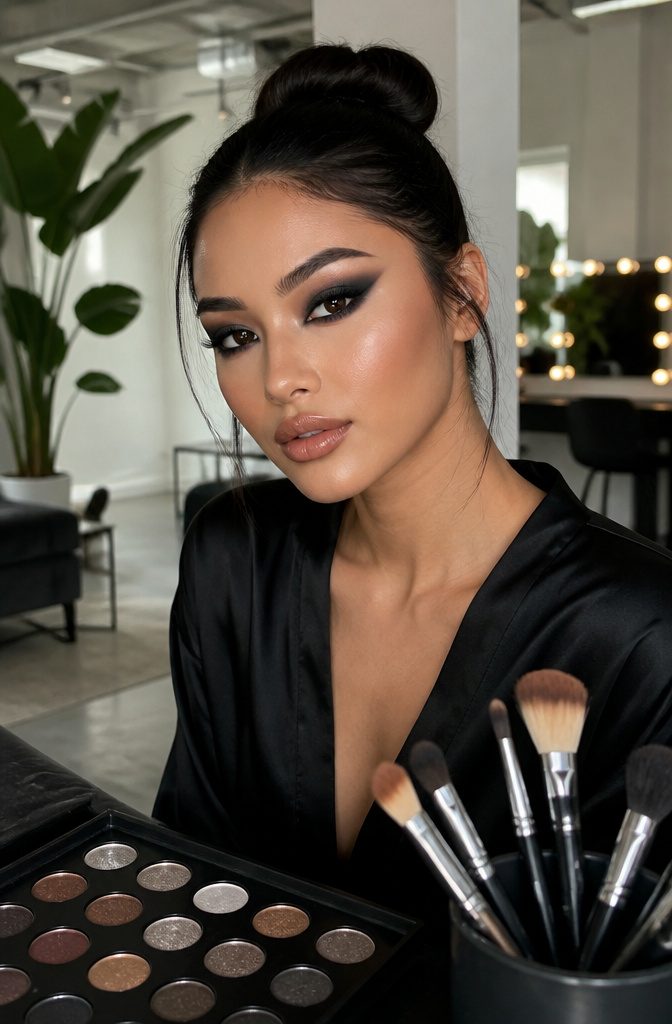
Almond-shaped eyes carry this shape almost on autopilot. The V follows the natural socket line, loaded with metallic shadow that catches light exactly where the bone recedes.
I’ve been defaulting to it for years because the work is in the brush angle, not the blending: hold a flat shader at roughly 30 degrees, outer corner to temple, and sweep the pigment in a single motion so the edge lands crisp instead of diffused.
That one stroke does the elongating that rounder eyes need built manually.
On rounder eyes, the same V floats unless you anchor it, often by pulling a darker base shade across the entire lid first so the metallic shape has something to grip.
Cara Delevingne’s version, the one that made this shape famous, keeps the depth concentrated on the outer corners and pulls into that drawn V, which reads as effort from three feet away even when the whole application took under five minutes.
My shortcut to looking like I planned this.
16. Statement Shadow
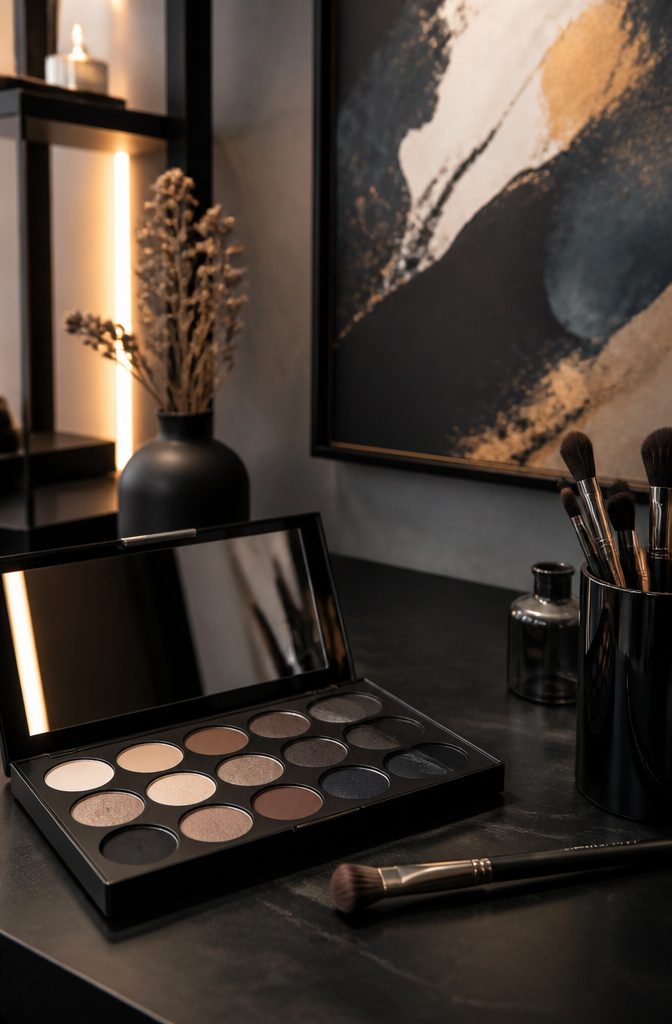
Black shadow packed from the upper lid straight down to the lower lash line and waterline leaves nowhere for the eye to hide.
The intensity is the whole point, so the rest of the face has to step back. A tinted balm in something close to your actual lip tone works better here than any lipstick that reads as a color choice.
Blush competes harder than you’d expect against this much pigment, so I skip it entirely and let the eyes own the conversation.
The balance wins or fails on that restraint. Julianne Hough’s version ran the shadow full perimeter with a bare mouth, and the effect lands editorial without trying for it.
A natural lip is not a nude lip; it’s the absence of one. Anything warmer or pinker than your own circulation reads as a second feature fighting for attention.
17. Two-Tone Liner
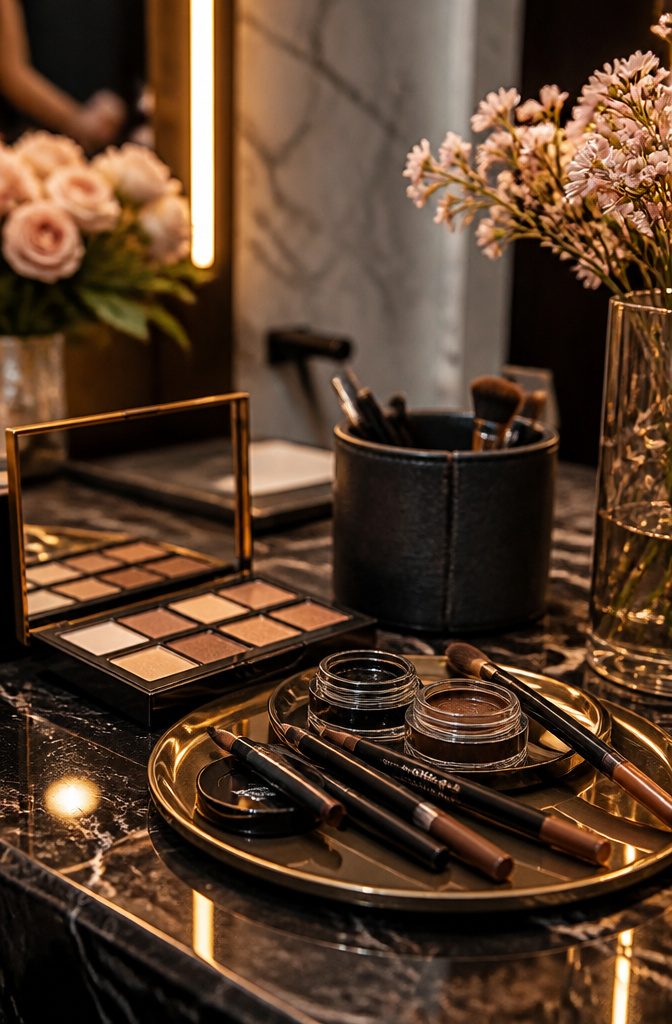
Black liner on its own can read as severe under fluorescent office lights, so last spring I started pressing a dark brown pencil along the lower lash line before the black fully dried.
The brown diffuses the edge exactly where a single harsh line would age you, and the small triangle that forms at the outer corner, connecting the two shades, keeps the shape from looking like two separate accidents.
The meeting point matters: let the black sit on the outer half of the upper lid while the brown stays below, then blend where they touch so no visible seam catches in a photo.
I keep the brown to the outer two-thirds of the lower line; taking it all the way in rounds the eye and loses the lift that makes this wearable before six p.m.
Charcoal would serve the same softening purpose, though on deeper skin tones brown reads as intentional warmth rather than a faded mistake.
18. Retro Winged Eyeliner
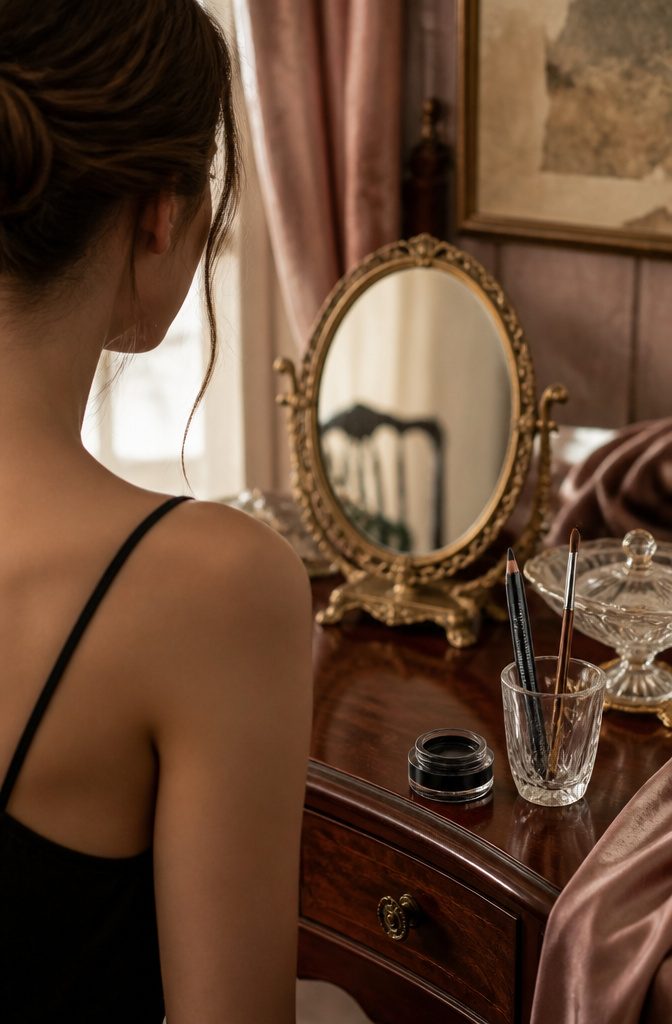
A full-lid wing stretches the classic cat-eye shape across the entire lid, not just the outer corner, and the difference is starker than it sounds.
I use L’Oréal Paris Infallible Grip Mechanical Gel Eyeliner for this because gel lets you correct before it sets, which matters when you’re drawing a line that long; liquid locks in place the moment it dries, and one shaky inch ruins the whole span.
Work in sections instead of attempting one continuous stroke. Start at the inner corner, lay down a two-inch band, then connect the next strip before the previous one begins to tack up.
The Infallible Grip pencil twists up mechanically, so the point stays crisp enough to trace the lash line without dragging on skin.
For staying power, some sources suggest topping the wing with matte black shadow, which deepens the pigment and keeps the line from migrating by suppertime.
I skip this step on weeknights but never on days when I’m in glasses; the frames sit close enough to the lash line that any transfer shows immediately.
19. Holographic Eyes
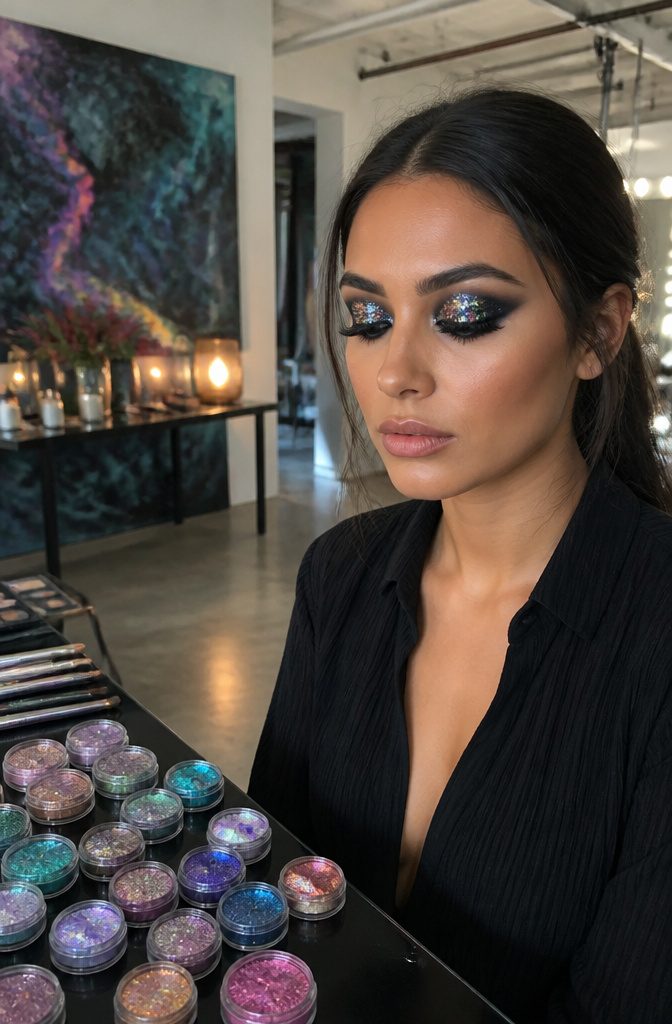
A jet black base does the heavy lifting in this version of dark eye makeup. The holographic shift only reads when the undertone is fully masked, so any skin showing through will flatten the effect into a grayed-out shimmer.
I learned this the hard way with a duochrome pigment that turned muddy on a half-opaque charcoal; switching to a cream base packed to true black fixed it in one try.
The color you see is interference, not pigment in the usual sense. Light hits the thinly coated particles and bounces back in shifted wavelengths, which means the surface underneath has to be a completely sealed black, not a wash.
Load the cream with a flat brush, set with black shadow, then press the duochrome on top with a finger. No extra adhesive needed if the base stays slightly tacky.
20. Touch of Shimmer
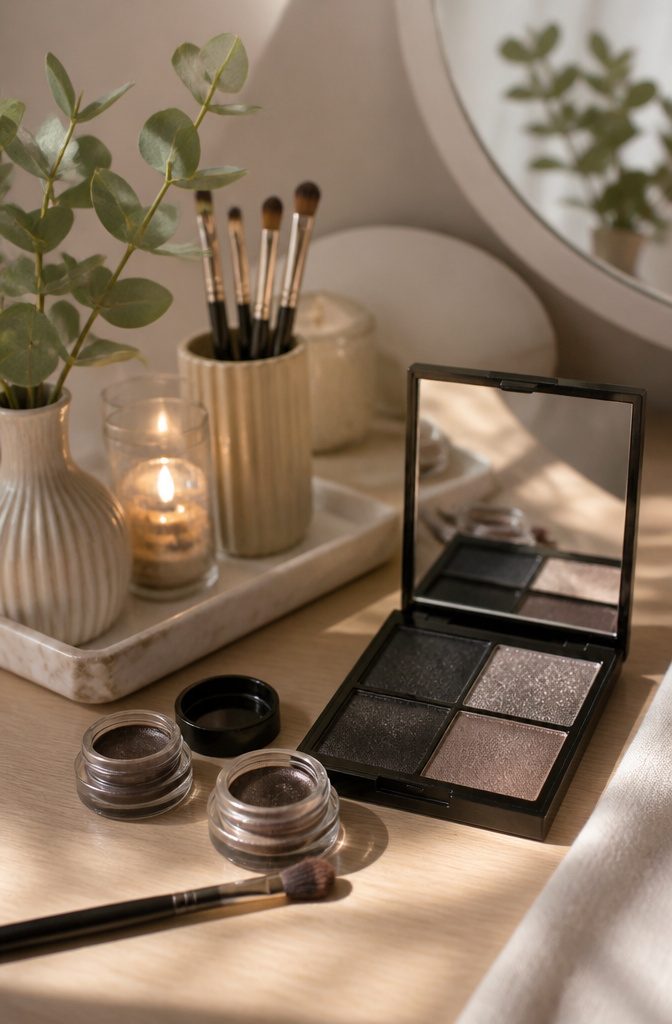
A smoky eye with scattered sparkle works best when it looks like you touched your lid once and walked away.
I press a shimmery cream shadow onto the center of my lid with a clean finger, tap it outward in two or three light pats, and stop. The edges should look accidental, not placed with a brush.
Glitter glue turns this into a craft project. I learned that the hard way after a holiday party where every blink felt like it carried weight.
Now I skip adhesive entirely on dark bases. The shadow grips enough on its own, and the sparkle fades naturally across a few hours instead of sitting there in chunks.
A matte charcoal or deep plum underneath gives the shimmer something to rise against without competing. Keep the darkest color in the socket line, let the light catch only where your eye rounds forward.
Frequently Asked Questions
How do I create a black smokey eye?
Start with a primer, lay down a nude base across the lid, then build matte shadows from light to dark so you never have to correct later.
Use a flat packing brush for the lid pigment and a fluffy crease brush to fan the edges into a gradient rather than a stripe.
Finish with a champagne or pale gold highlight at the inner corner to keep the eyes from looking closed off.
What products do I need for dark eye makeup?
The essentials are an eyeshadow primer, dark eyeshadow in black and charcoal, neutral tones like gray and taupe for blending, black eyeliner, and a volumizing mascara.
A gripping primer such as L’Oréal Paris Infallible Grip is particularly important for heavy pigment that would otherwise pool in the crease within an hour.
Optional but useful: a cream metallic for the lid center and a highlighter for the inner corner.
How can I make my eyes look bigger with dark makeup?
Press a light shadow or highlighter right at the inner corner, near the tear duct, so the eye has a point of brightness against the dark.
Champagne or pale gold works best; white reads as stage makeup the moment you step outside. That single highlight keeps the whole shape from sinking back into the shadow and appearing small or heavy.