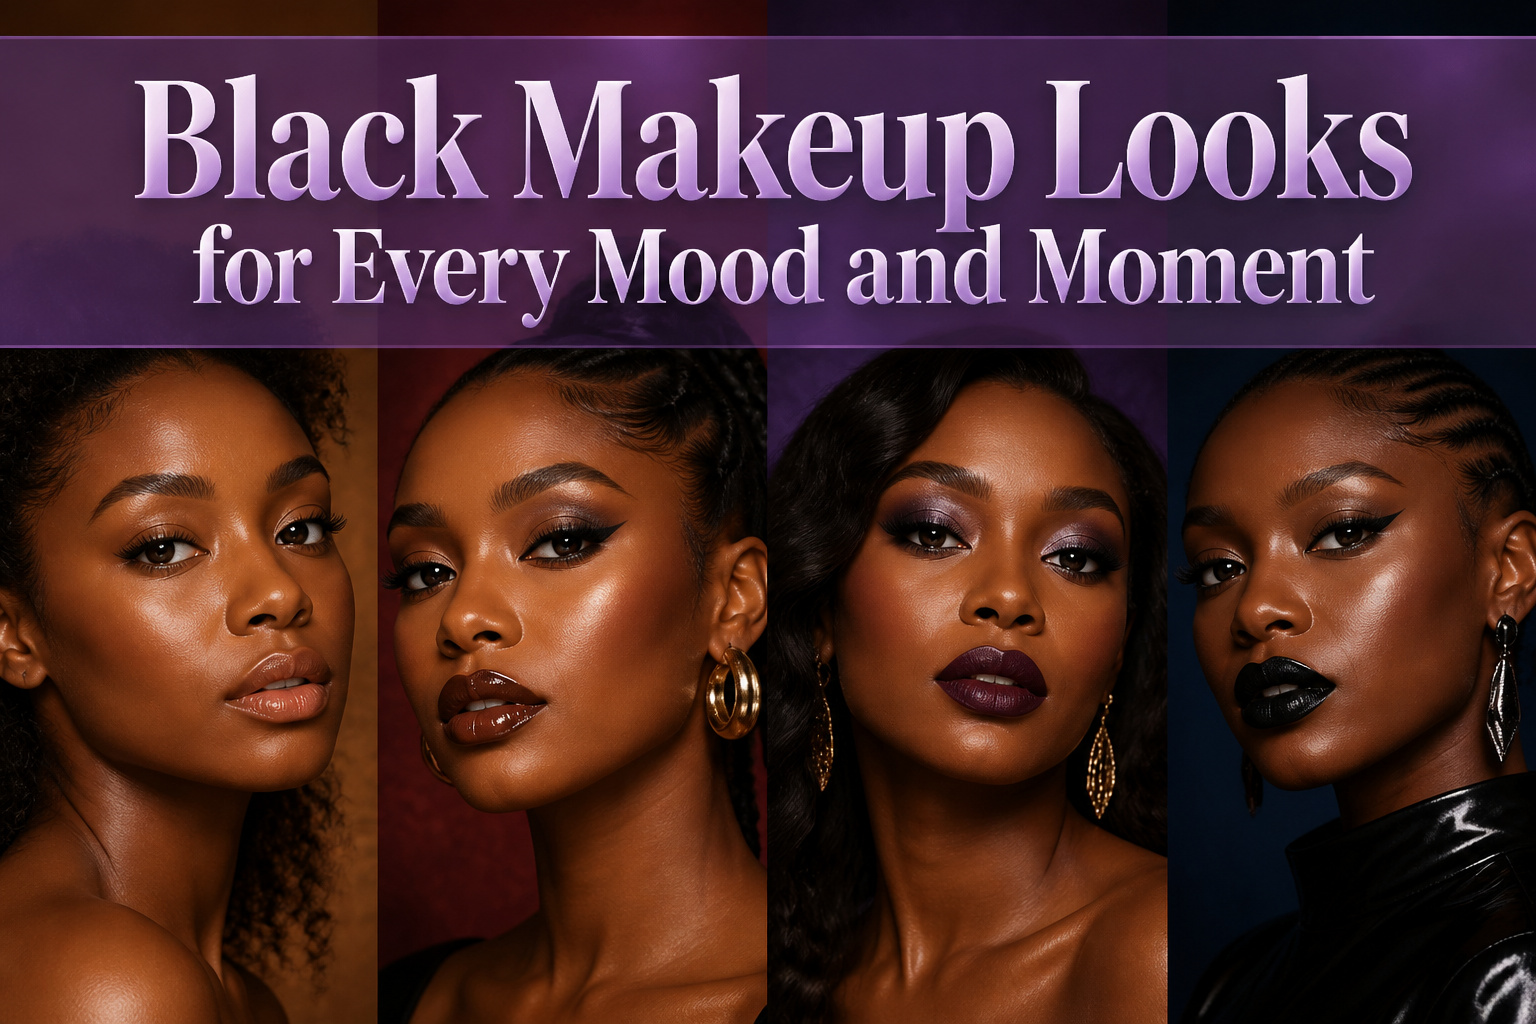
Black makeup looks shift from barely-there nude to total blackout, and the deciding factor is undertone. Get it wrong and even expensive pigment turns ashy or muddy on deeper skin.
L’Oréal Paris built forty foundation tones in their Infallible line specifically so "nude" stops defaulting to one color, which tells you how central that match is to everything that follows.
1. Nude Makeup That Actually Matches
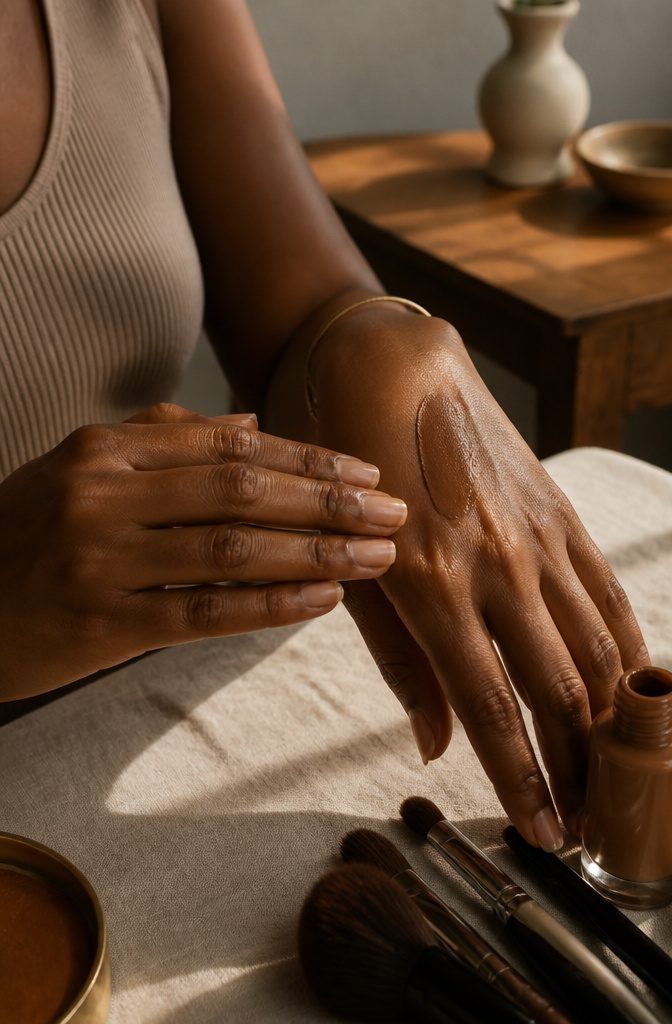
Nude makeup on dark skin takes a base that actually reads as skin, not as chalk.
What convinced me, reading through the shade ranges, was L’Oréal Paris staking forty foundation tones on the Infallible 24 Hour Fresh Wear line so "nude" stops meaning one default color.
Their own guidance puts it plainly: nude isn’t representative of a single color.
The work starts with the Infallible Pro-Glow Lock Makeup Primer, then the True Match Super-Blendable Multi-Use Concealer and Tinted Loose Setting Powder to keep undertones intact rather than flattening them.
Eyes stay quiet with Colour Riche La Palette Nude. The payoff comes at the lip.
Ultra Nude and Cutting Edge Cork in the Ultra Matte Lipstick line both read as "my lips but better" on deeper skin, not as erased. That distinction is the whole look.

Tinted Serum with 1% Hyaluronic Acid: Skincare meets makeup. True Match Nude Hyaluronic Tinted Serum instantly brightens and evens skin while it hydrates, for a nude, radiant finish. Skin feels plump and hydrated in a 3-week consumer test.

Kevyn Aucoin Stripped Nude Skin Tint (DEEP ST 09 Shade for a Dark Skin Complexion Neutral Pink Undertones): this is a sheer lightweight, undetectable foundation. STRIPPED NUDE SKIN TINT is infused with skin-caring benefits that provide a naturally even, smooth-looking complexion that feels like you’re wearing nothing. For all skin types: Normal, Dry, Combination, & Oily. Available in 10 shades: Tinted makeup foundation with blue light protection. Blurs blemishes for a natural even finish.

Quick Brightening: The essence foundation stick melts in one application, quickly conceals redness and fades spots, and even out skin tone. Its portable design makes touch-up super convenient
2. Full Brows
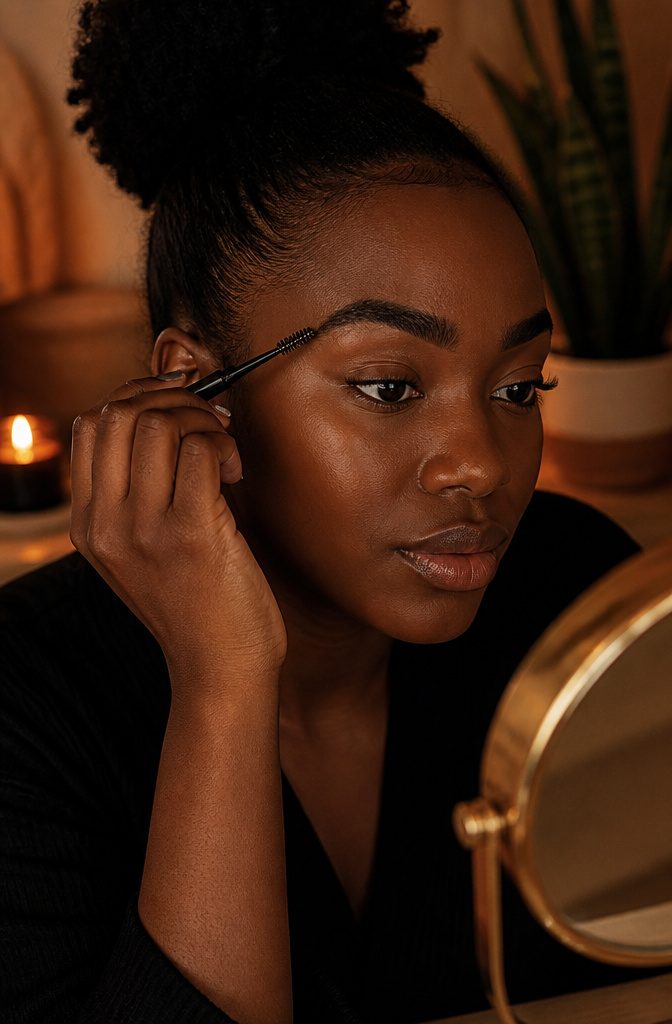
Brows frame the face, and full brows are the standard for Black girl makeup. They complement any eye look without competing for attention.
The method is straightforward. Start with clean brows, then fill sparse areas with a longwear waterproof brow gel.
An angled brush outlines and shapes the arch with feather-light strokes. A spoolie finishes the job, blending everything so the result looks like hair rather than paint.
The spoolie pass is what saves you from blocky, drawn-on arches. That thirty seconds of combing breaks up the product and lets your real brow texture show through.
For black makeup looks specifically, fuller brows balance heavier eye intensity. The contrast reads as deliberate rather than accidental, and the face keeps its structure even under dim light or flash photography where thinner brows can disappear entirely.

PRIMER FOR MINIMIZING REDNESS: Minimize redness by using this versatile green-tinted primer.

SKIN-SMOOTHING and GRIPPING PRIMER: Your makeup. It’s not going anywhere. Prep skin with this gel-based face primer that has the power to grip your makeup while giving skin a natural finish for a smoother complexion.

Face Primer For Up To 24H Wear: Drip, glide, grip with Grippy Serum Primer. This face primer for makeup is ultra blendable with Serum-To-Grip technology, after 20 seconds the fresh serum texture transforms to a sticky feel that grips makeup for up to 24H
3. Glossy Eyes
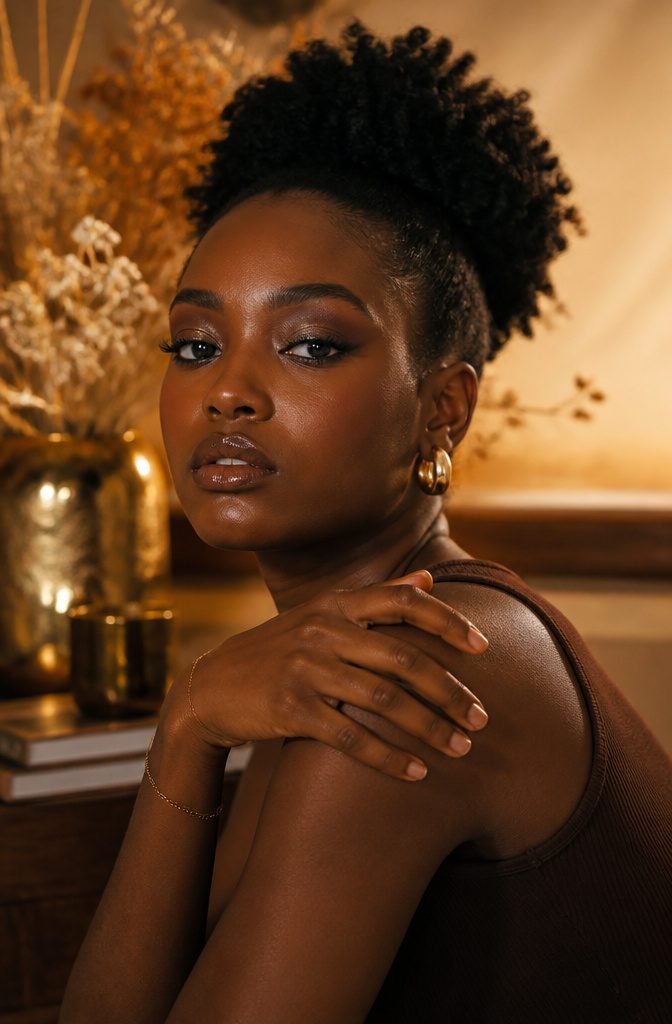
Glossy eyes read arresting on deeper skin tones when the shade underneath carries some warmth.
Earth tones are the move here: dark green, brown, and gold all deepen the undertone instead of competing with it, and the gloss catches light at the center of the lid like wet stone rather than like sweat.
The crease is where this look betrays you. A cream or liquid shadow with a built-in sheen sets better than powder alone, which separates into fine lines within an hour if you layer gloss on top.
What worked, reading through enough tutorials to qualify as a small obsession, was laying down the color first, letting it dry to the touch, then tapping clear gloss only on the mobile lid with a fingertip.
The warmth of your finger melts the product in without dragging the base. A flat brush delivers too much at once and slides the pigment toward the brow bone by noon.
Black shadow underneath the gloss turns the whole eye into liquid onyx, but the same crease warning applies doubly: sooty pigment migrates fastest when it is wet.
Set it with a matching powder before the gloss goes on, or accept that the smudged-rainstorm look is the entire point and skip that step on purpose.
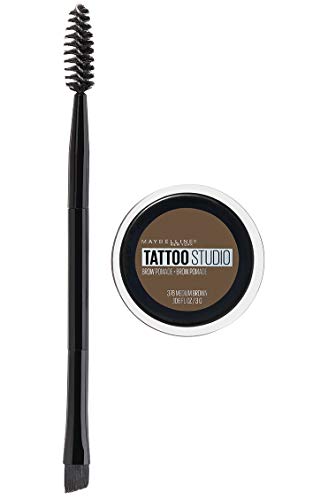
Brow Pomade: Achieve the look of full, sculpted, and natural looking eyebrows with this smudge-proof brow pomade designed to perfectly match your color and formulated for long-lasting, waterproof wear

DUAL-ENDED WITH SPOOLIE: This brow pencil features a precision tip on one side and a spoolie brush on the other to shape, blend, and groom brows to create natural-looking brows—rain or shine!

Shapes, defines, and fills in brows for a natural, polished look.
4. Metallic Eyes
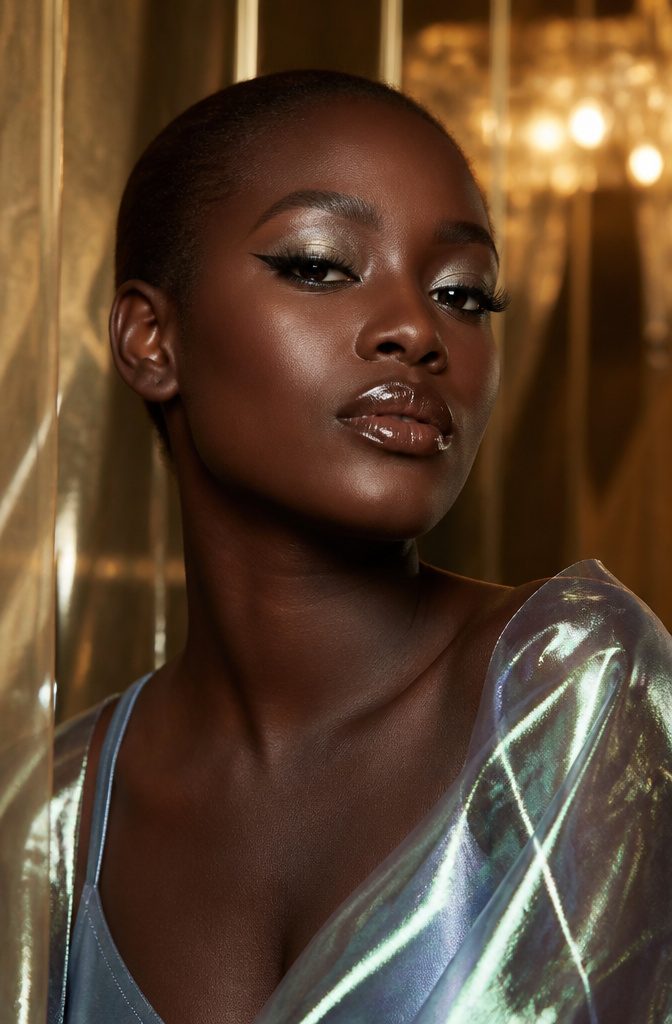
Metallic shadow on dark skin reads expensive even when the product isn’t, because the contrast does the work for you.
Dampen your flat brush with setting spray before dipping into the pan; this is what separates a foil that stays where you put it from glitter that migrates to your cheekbones by noon.
Gray metallic shimmer across the lid, anchored with black liner at the lashline and black shadow pulled through the outer corner, gives that mirrored finish without reading costume.
Crushed foils in cool stone shades sit especially well on deeper complexions, where warmer metallics can turn ashy.
The fallout problem is real, so tap the brush and work eyes before complexion. Lasting radiance on dark skin is less about the price tag and more about that wet-application step most people skip.
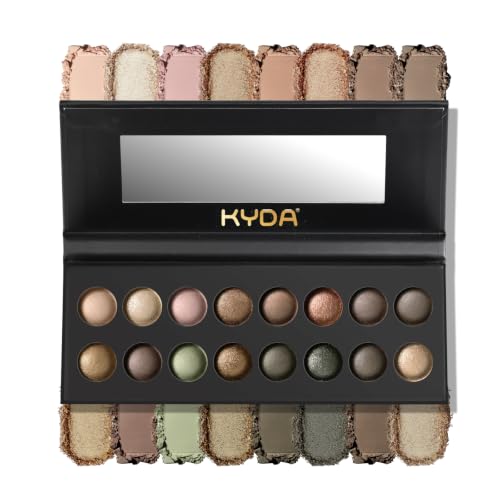
KYDA BAKED EARTH EYESHADOW PALETTE - We offer 16 tones, including gorgeous neutral colors, brown and earthy tones, cool and warm matte shimmer tones, as well as high glossy highlighter tones. This baked powder palette can be used as eyeshadow, highlighter and contour.

Shimmering Golden Eyeshadow with High Pigmentation – A warm, golden shade with a radiant finish, delivering rich color payoff and long-lasting wear for a glowing, sunlit eye look.

This eyeshadow kit is a collection of great shades handpicked by our makeup pros and designed to make your eye look go from day to night.
5. Purple Lips
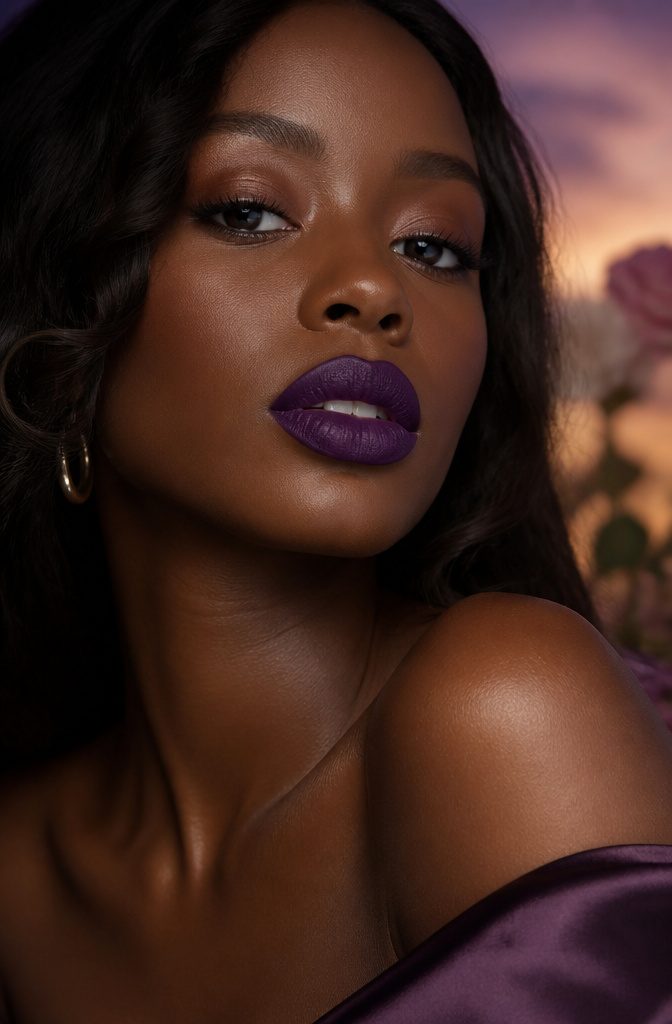
Purple lip color on darker skin lives or dies by the undertone. Berry Extreme, a Colour Riche Ultra Matte shade, leans warm enough that it reads rich rather than ashy on golden and olive undertones.
Matte-Jestic carries a cooler violet base that pops against neutral or red undertones but can turn muddy if your complexion runs golden–so try it near a window before you commit.
Both formulas are highly pigmented, which matters more than you’d think: sheer purples separate on darker lips and end up looking patchy by noon.
Apply straight from the bullet for intensity, or blot once and press with a fingertip for a stained effect that still registers as deliberate color.
Skip the lip liner unless you’re evening out an uneven natural lip line; these mattes hold their edge well enough on their own.
If your undertone is warm, Berry Extreme is the safer bet; cooler or neutral undertones can carry Matte-Jestic without it turning chalky.

Ultimatte slim lipstick has rich color pigments that deliver bold color to lips, like More Blonde, a sandy nude color. The extreme matte finish has a smooth cushiony and comfortable lightweight feel that glides on for all day lip color

L’Oreal Paris Colour Riche Ultra Matte Nude Lipsticks - Highly pigmented, super matte finish - In one stroke, experience rich lip color and comfortable wear

Creamy, mousse-like texture feels soft and light on the lips.
6. Brown Lips
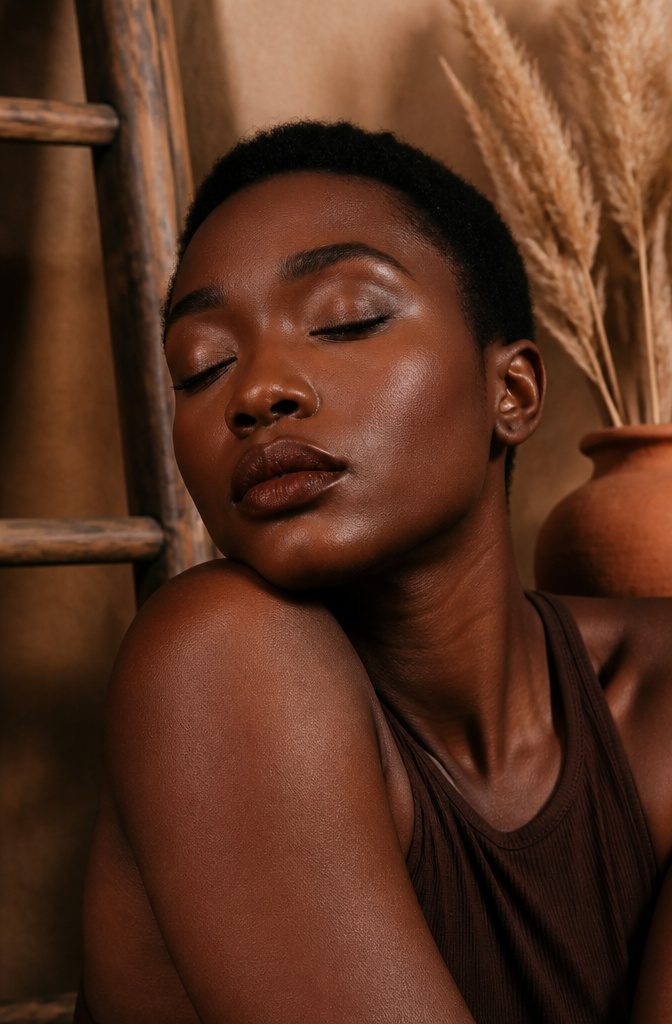
Brown lipstick on dark skin reads as intentional, not accidental.
The right shade does not ask for attention; it settles the whole face. I Explore and He Thinks He’s Matte-Cho are the two to know here.
I Explore, a matte lip stain, sits in that warm middle ground between chocolate and taupe. He Thinks He’s Matte-Cho, a Colour Riche Lipstick, leans deeper and cooler, almost coffee-bean against deeper complexions.
The real payoff is what brown lips do for the rest of the makeup.
A bold brown matte lip like the ones Venita Akpofure has worn carves definition at the mouth and lets the eyes go bigger without the face feeling crowded.
Winged liner, shimmer on the lid, even a smoked-out corner, brown holds it all down. It is the anchor move: the lip stays quiet so the eye can talk.
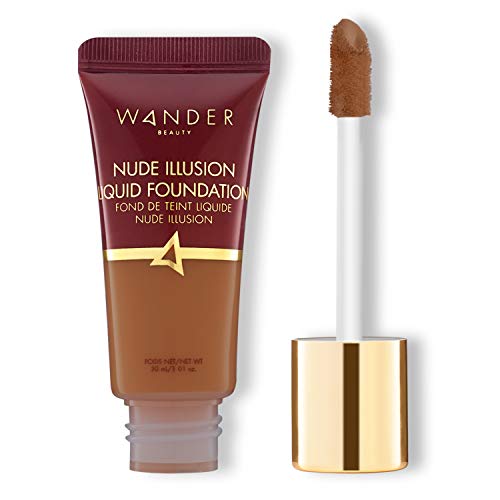
The Perfect Nude Foundation - This weightless liquid foundation delivers an undetectable finish that makes blemishes, redness and discoloration disappear.

Flawless foundation full coverage,covering fine lines and wrinkles for radiant, beautiful coverage.

Hydrating, Buildable Colour: Buildable tinted balm that blurs and evens out skin tone. This multitasking stick instantly blurs imperfections for a smoother look and a fresh-faced glow.
7. White Eyeliner
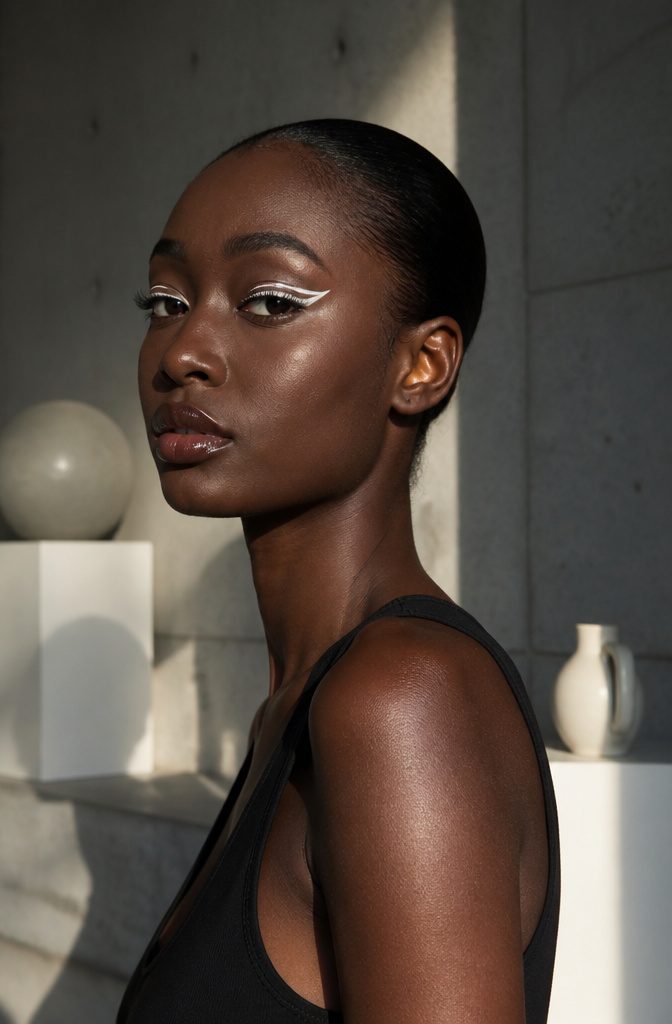
White eyeliner on dark skin works as a reversal of the usual purposes of brightening the eye area through contrast, not camouflage.
The old advice warns against white, cream, and frosty shades altogether, but that caution misses what the pencil actually does when placed deliberately. It reflects light against deeper skin tones in a way that reads fresh rather than ashy.
Three placements make the difference.
The obvious one is the waterline, rimmed to make the eye look bigger and more awake. The inner corner gets the same treatment for a targeted flash of light.
Graphic applications are where it gets interesting: lining the lower inner lash line in white, then building the rest of the lid and socket in black shadow pulled toward the outer brow, creates that black-swan effect of deliberate opposition between light and shadow.
For a full graphic shape, the starkness is the point.
The white does not blend; it sits there as a hard edge against the black. That contrast is what registers as intentional and modern rather than outdated.

PORE MINIMIZING & ANTI-WRINKLE PRIMER: The pore-minimizing formula of our primer face makeup tightens pores and gives a lifting effect to dull and saggy skin. This makeup primer for face with collagen helps to minimize the appearance of wrinkles, fine lines, and smooth skin texture so that it avails skin to be seamless.

SKIN-SMOOTHING and GRIPPING PRIMER: Your makeup. It’s not going anywhere. Prep skin with this gel-based face primer that has the power to grip your makeup while giving skin a natural finish for a smoother complexion.
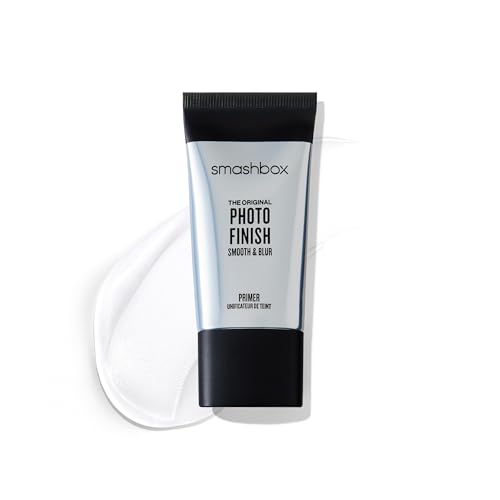
Formula: Instantly smooths and blurs the appearance of fine lines and pores, creating a flawless base that helps makeup apply more evenly and last longer throughout the day.
8. Bronzed Monochromatic Makeup
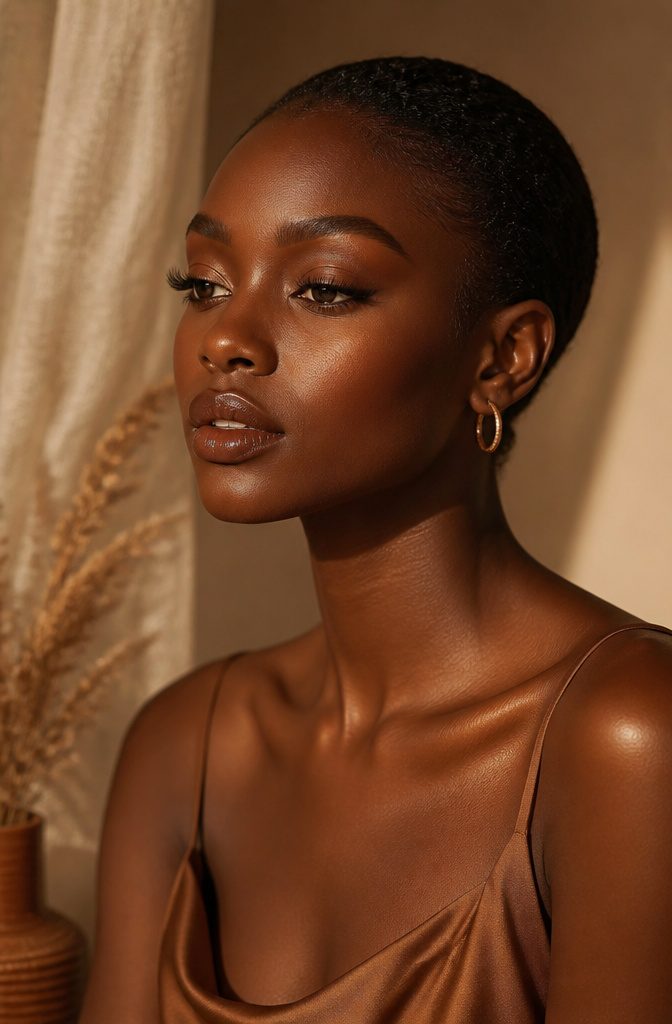
Bronzed monochromatic makeup reads as expensive without the matching price tag, and on deeper skin it does something flashier formulas rarely manage: it defines bone structure while warming the whole face from the same tonal family.
The trick is carrying one bronze across three zones without letting everything go muddy.
For the cheek hollows, L’Oréal Paris True Match Lumi Bronze It Bronzer in Deep gives the sculpting definition that keeps a monochromatic look from falling flat.
I carry whatever dust remains on the brush through the crease and lower lash line, then press a fingertip of the same color into the center of the lips and sheer it outward.
The source tutorial pairs this with their True Match Blush in Sweet Ginger on the cheeks for a bronze flush, which tells me the line wants these products to layer rather than compete.
The common mistake is treating each feature as its own island. Eyesread heavy if the cheek is bare; cheeks go muddy if the lip carries too much brown underneath.
What works is building in stages, checking the face at arm’s length between each layer, and stopping the moment the tones start talking to each other rather than shouting.

TattooStudio Eyebrow Mascara: Create fuller-looking eyebrow definition that lasts for days with this smudge-proof waterproof eyebrow gel; Fill in, shape, and define brows with the eyebrow spoolie brush and sculpting tip for fuller, thicker-looking brows

SCULPT AND DEFINE BROWS: Use this professional eyebrow cream to easily fill and shape arches for a captivating look that stays precisely in place
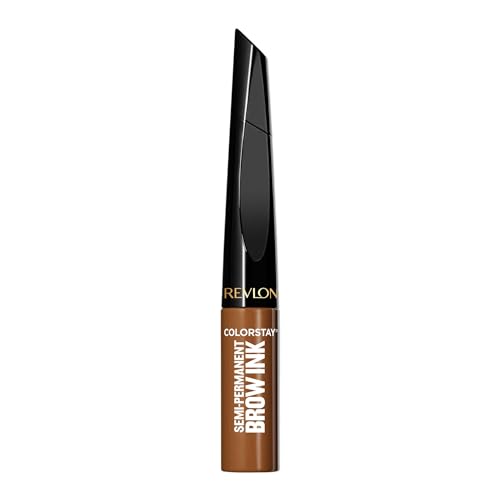
FIRST TO MARKET : Semi-permanent brow technology creates expert, salon-quality brow looks that last for 3 days
9. Contrasting Eyeshadow
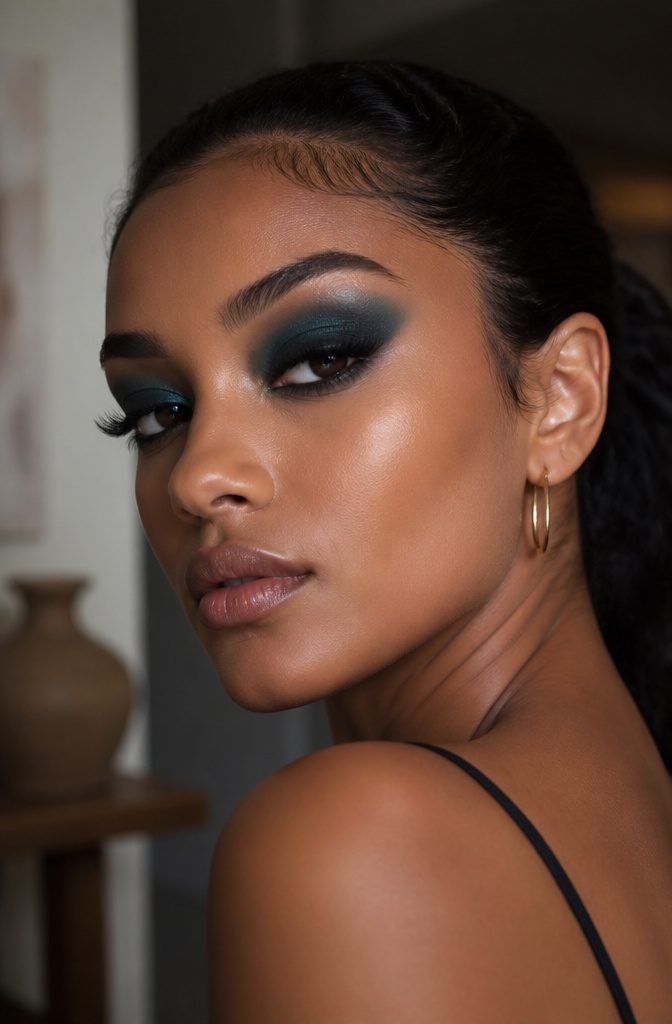
Black eyeshadow on dark skin reads as depth, not drama, which means you can push the contrast further than you might think.
The trick is choosing a color that sits opposite black on the color wheel rather than next to it.
Teal against black creates the sharpest pop, because cool tones separate cleanly from near-neutral darkness without muddying. Warm orange or sunset shades work too, but they need more patience in the blend or they sink into the same visual register.
The blend matters more than the pigment.
I start black on the outer corner and lid, keeping it matte and controlled, then press the contrasting shade onto the center of the lid with a finger before touching it with a brush.
Lower lash line color is where I build the real contrast: a sweep of teal or purple along the bottom, smoked out just enough that it reads as intentional shape rather than smudge.
The L’Oréal Paris Colour Riche Monos in Teal Couture layered under a sunset orange on the upper lid gives that sky-at-dusk effect that actually photographs against deeper skin, where paler complexions wash it out.
Primer is non-negotiable here. Black fallout destroys the contrast you just built, and without a gripping base, the darker shade creases while the bright one stays put, creating two timelines on one eyelid.
A layer of primer evens the canvas so both colors age at the same rate.
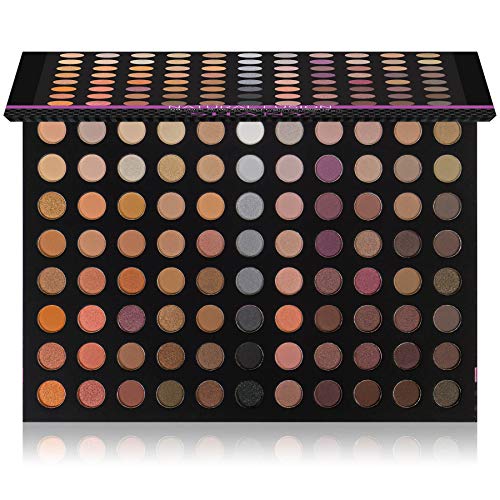
SHANY NATURAL FUSION Palette Includes : 88 Neutral and nude eyeshadow colors with natural looks. 29 matte eye shadow colors with 59 ultra shimmer tones. The make up palette is designed with long-lasting formulation for mixing and blending colors.

Cool-Tone Nude Matte Shades for Effortless Smokey Eyes - This mini eyeshadow palette includes 6 cool-tone nude and grey matte shades designed to create natural daytime looks or a classic cool smokey eye. Neutral colors flatter most skin tones and eye colors, making it a versatile essential for everyday makeup and special occasions.

VERSATILE COLOR PALETTE: Features 24 highly pigmented eyeshadow shades in warm browns, earthy greens, and neutral tones perfect for creating both professional and everyday makeup looks
10. Purple Eyes
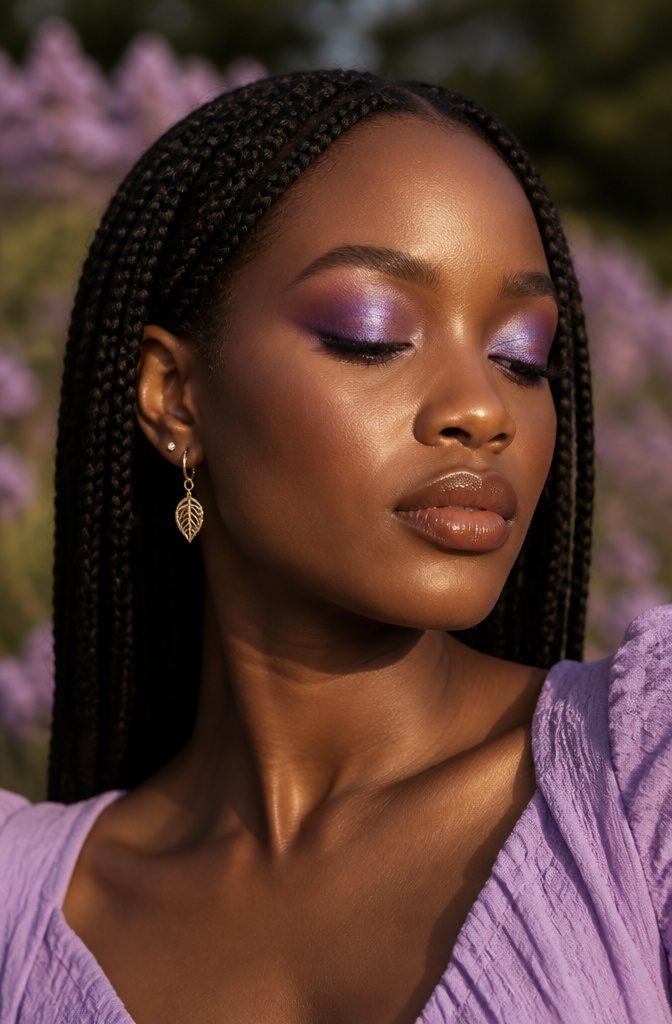
Purple eyeshadow on dark skin rewards anyone willing to move past the one-shade-fits-all approach you see in most tutorials.
Lavender sits surprisingly well as a wash across the lid, though the payoff improves when you build it over a skin-tone primer so the color reads true rather than ashy.
Deep plum does the heavier lifting for evening, especially when you press it into the outer corner with a fingertip instead of sweeping with a brush, which keeps the pigment dense where you want it and avoids the muddy fade that happens when purple blends too far toward the brow bone.
Liner choices split the look in half.
A black liquid wing grounds lavender and keeps it from feeling too ethereal for daytime. For plum, a brown pencil smudged along the lower lash line adds warmth that complements the shadow rather than competing with it.
I have seen both combinations fail when the liner is too sharp or too soft, so the smudge matters as much as the shade: tight and crisp for lavender, blurred and lived-in for plum.
Skip colored liner entirely here, blue or green will fight the purple instead of letting it sing.
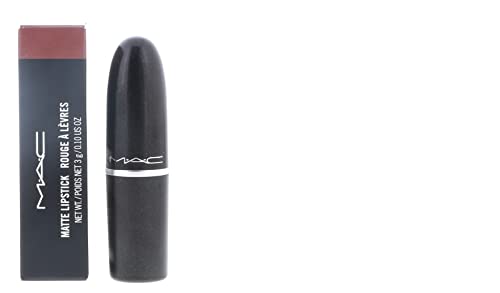
MAC Lipstick Lippenstift Matte Lipstick Taupe

Creamy Matte: Oulac Kissproof Liquid Matte Lipstick glides on smoothly like a ice cream but dries instantly to an comfortable true matte, non-greasy powder matte finish
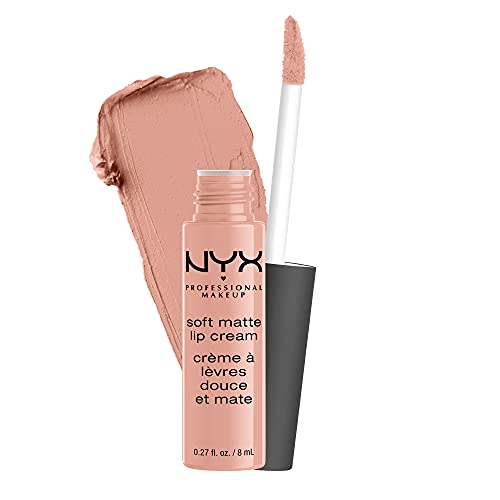
Soft Matte Lip Cream: Creamy soft matte coverage that never feels dry, in matte nudes and red lipstick shades inspired by world cities; Slide on a Soft Matte Lip Cream and instantly transport yourself
11. Smoky Eyes
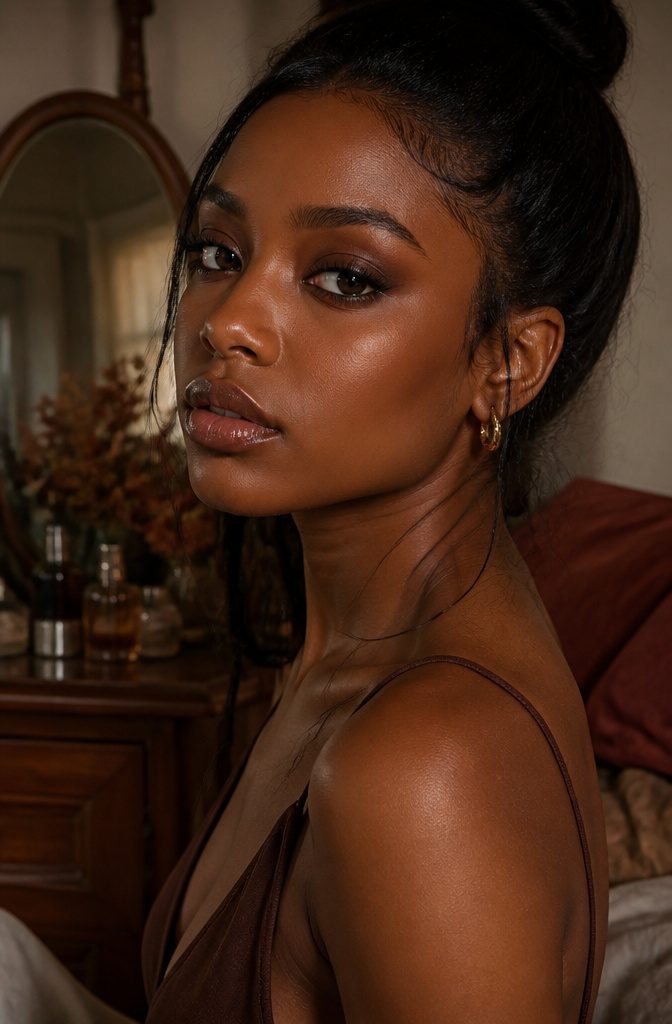
The classic smoky eye gets rebuilt, fast, when you stop assuming black and silver are the starting point. For dark skin, brown smoky eyes carry the depth without the harsh edge that cooler tones leave behind.
Warm browns layer in a way that reads as shadow rather than stripe, and they give the eye socket actual dimension instead of a flat, dark lid.
The mistake I kept making for too long was skipping a true transition shade.
A mid-tone brown, something two steps lighter than your final color, is what lets the darkest pigment melt into your bare skin. Without it, you get a hard stop at the crease that no amount of late-night blending fixes.
Blend upward into that transition for a full ten seconds longer than feels necessary, because the warmth of brown can pool unevenly if you rush.
Patience with persistence is what separates a smoky eye from a smudged one.
Darker at the lashline, fading to nothing at the brow bone, and the gradient has to be visible up close in daylight, not just in bathroom mirror dimness.
12. Glowing Skin
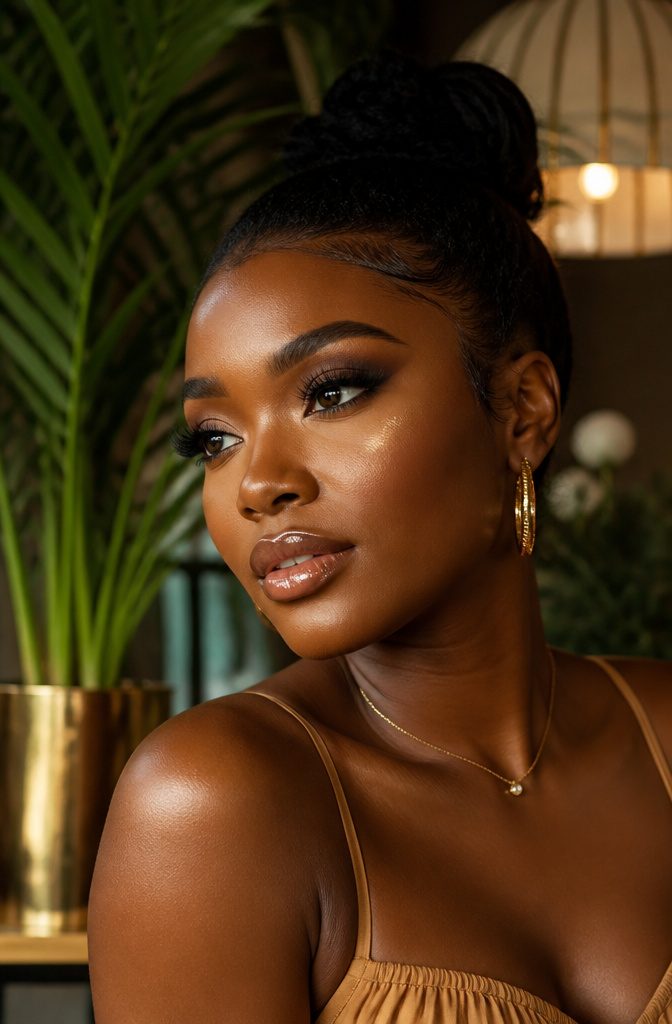
A lit-from-within base on dark skin is less about where you place highlighter and more about what goes underneath.
Mixing a few drops of L’Oréal Paris True Match Lumi Glow Amour Glow Boosting Drops into your primer gives that radiance without the stripe of shimmer that reads metallic under certain lights.
Smooth the blend across the full face, then seal it with foundation so the glow sits beneath the surface rather than on top of it.
The intensity is yours to control: more drops for evening, fewer for daylight when overhead office fluorescents are already doing enough.
I have seen the difference between this and spot-highlighter alone, and the all-over approach wins for anyone who wants their skin to look like skin that happens to catch light, not skin competing with it.
13. Soft Contour
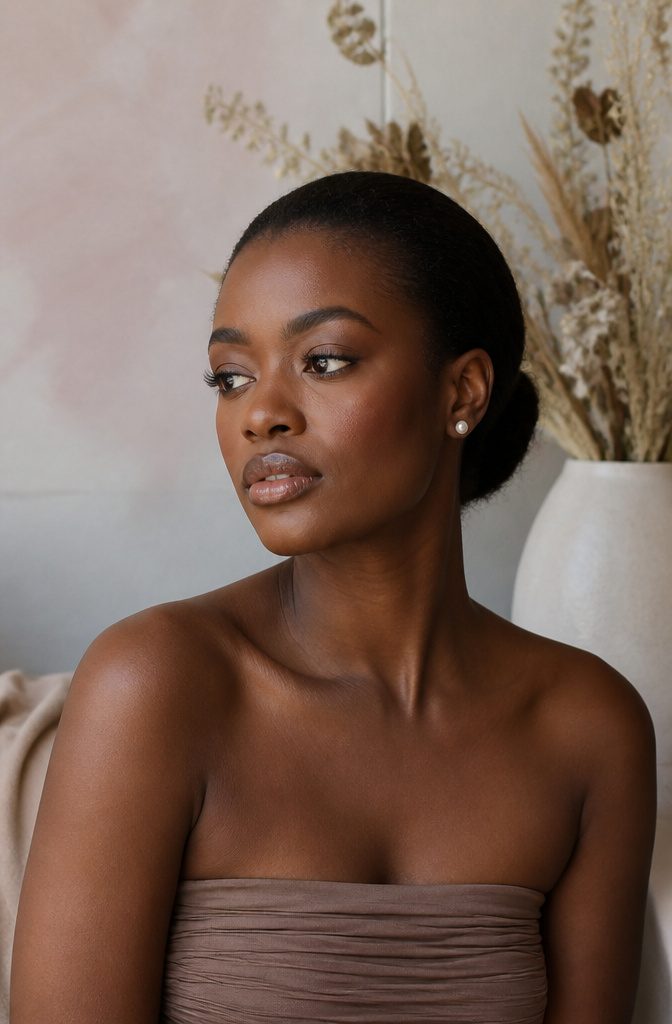
A soft contour on dark skin works best when the product stays close to your actual tone.
Your concealer only needs to be one to two shades darker than your skin tone to create believable shadow instead of a stripe that sits on top.
Placement matters more than intensity. I sweep the deeper shade along the hollow beneath the cheekbone, up toward the temple, and lightly under the jawline.
The trick is keeping the product narrow where the bone rises and diffusing it before it reaches the center of the face.
Blending is what separates definition from dirt. I use a damp sponge or a dense brush and work in small circles until the edge disappears into foundation or bare skin.
Harsh lines read as theatrical on camera and artificial everywhere else; the goal is someone noticing your bone structure, not your makeup technique.
14. Sunset Eyes
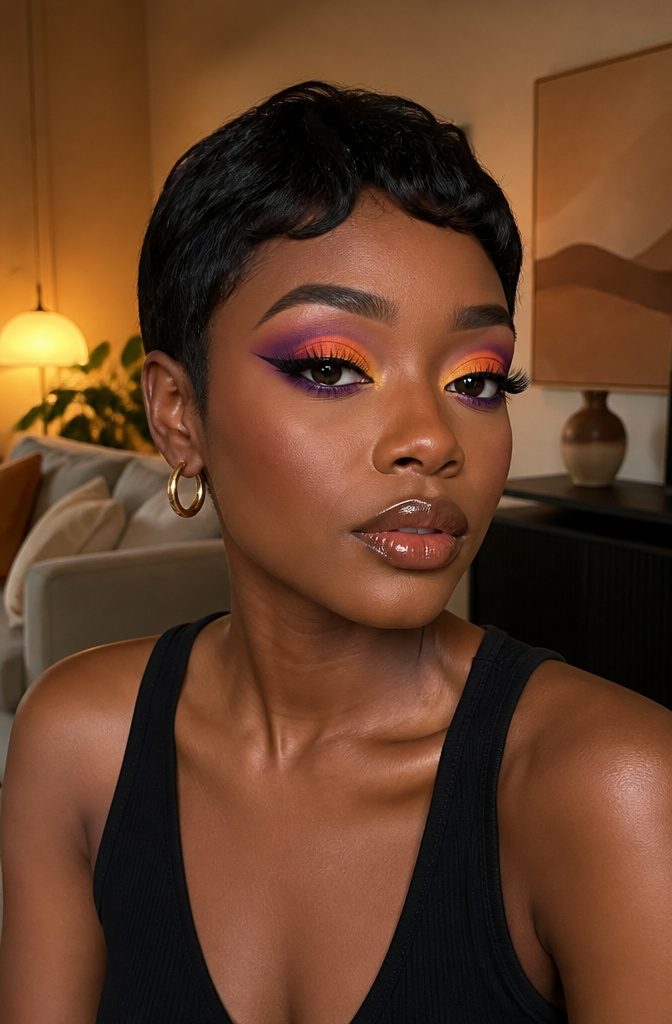
Sunset eyeshadow on dark skin is one of those looks that actually earns the drama it promises, but the order of application matters more than the palette price.
Purple belongs in the outer corner and crease, orange sweeps across the lid center, yellow pops on the inner corner and brow bone, and pink softens the boundary between orange and purple so no single shade fights another.
The transition between each color needs a clean blending brush, not the same one carried through every step; shadow builds where a dirty brush drags pigment where it does not belong.
Gold eyeliner along the lash line pushes the whole thing toward evening without adding another competing shade.
The ombré technique works here, lightest to darkest, but on dark skin the yellow and orange read as the lights rather than any pale base, so the gradient moves through warmth instead of value.
Three shadows minimum, though four or five give more room to soften: a transition shadow between each main player keeps the edges from reading as stripes.
15. Striking Lines
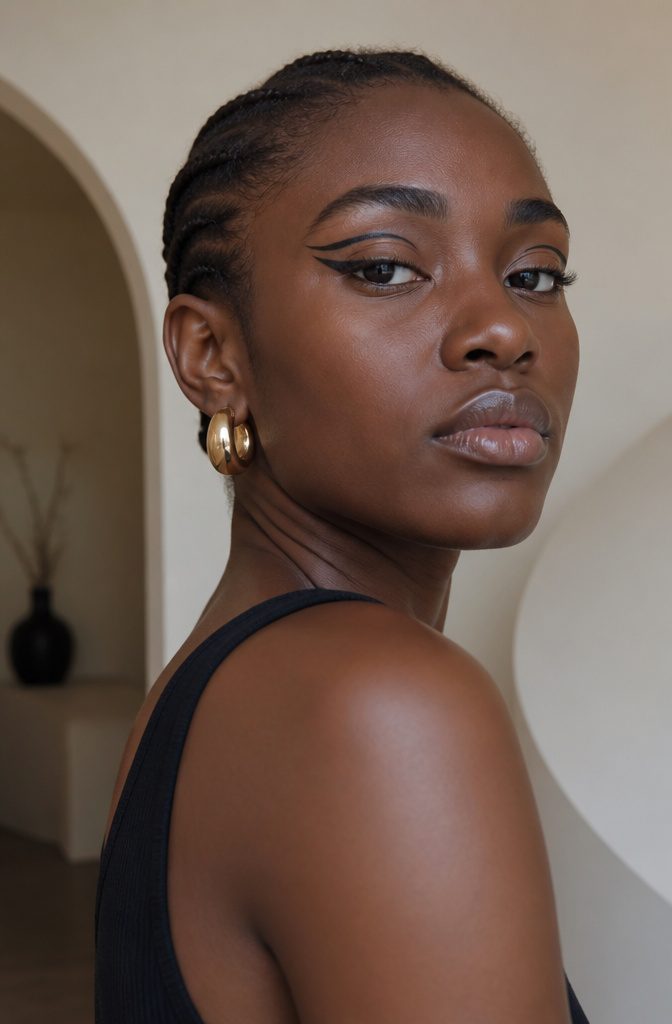
Graphic liner lives or dies by the tool in your hand.
A felt-tip liquid liner with real pigment load, something like Gerard Cosmetics Eternal Eyeliner in Noir, lets you build the line in short strokes instead of praying for one perfect pull.
The first time I tried a sharp inner-corner wing, the line wobbled halfway across my lid; short strokes fixed it, and now that’s the only way I work.
Dark skin carries sharp geometry better than most people assume. Ashy formulas or half-pigment blacks disappear into melanin-rich skin and read as gray smudges instead of architecture.
The contrast of true black against deep undertones is what makes negative-space liner, where the lid stays bare between a crisp wing and a smoked lash line, actually register from across a room.
Clean the shape with concealer if the smoke drifts; the geometry is the whole point.
Winged liner with no shadow in between, just that bare strip of lid and two sharp angles at inner and outer corner, demands the blackest black you can find. Anything less and the look collapses into a messy eye.
16. Hazy Gaze
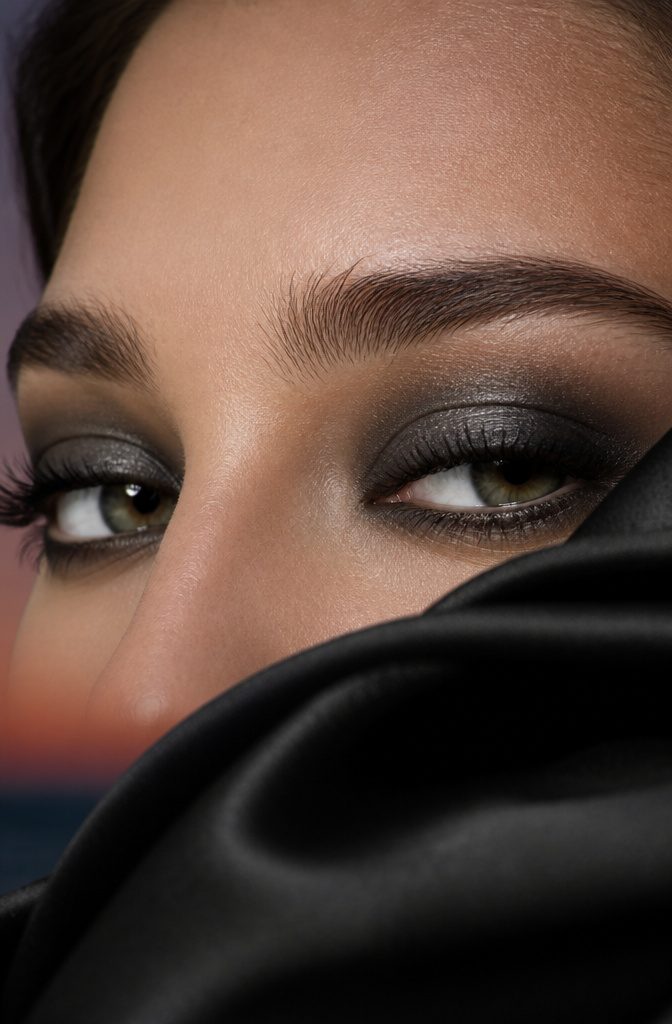
A blown-out black eye trades sharp lines for something that moves like smoke.
Rihanna’s version keeps the black at the outer corner only, then lets silver and gray shimmer take over the lid. The shape stays soft because nothing meets at a hard point.
On dark skin, the risk with diffused edges is muddying where the black ends and the skin begins.
The trick is layering a deep brown tone right at the edge of the black itself. Kim Kardashian’s makeup artist Renee uses this to keep the drama while the border stays gentle.
The brown acts like a translator between the black and your skin tone, so the fade reads as intentional haze rather than a blend that got away from you.
Matte black shadow does the heavy lifting here. Shimmer on the center lid catches light, but the black itself should stay flat to keep the look grounded.
Blend past where you think you need to, then stop. The blurred edge is the whole point, so resist sharpening it back up.
17. Sultry Smoke
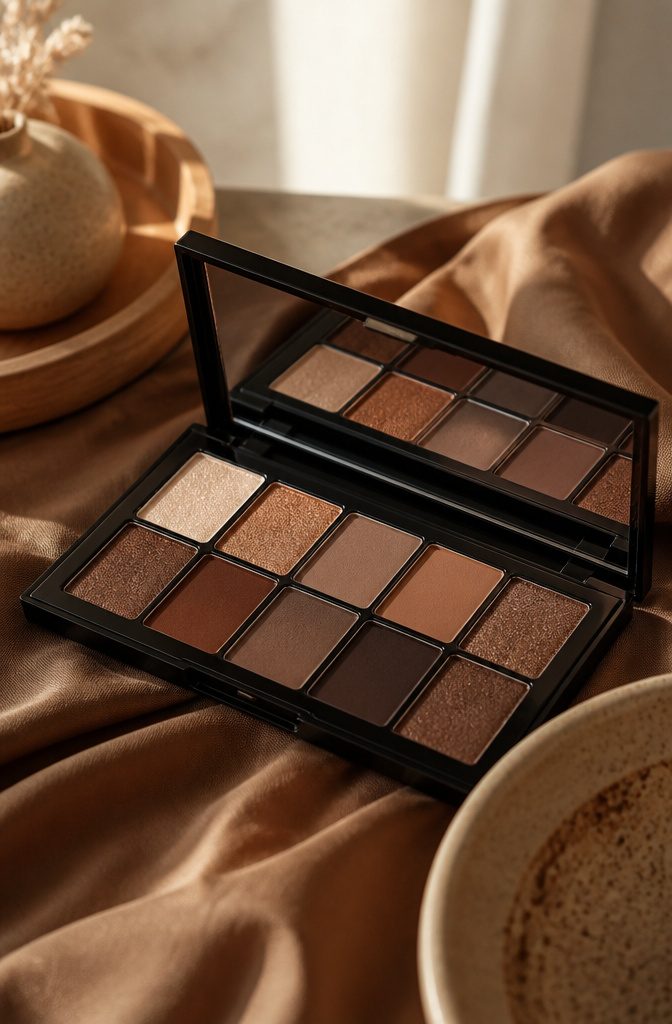
A smoky eye in brown reads warmer on dark skin than the classic black-and-silver pairing that can turn ashy fast.
The trick is building depth without losing the gradient: start with a matte brown two shades deeper than your skin tone, pressed across the lid with a flat brush, then sweep a darker espresso through the crease with something fluffy.
Blend until the edge softens but stop before the colors muddy into one flat tone. The difference between sultry and slept-in is usually two extra minutes of blending.
Layer a tiny amount of black gel liner right at the lash line if you want intensity, but keep the smokiness upward in browns so the warmth stays.
On deeper complexions, a touch of bronze or copper shimmer at the center of the lid keeps the eye from disappearing into shadow.
Pat it on with a finger; brushes tend to diffuse shimmer into nothing. Skip silver entirely unless you are going for deliberate contrast.
The fade should lift toward the brow bone in stages, not streaks, and a clean brush with no product on it does more of that work than adding more shadow ever will.
18. Midnight Vibes
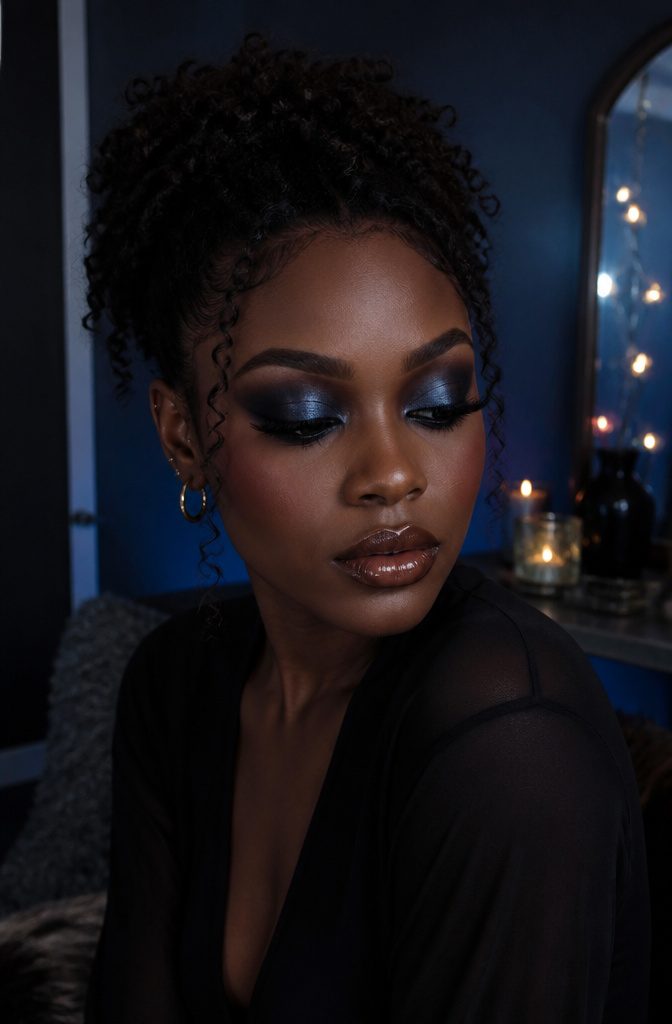
The deepest blue-black eye looks work because navy and black do not cancel each other out the way old rules claimed.
Taylor Swift’s Grammy glam proved the point: a black winged shadow smudged outward with navy blue read as near-black without falling flat. That touch of blue keeps the color alive under stage lights or office fluorescents alike.
On dark skin, dimension is what separates moody from muddy. A straight black cream shadow can disappear into the lash line and leave a featureless band.
Layering matters more than shade choice here: a black base, a navy pressed over it, then a dot of the same navy tapped onto the center of the lid when the eyes are open.
The technique catches light the way a flat wash never would.
Blue adds the galaxy note that keeps a black look from reading as bruised or unfinished. For extra movement, a finger-smudge of glitter placed only at the inner corner lifts the eye shape without breaking the midnight tone.
19. Inky Cut Crease
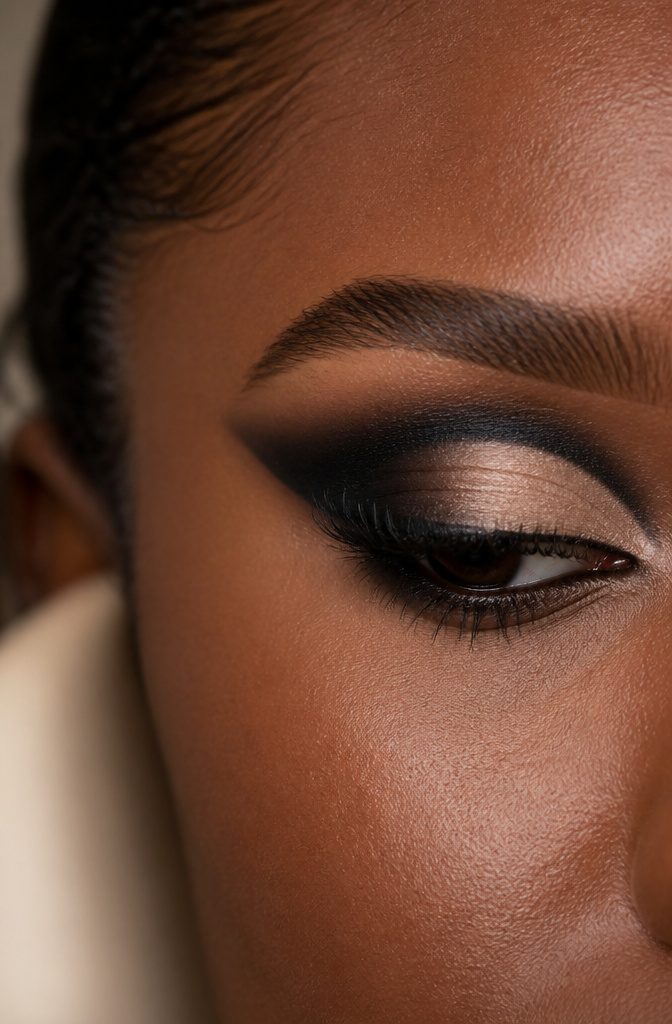
Black pigment in a cut crease reads differently on deep skin than it does on lighter tones.
The contrast you’re building isn’t against your natural lid color; it’s against the concealer you lay down first, and that concealer needs to be one tone lighter than your skin, not several.
Go too light and the look turns ashy, which is the same failure mode that haunts so many products not made with dark complexions in mind.
I start by blending black shadow across the lid with a fluffy brush, keeping the pigment dense and the edge soft.
Then comes the work: a small detail brush and that slightly-lighter concealer to carve the crease line with real precision.
The black below the cut does the visual heavy lifting, but the concealer above it is what makes the eye look bigger and the shape intentional.
Set the concealer with a tinted powder in a translucent medium-deep shade so the highlight stays put without flashback.
The finished shape should feel architectural, not accidental. On dark skin, the sharp line between black pigment and concealer creates a depth that softer looks never quite reach.
20. Total Blackout
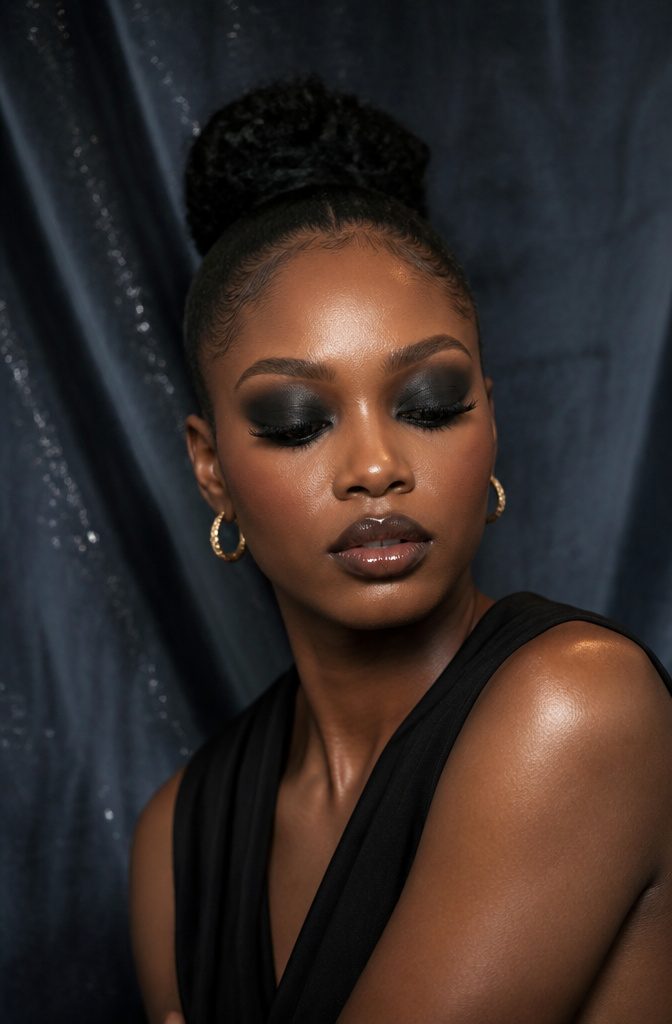
Black shadow from lid to brow only reads as depthless if you treat it as one flat wash. The trick is building in layers that catch light differently.
A gripping primer like the F.A.R.A.H Eyeshadow Primer stops the whole thing from creasing into a single muddy line, which matters more here than with any lighter color because black fallout shows on every skin tone and ruins the face you’ve already finished.
Start darker at the lashline and let it fade upward, the way a classic smoky eye builds its gradation.
Paris Hilton’s Met Gala version worked because it wasn’t uniform; the intensity sat low and softened as it rose, so the eye kept its shape instead of disappearing into a dark mass.
Blend the crease with a clean brush until no hard edge remains — that edge is what turns bold into bruised.
For the brow bone itself, a touch of black shadow mixed with a lighter shimmer or a sheer skin-tone shade keeps the arch defined rather than erased.
Tape from the outer corner to the brow tip can guide a winged ombré if you want structure, though I find freehand blending reads more modern and less costume.
The patience pays off in dimension: ten minutes of layering versus two of slapping it on is the difference between a statement and a mistake.
Frequently Asked Questions
What are some black makeup looks?
Nude makeup with true-to-skin tones, glossy eyes in earth shades, metallic and smoky eyes, bold lips in purple and brown, graphic liner, bronzed monochromatic faces, and full blackout shadow all work beautifully.
Fuller brows balance heavier eye intensity, while soft contour and glowing skin keep the base intentional. Each look adapts to deeper complexions by choosing undertones that complement rather than compete.
How do I achieve a smoky eye?
Start with a matte brown two shades deeper than your skin tone pressed across the lid, then sweep a darker espresso through the crease with a fluffy brush.
Blend upward into a transition shade for ten seconds longer than feels necessary; the warmth of brown can pool unevenly if you rush.
Darker at the lashline, fading to nothing at the brow bone, and the gradient must hold up in daylight, not just dim bathroom mirrors.
What lip colors work best for dark skin?
Purple and brown both earn their place, but undertone decides which shade wins.
Berry Extreme leans warm and reads rich on golden and olive undertones, while Matte-Jestic’s cooler violet base pops against neutral or red undertones but can turn muddy on golden complexions.
For brown, I Explore sits between chocolate and taupe, and He Thinks He’s Matte-Cho runs deeper and cooler, almost coffee-bean. Sheer formulas separate on darker lips, so pigmented mattes hold more reliably.