
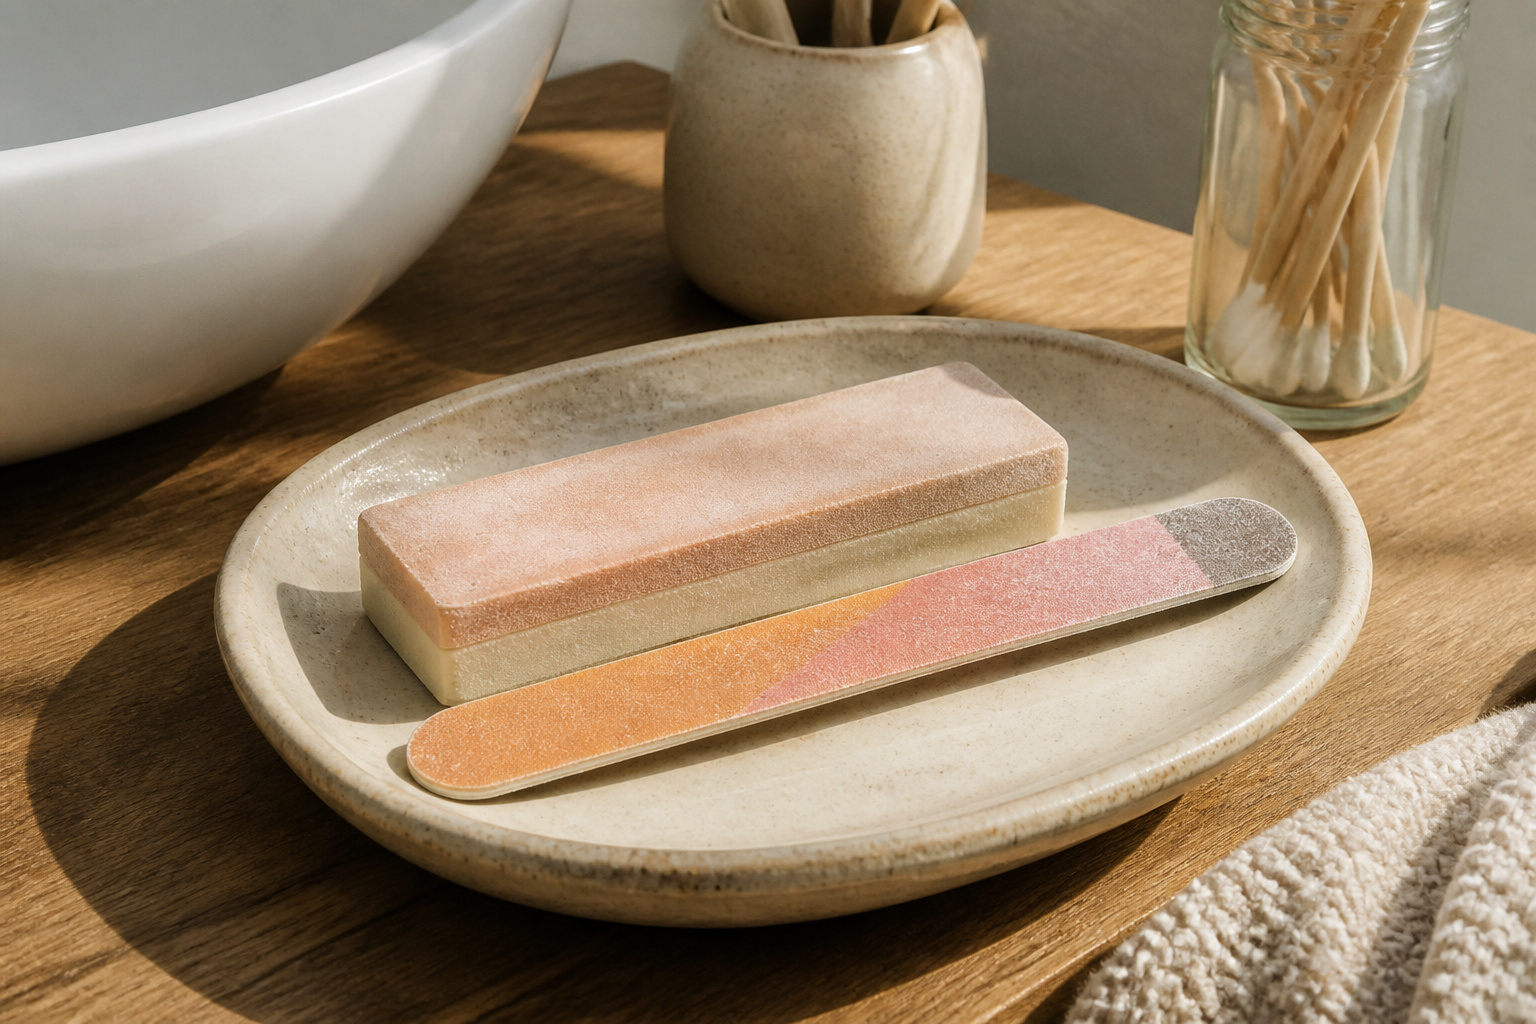
A nail buffer and a nail file are not interchangeable tools.
The buffer works the nail surface with cushioned, numbered grit sides to smooth ridges and polish the plate, while the file shapes the free edge with a rigid, flat surface.
Treating them as the same thing is where most at-home manicures go wrong: a 100-grit file on your nail plate will cause visible damage within two weeks, and a buffer will never sensibly remove length.
Purpose and Function
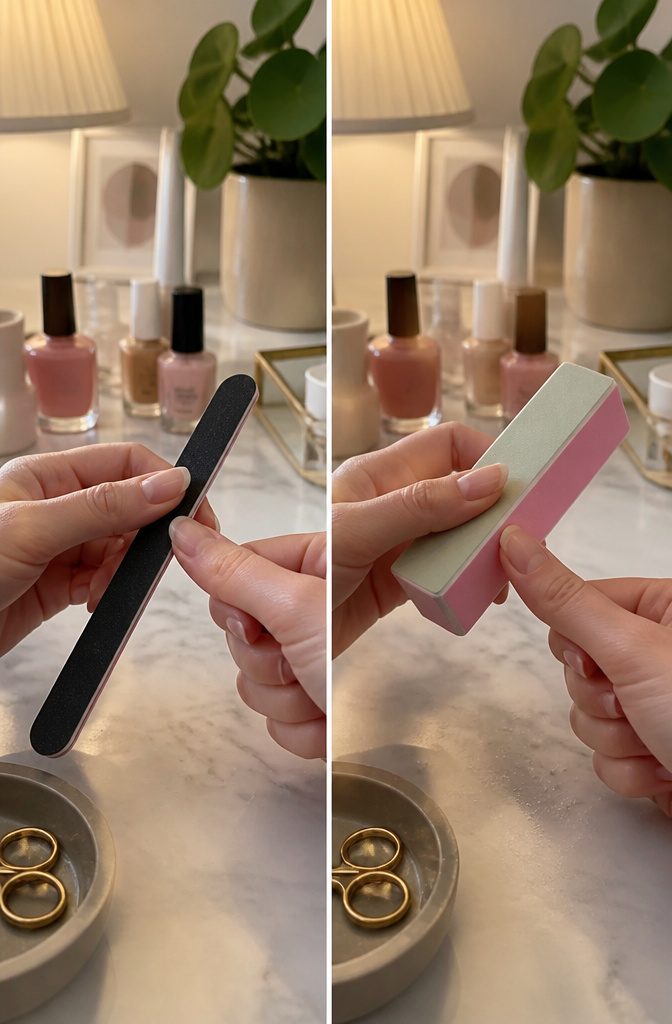
A nail buffer and a nail file do entirely different jobs on entirely different parts of the nail, and treating them as interchangeable is where most at-home manicures go wrong.
The buffer works the nail surface.
Its abrasive faces smooth out ridges, even out imperfections, and step up through finer grits until the nail plate takes on that glassy, polished finish. Done right, it improves how the nail looks and how healthy it feels.
Done too hard or too often, it thins the plate and causes lasting damage. Most buffers are built in a sequence: the coarser side starts the smoothing, and the progressively finer sides refine and polish from there.
Nail technicians also use them to de-shine the nail plate before applying product, which takes a different grit and a lighter touch than the finishing pass.
The file handles the free edge.
It removes length, shapes the nail into square or round or almond, and refines the rim so it does not split or snag. The grit numbers on files matter, same as on buffers.
Higher numbers mean gentler surfaces. But a file is for taking material off the edge and controlling the silhouette; it was never meant to polish the face of the nail.
Mixing these up means either scraping at your nail plate with a tool meant for edges, or skimming the free edge with a surface that will not remove length sensibly.
Most people figure out which they need in about three seconds once they picture where the problem is.
Rough top surface? Buffer.
Jagged corner or wrong shape? File.
Design and Material
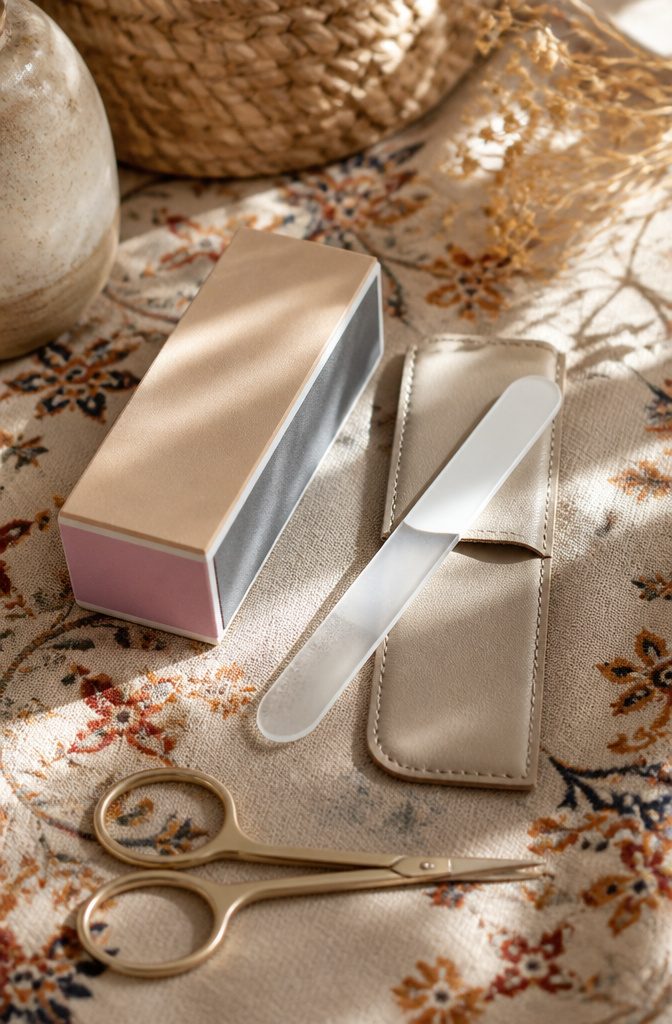
At first glance, a nail buffer and nail file look interchangeable, but holding each reveals construction built for entirely different jobs.
The buffer is a cushioned block, often with four numbered sides that step up through finer grits — typically 400 to 1200 for polishing — and a foam core that lets the surface flex against the curved nail plate.
That give distributes pressure evenly, which is why a buffer can smooth and shine without leaving flat spots or taking off more nail than intended.
Files are another story.
Whether they come as an emery board, glass, metal, or ceramic, the working surface stays flat and rigid. This is deliberate: shaping requires controlled, directional abrasion, and a file that bends would round edges unevenly.
Emery boards offer disposable convenience; glass files seal the keratin edge rather than shredding it; metal and ceramic run cooler for thicker nails. Each material trades longevity against feel, but all share that same unyielding plane.
What convinced me, comparing these across sources, was how the buffer’s physical softness directly enables its purpose while the file’s rigidity is equally non-negotiable.
Never use anything coarser than 240 grit on natural nails — the construction difference between tools matters less if the grit itself is wrong.
Usage and Benefits
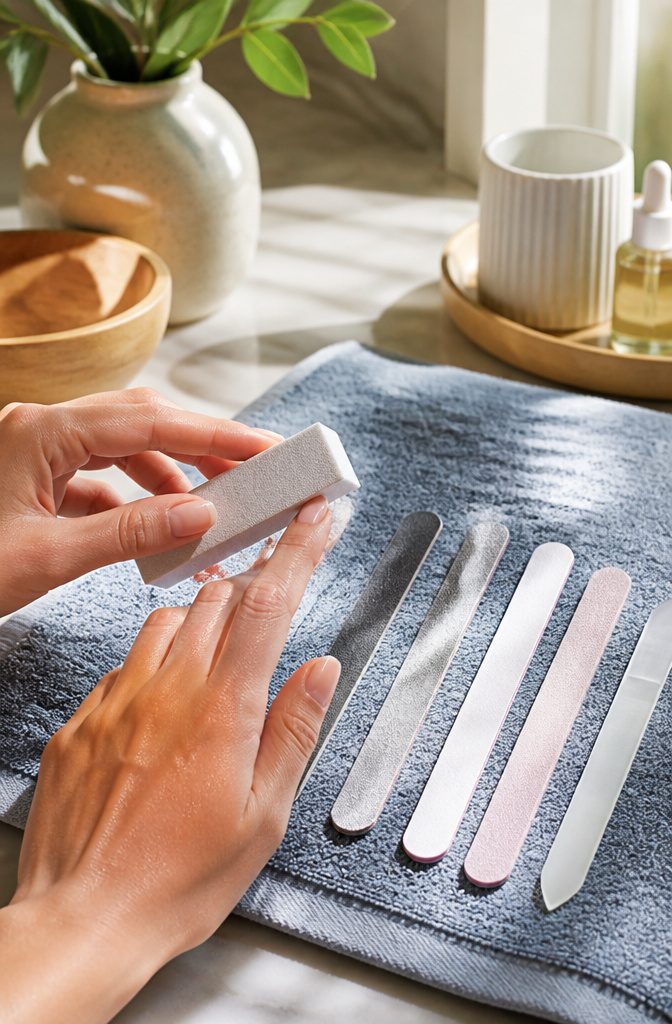
A buffer block with four numbered grit sides, starting around 240 and running finer, smooths ridges first and finishes with a glass-like surface that catches light even without polish.
Healthy nail growth gets a small boost from the circulation buffing stimulates, which matters most if your nails are naturally thin or slow to grow.
That same smooth base extends polish life by giving lacquer an even bed to grip, so manicures chip less at the edges.
Nail files carry grit labels, too, but a 100-grit surface removes length fast while 180 or 240 shapes without tearing.
The control comes from choosing the grit for the job: frequent shape changes need a finer file, quick length trims a coarser one. Precision lives in the free-edge work, the angle you hold against the nail.
For readers who switch shapes with their mood, a file is non-negotiable. Readers who want polished nails without the weekly upkeep of polish will reach for the buffer.
Brittle or splitting nails need the gentler end of both tools, finer grits all around, since the surface layer lost to either tool is surface layer you do not grow back overnight.
Ideal Users
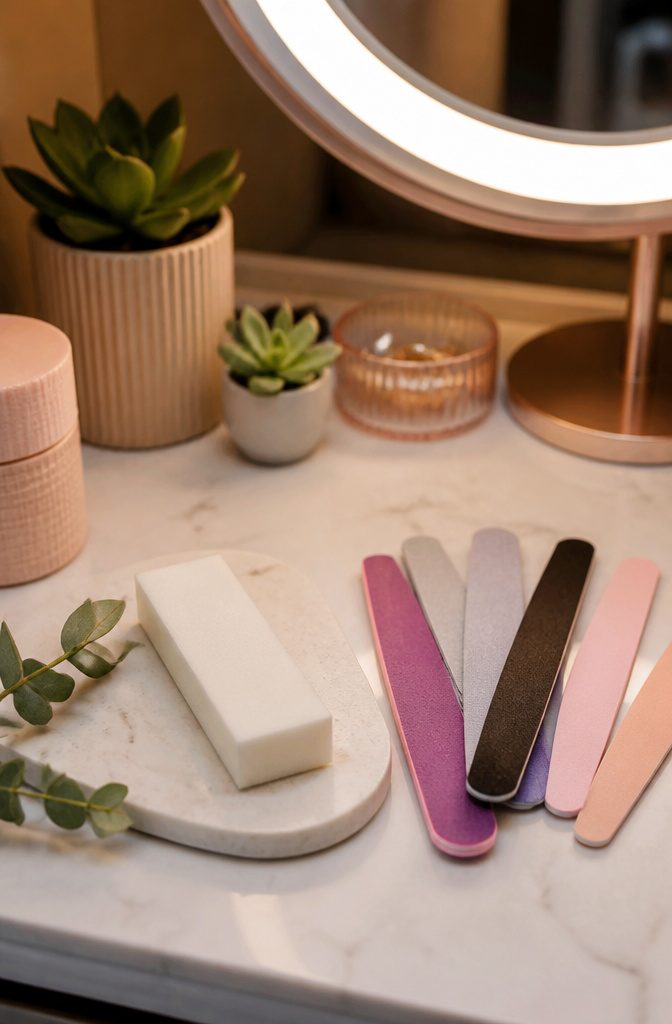
A buffer belongs on the vanity of anyone who treats bare nails as the whole look.
The minimalist routine, the no-polish-at-the-office stance, even the health-focused set who nudge circulation by running the pad across the surface, all land in the same spot: smooth nails with nothing on them.
The DIY enthusiast gets mileage here too, since that same smoothing preps a base that hangs onto polish longer than a ridge left alone.
The file pulls a different crowd. Nail art lovers need the crisp edge that shape gives before any polish goes on.
Professionals keeping a neat appearance through a schedule of clients rely on it. So does anyone experimenting with almond one month and square the next, because length and shape change faster than a buffer can keep up with.
Well-groomed nails are the baseline, and the file is what gets you there when the edge is ragged or the length has to shift.
Grit Levels
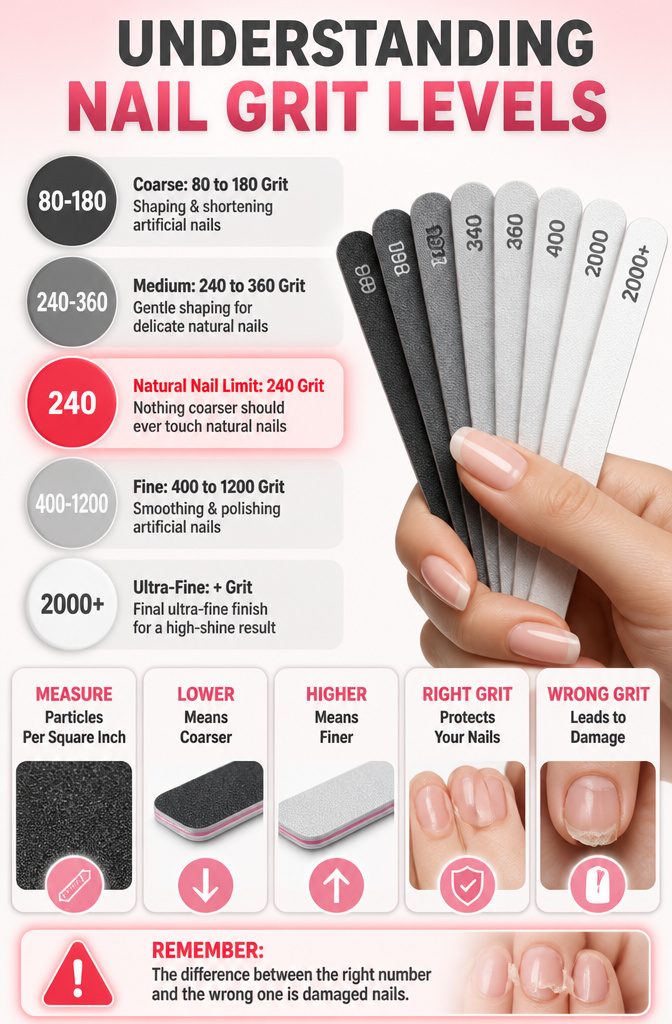
Grit is measured in particles per square inch, so the number on the label tells you exactly how abrasive the surface is.
Lower means coarser, higher means finer, and the difference between the right number and the wrong one is damaged nails.
Files run from 80 grit at the coarse end through 180, 240, and up to 360 for very fine work.
Buffers start where files leave off, running 400–900 for smoothing and polishing artificial nails, and pushing past 1200 and even toward the 2000+ range for that final ultra-fine finish. For natural nails, nothing coarser than 240 grit should ever touch the surface.
An 180 grit might feel only marginally rougher, but that margin is where splitting and weakening begin, and a 100 grit file on a natural nail plate is asking for visible damage within a week or two.
The 360 line sits in an interesting middle space, technically still a file grit but gentle enough for delicate natural nails.
Once you cross into buffer territory at 400 and above, you’re no longer removing material so much as refining what’s there, a distinction that matters if you’ve ever buffed a nail smooth only to realize you’ve also thinned it more than planned.
Coarser files shape and shorten; buffers smooth and seal. Grabbing a 180 file when you meant to reach for a 600 buffer is the mistake that turns a routine manicure into two weeks of peeling edges.
Buffing Technique
The first time I held a nail buffer, I treated it like a file and sawed back and forth.
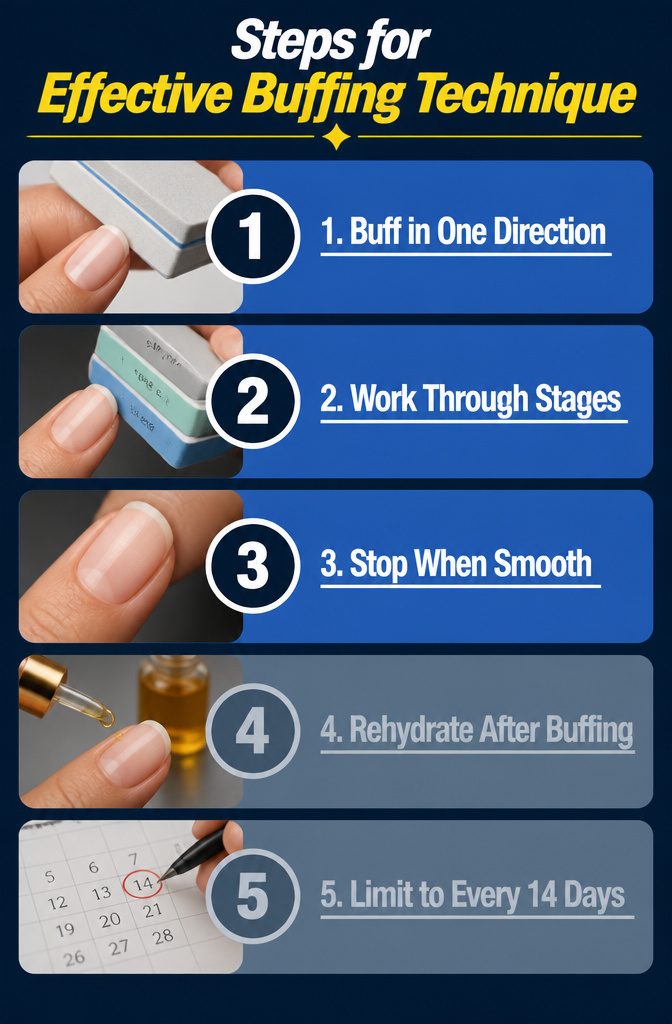
Two weeks later my nails peeled at the free edge; the plate had thinned enough to bend under light pressure. Buff in one direction only, lightly, and the buffer does the work without stripping layers you need.
- Work through the stages in sequence if you are polishing, or stop after one or two passes with the 240 grit side if you are just prepping for polish. Skipping ahead or repeating a stage does not improve the result.
- Stop when the nail looks smooth or slightly matte. More passes after that point thin the plate without adding benefit.
- Rehydrate after with cuticle oil or hand cream; buffing removes some natural oil along with the surface irregularities.
Limit this to once every 10–14 days. That rhythm keeps ridges managed without pushing the nail into that peeled, flexible stage I learned about the hard way.
Cleaning and Maintenance
Foam-core cushion buffers and block buffers absorb whatever lands on them, and that trapped debris does not wash out.
Surface cleaning helps, but the porous center stays loaded. In a salon those tools belong to one client, then get tossed or handed to that client for home use.
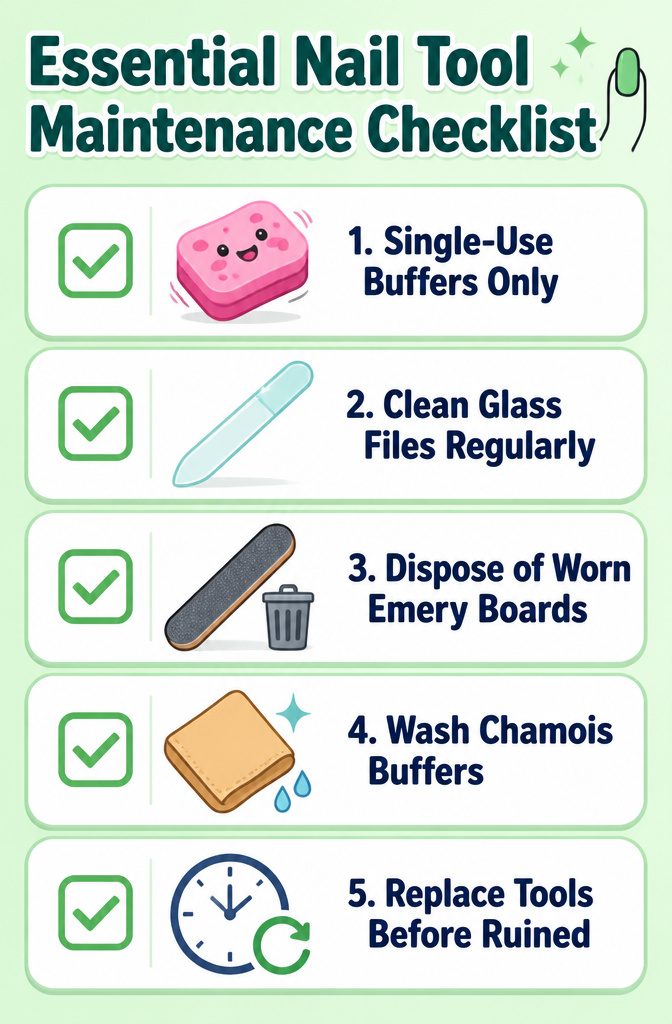
Never passed between people. Single-use buffers in shared spaces are the only safe course.
Glass files are the opposite story. They rinse clean under running water, brush off easily, and dry fast for storage in a closed container.
Emery boards soak up moisture and everything in it, so they degrade and harbor bacteria you cannot reach. They are essentially disposable.
Chamois and leather shine buffers occupy a middle ground.
They lack the foam or paper core that traps debris, so washing and drying actually works. Follow what the maker says for that specific material.
The rule that runs underneath all of this: replace tools before they look ruined.
A file used past its life, a buffer with compressed grit, a stained emery board sitting in a drawer, each of those is where problems start. The maintenance habit matters as much as the tool choice.
Frequently Asked Questions
What is the main difference between a nail file and a nail buffer?
A nail file shapes and shortens the free edge of your nail, while a buffer smooths and polishes the nail plate surface.
Think of it this way: the file is the sculptor, the buffer is the polisher. One controls the silhouette and length; the other works ridges and finishes into a glassy surface.
How often should I use a nail buffer?
Limit buffing to once every 10 to 14 days.
That interval keeps ridges under control without pushing the nail plate into a thinned, peeled, or flexible state. Over-buffing strips layers you do not grow back overnight.
Can I use a nail file instead of a nail buffer?
No. A file is built for edges and runs too coarse for surface work.
Running even a 180-grit file across the nail plate causes scratches, thinning, and visible damage within a week or two. For natural nail surfaces, nothing coarser than 240 grit should be used, and buffers start where that ceiling leaves off.